







































Jamie Clennett is a Melbourne-based designer, animator, illustrator and author.
email: jamie@videojamie.com or message me below ...

Jamie Clennett — author, illustrator, animator and designer

Other Stuff

~ the left over bits ~

What follows is a bunch of bibs and bobs that don’t really have a category for, but I like them and don’t want to leave them out. Illustrations — animation tests — unpublished children’s book, the odd bit of graphic design and I like to do an ink drawing… now and then.

GRISTLE

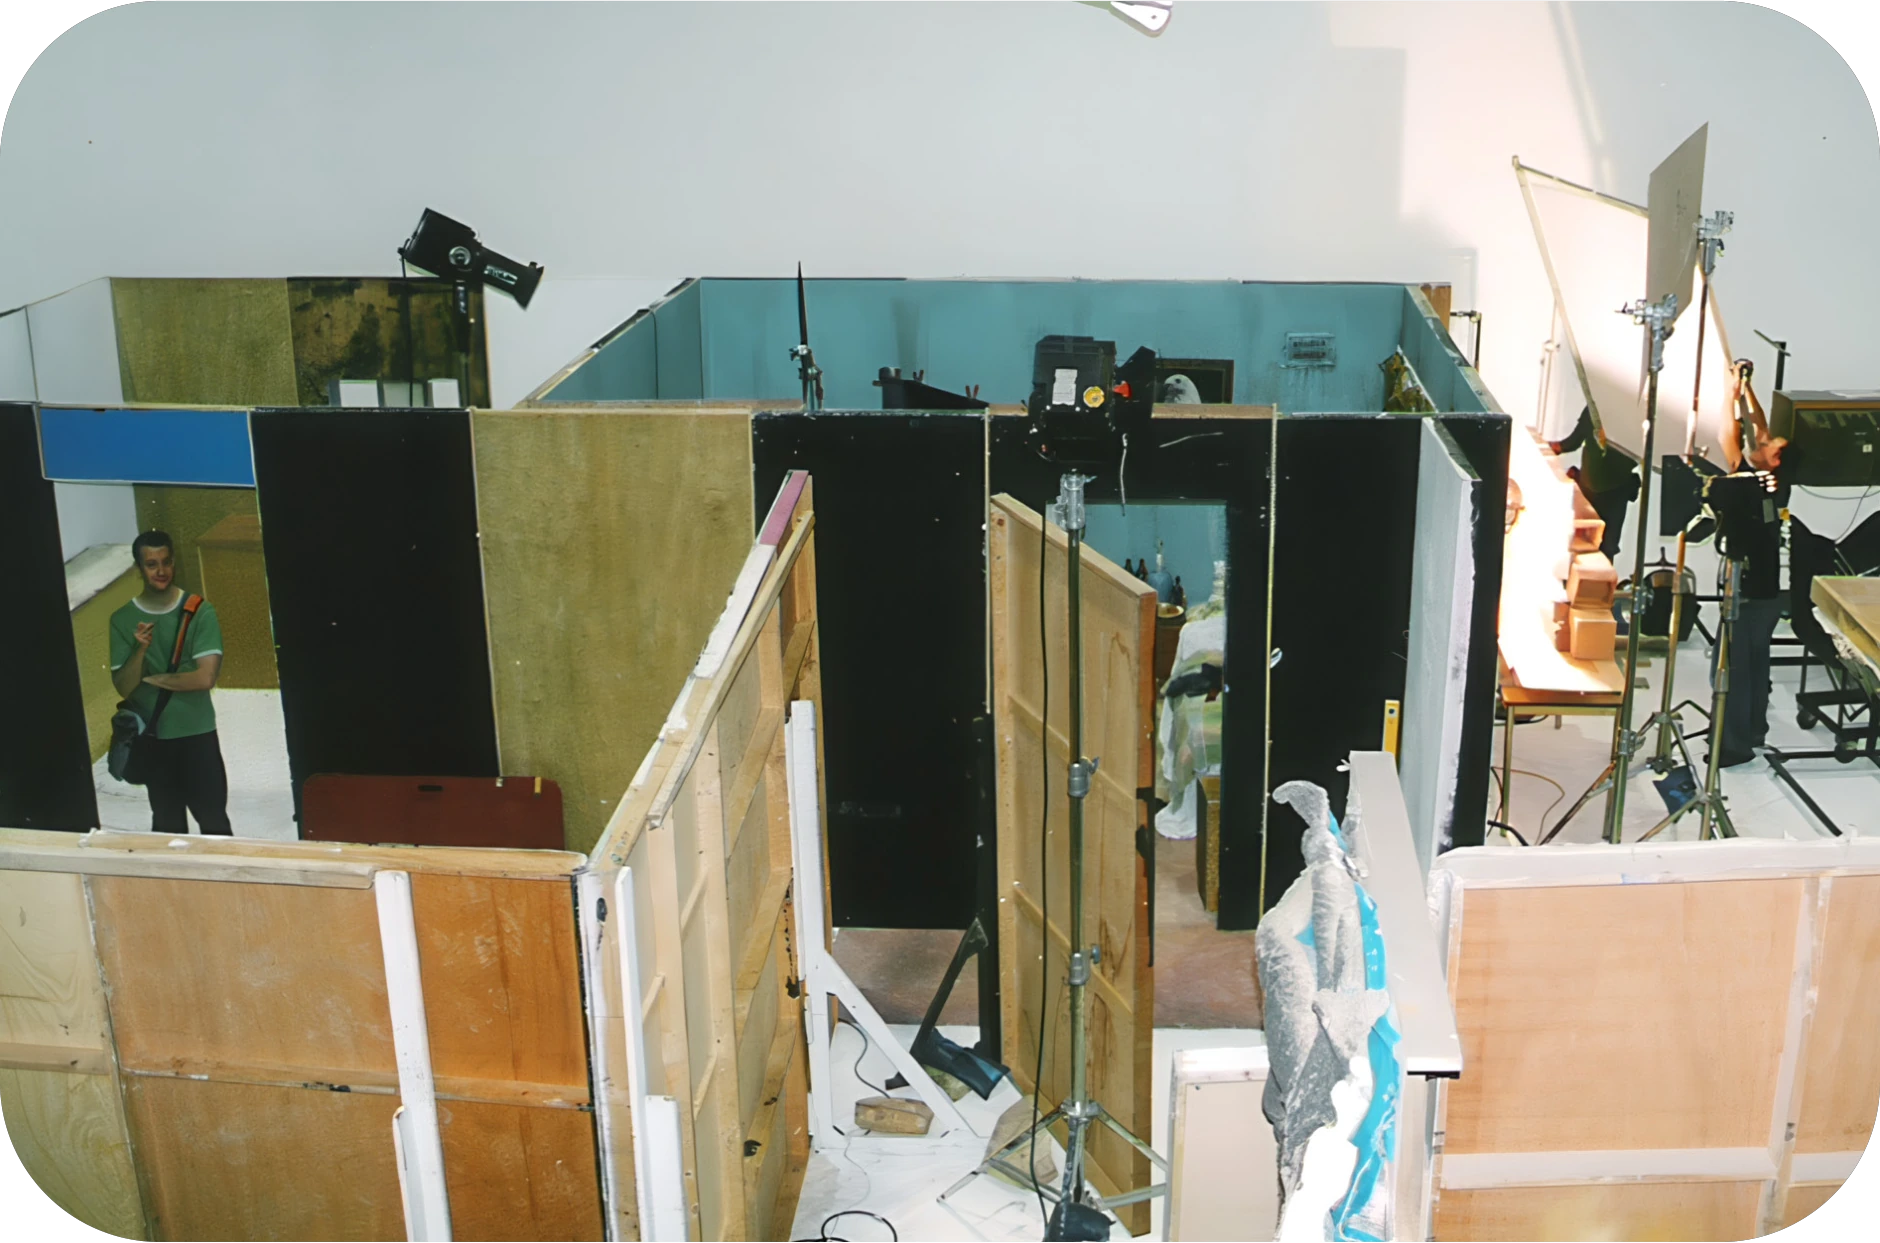
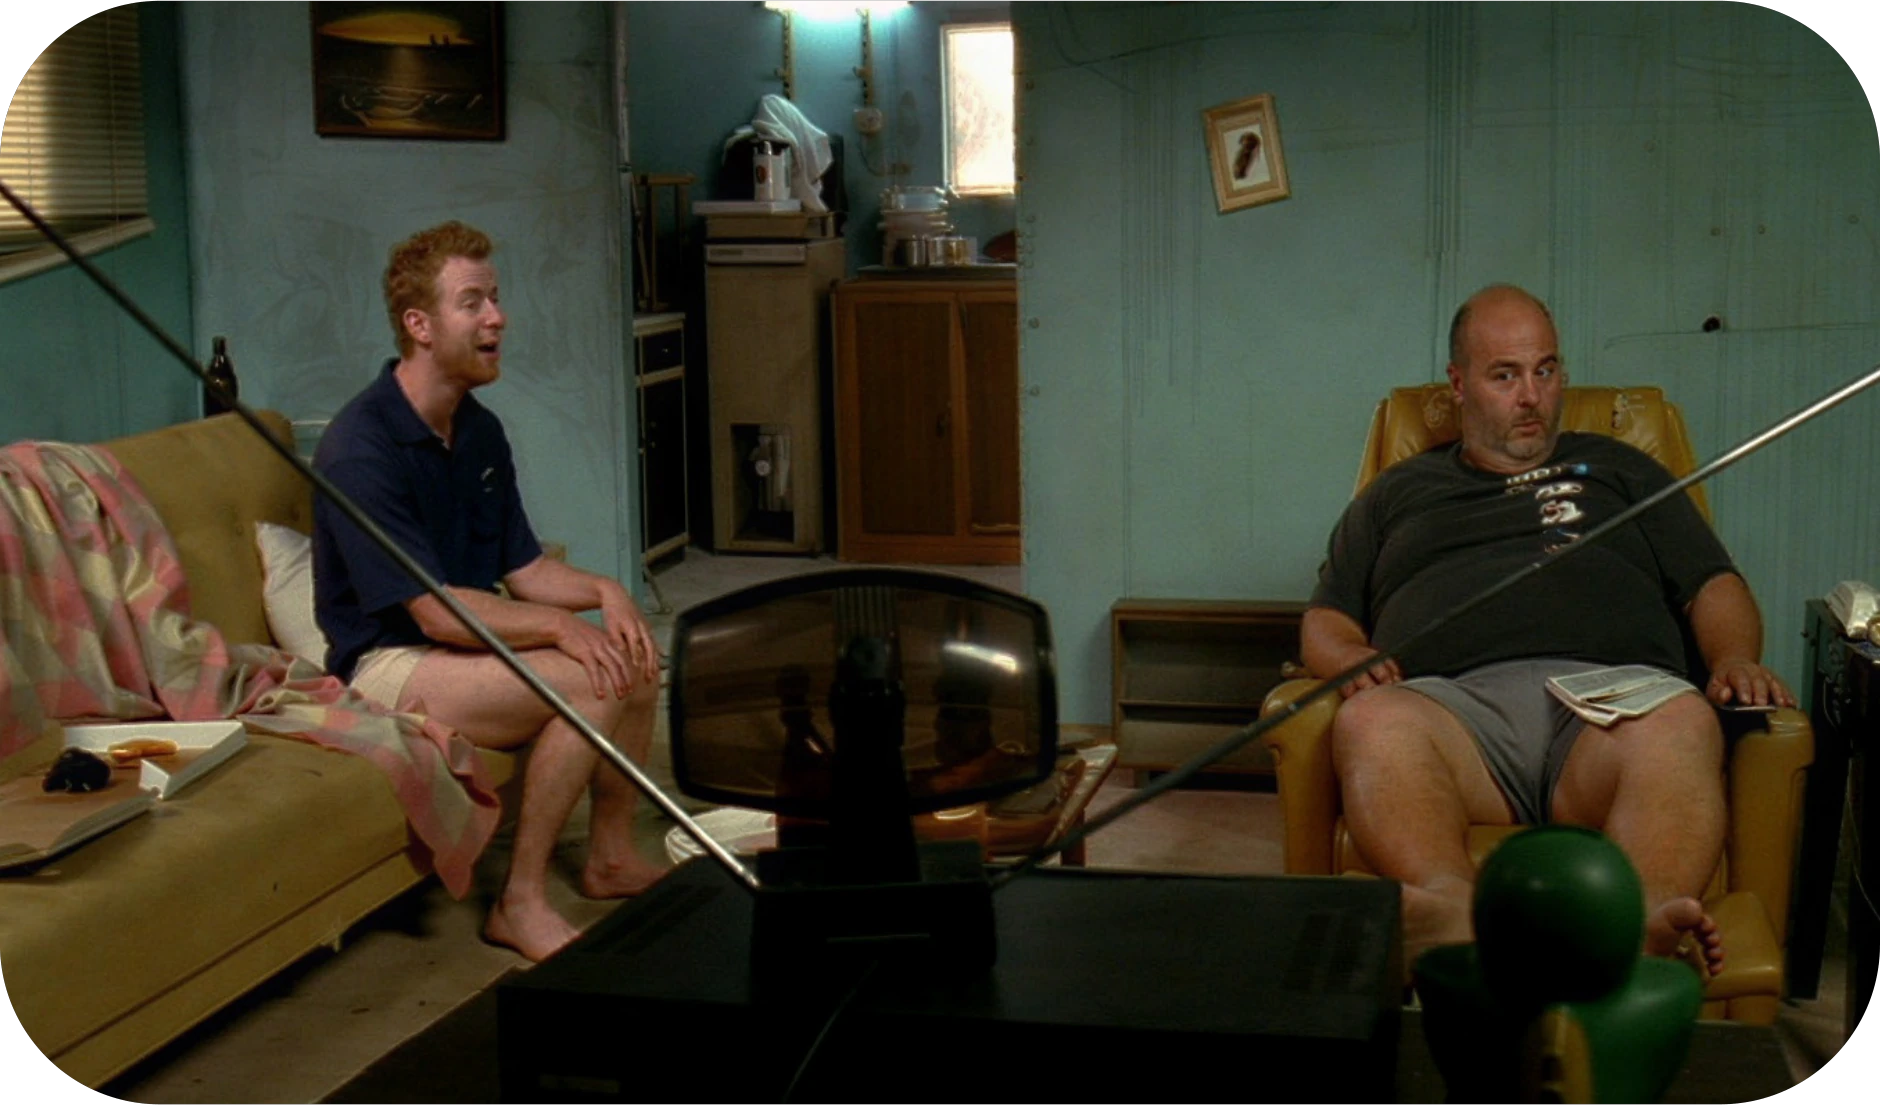
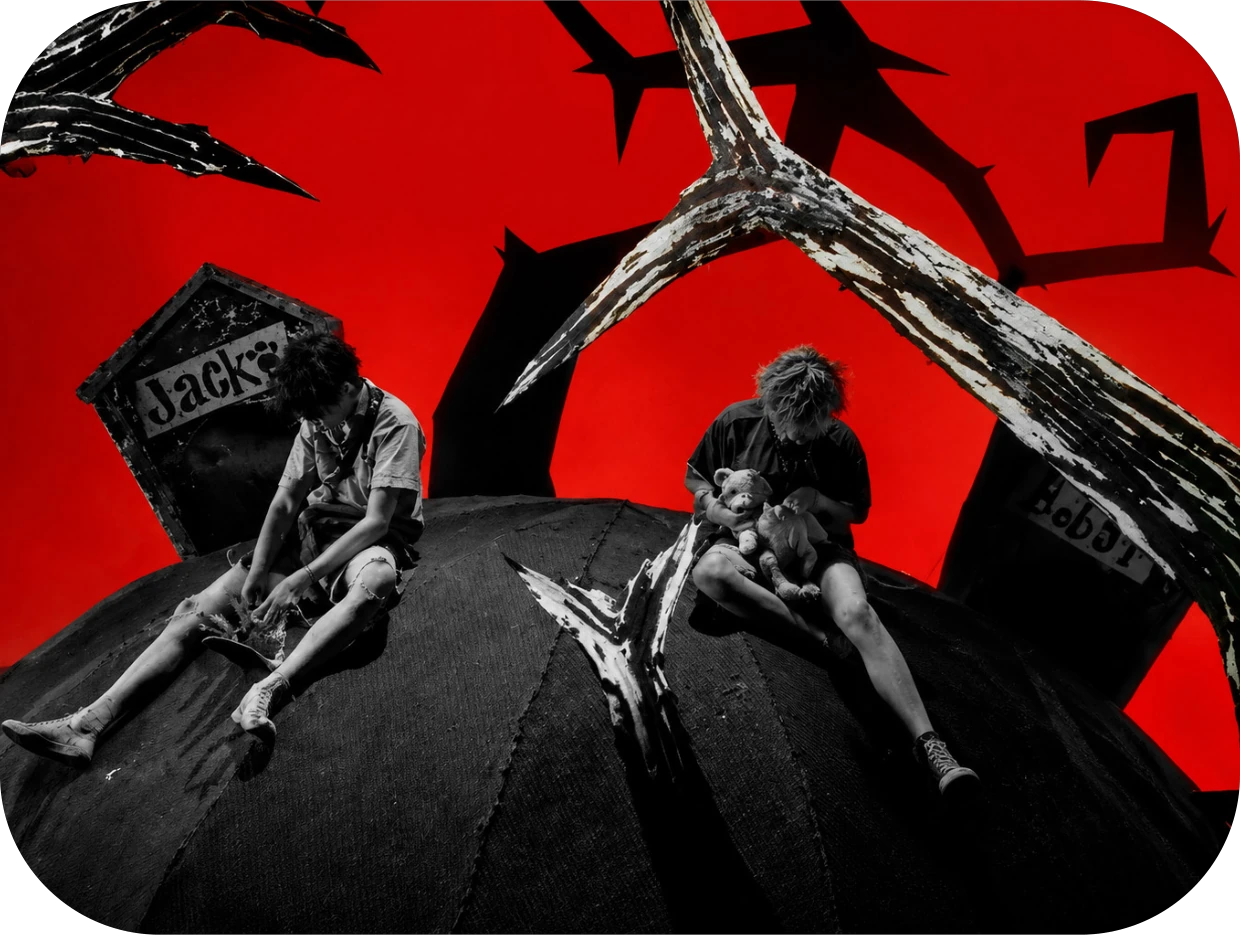
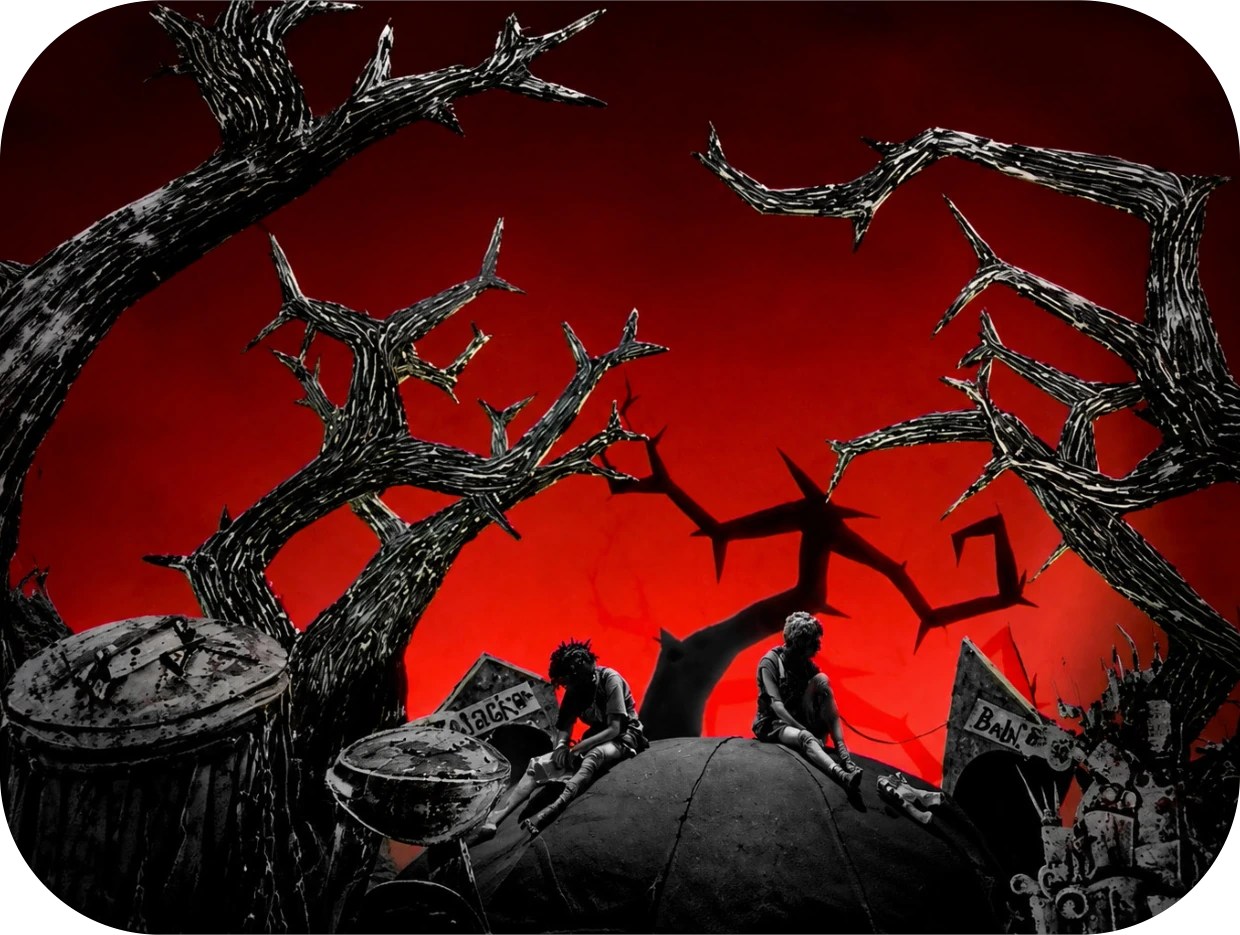
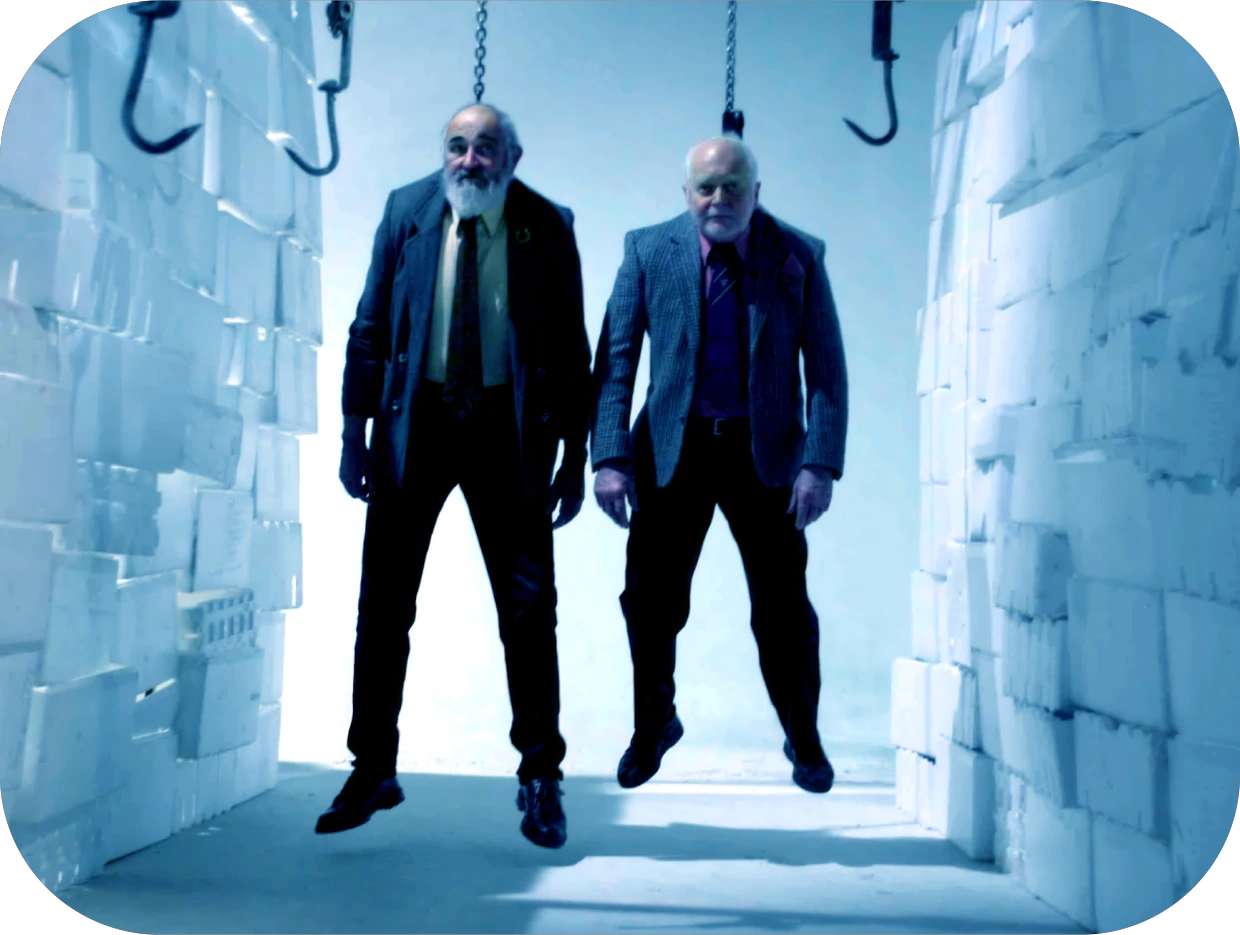
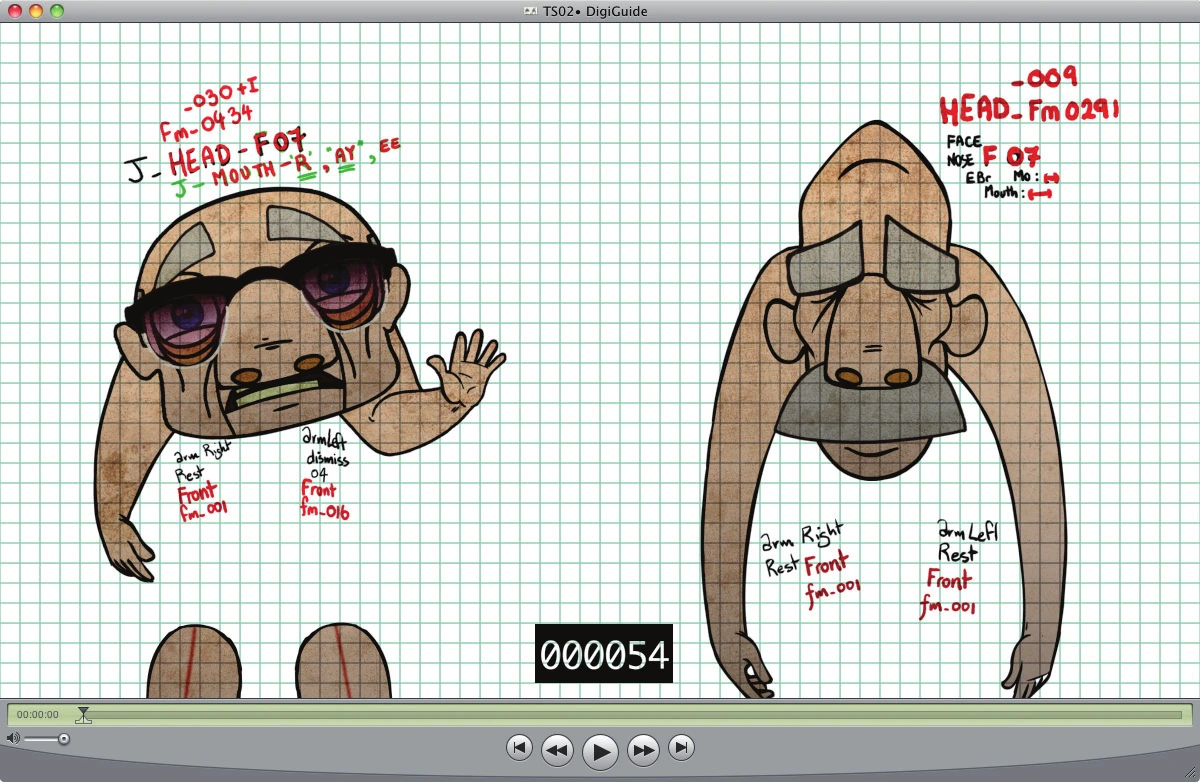
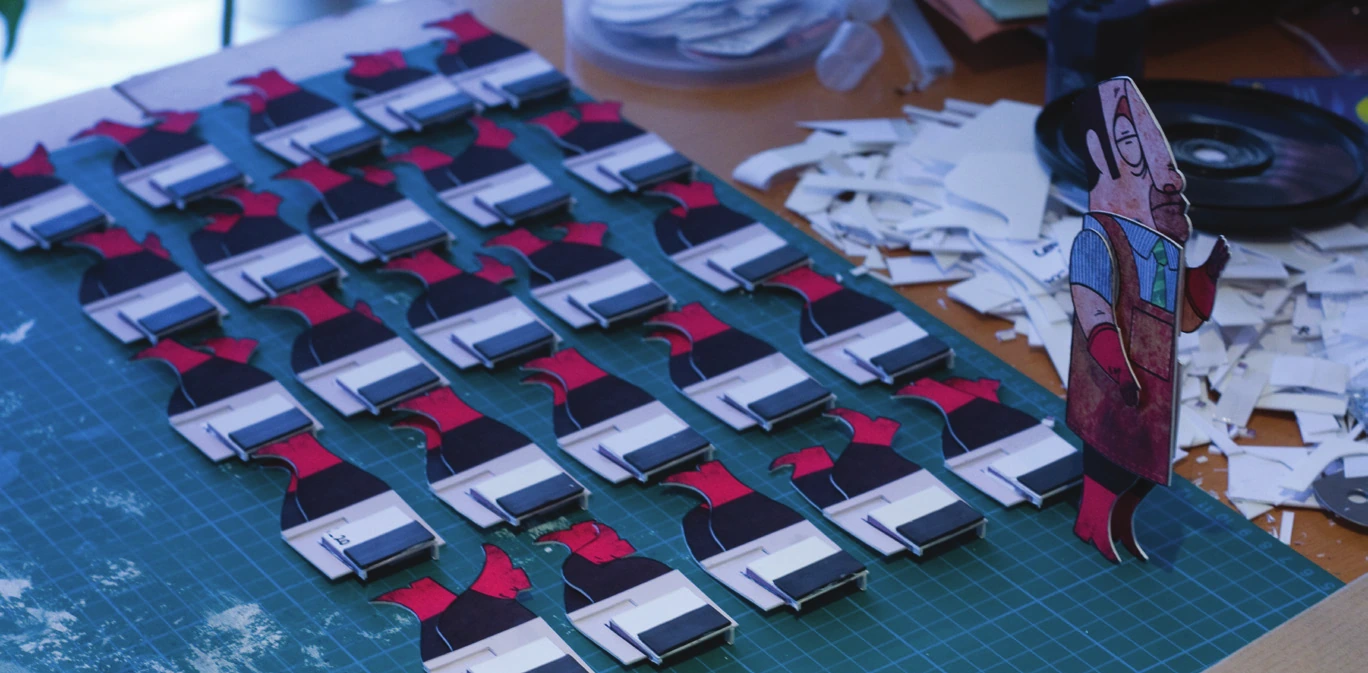
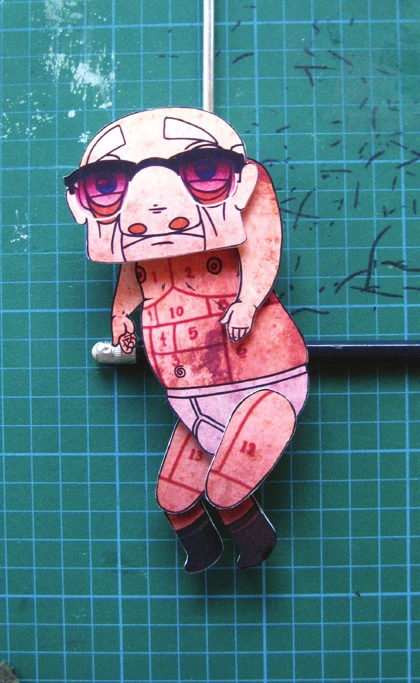
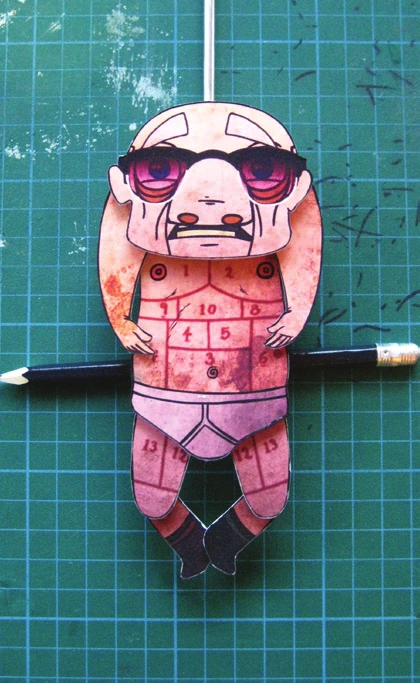
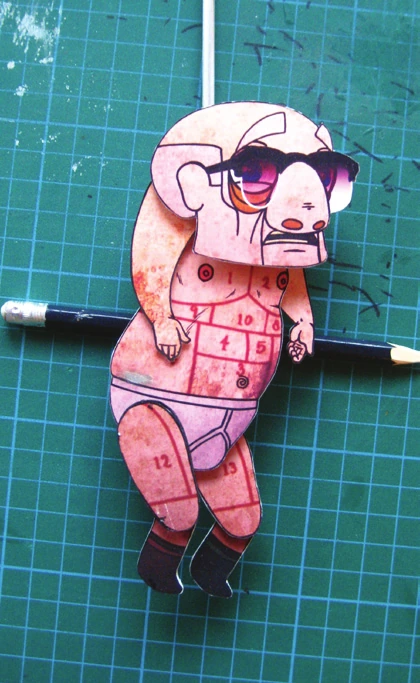
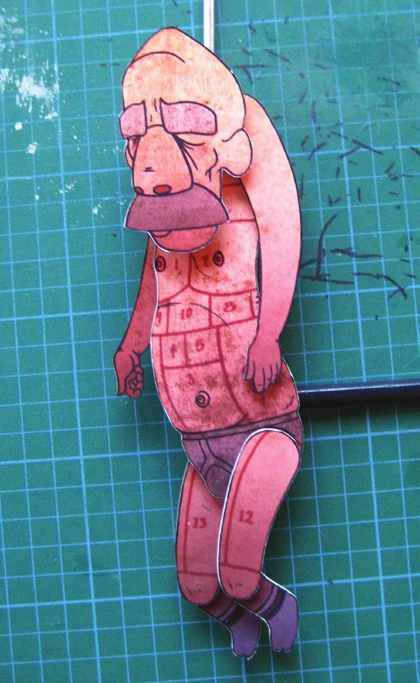
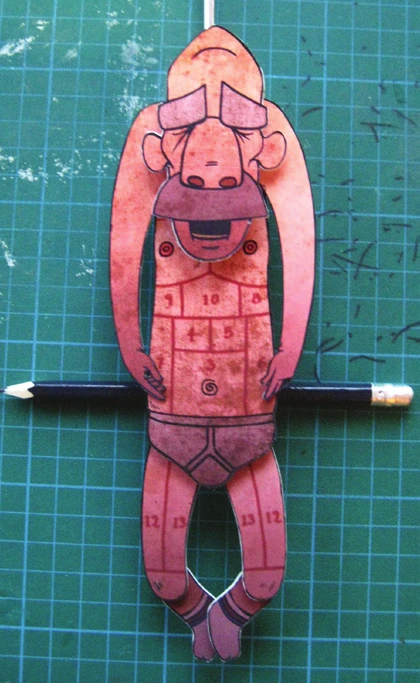
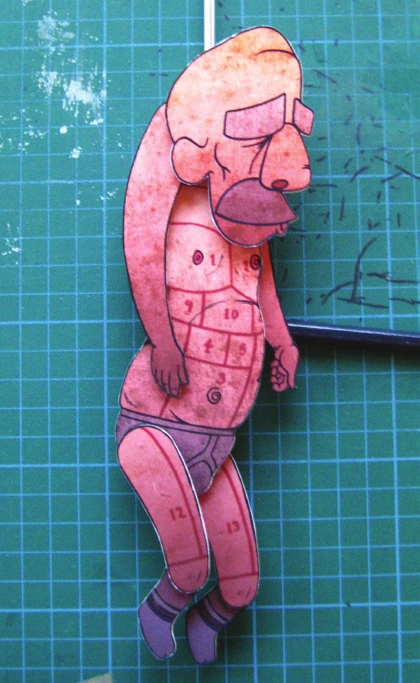
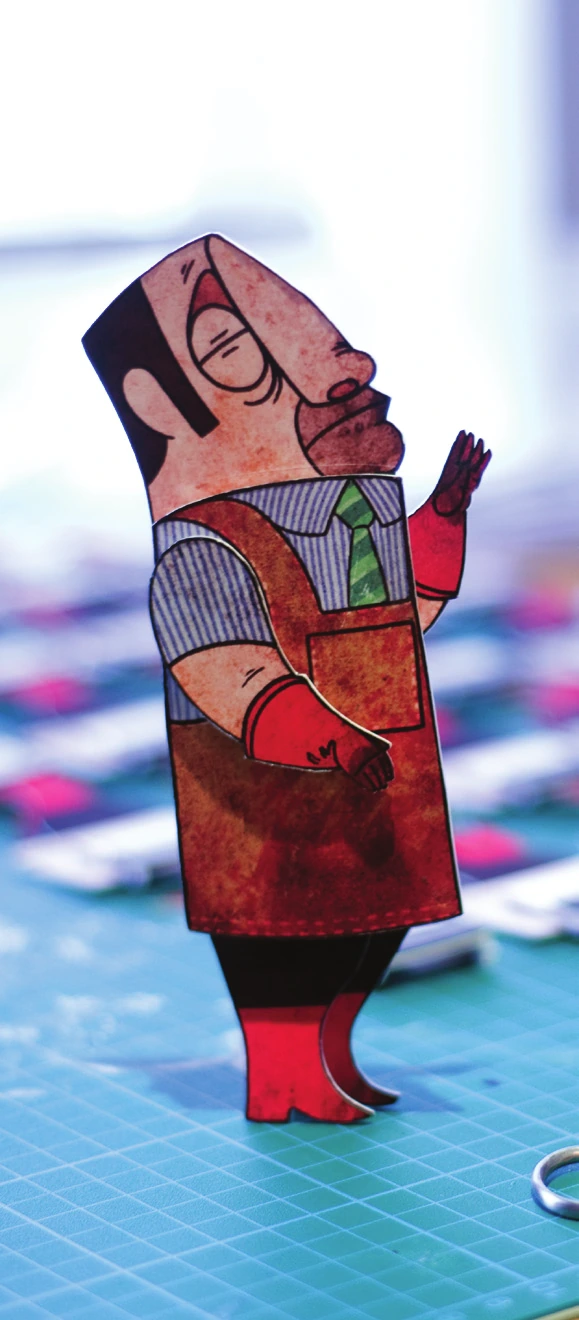
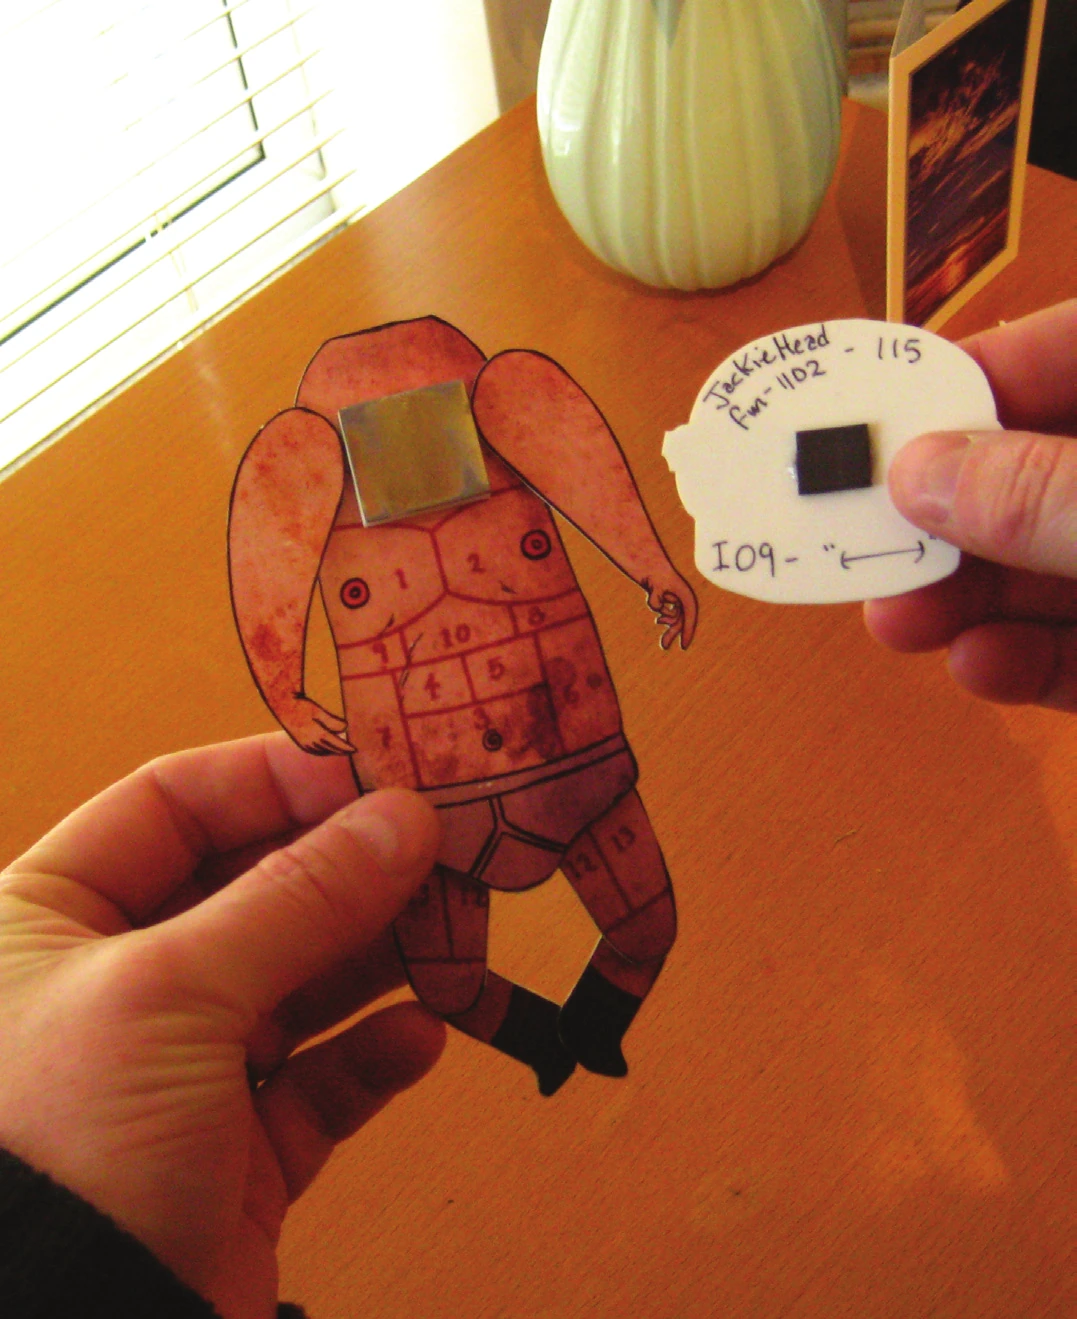
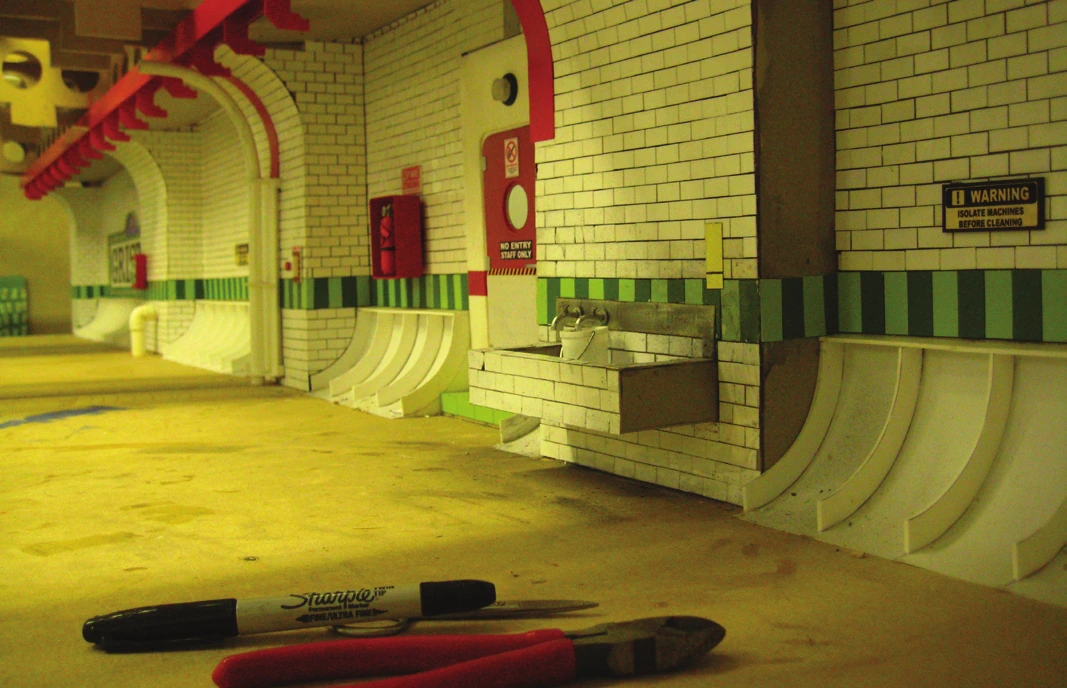
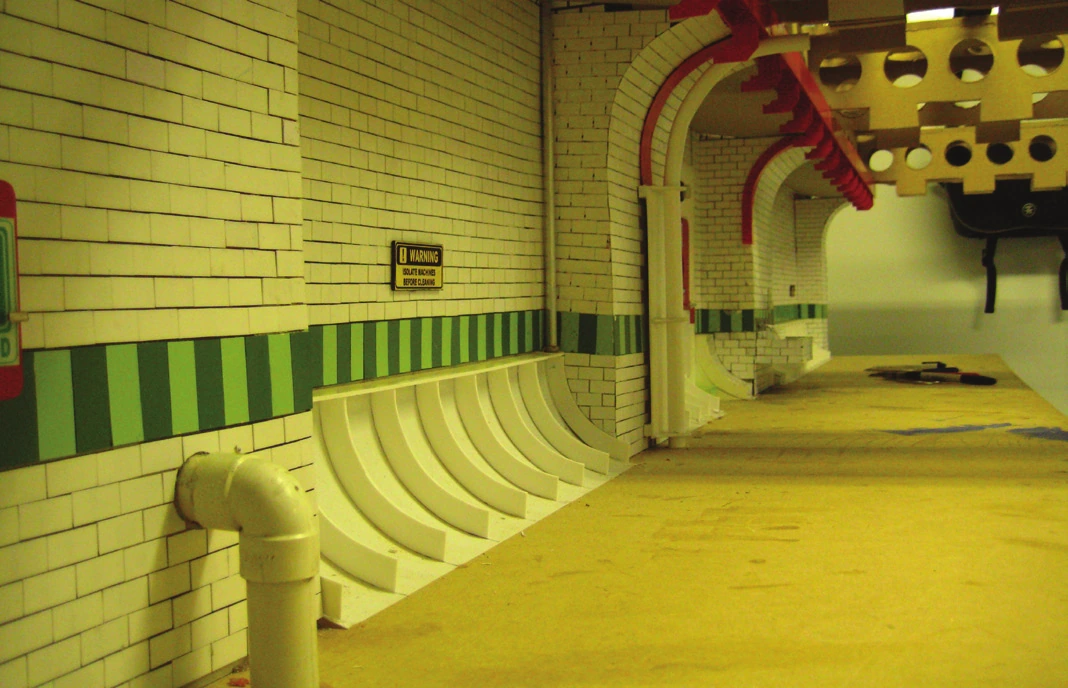
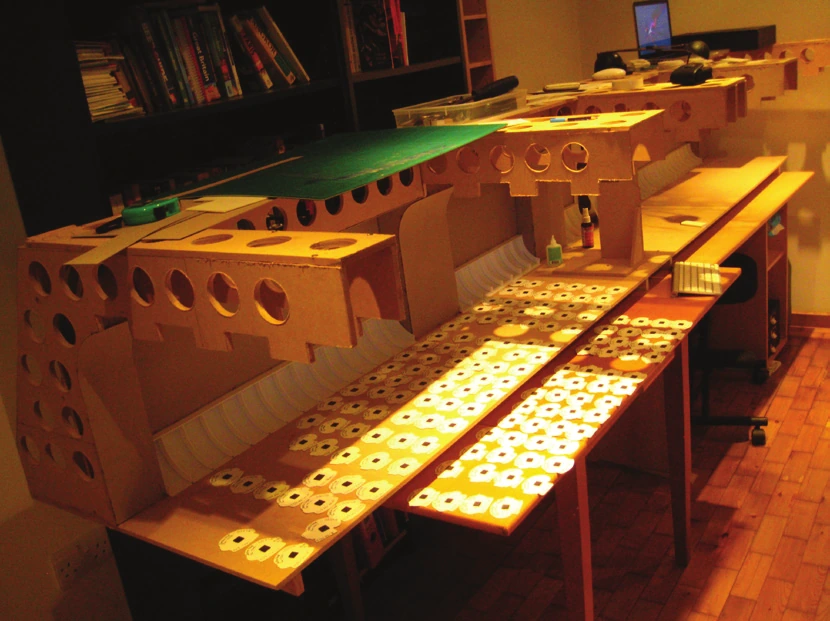
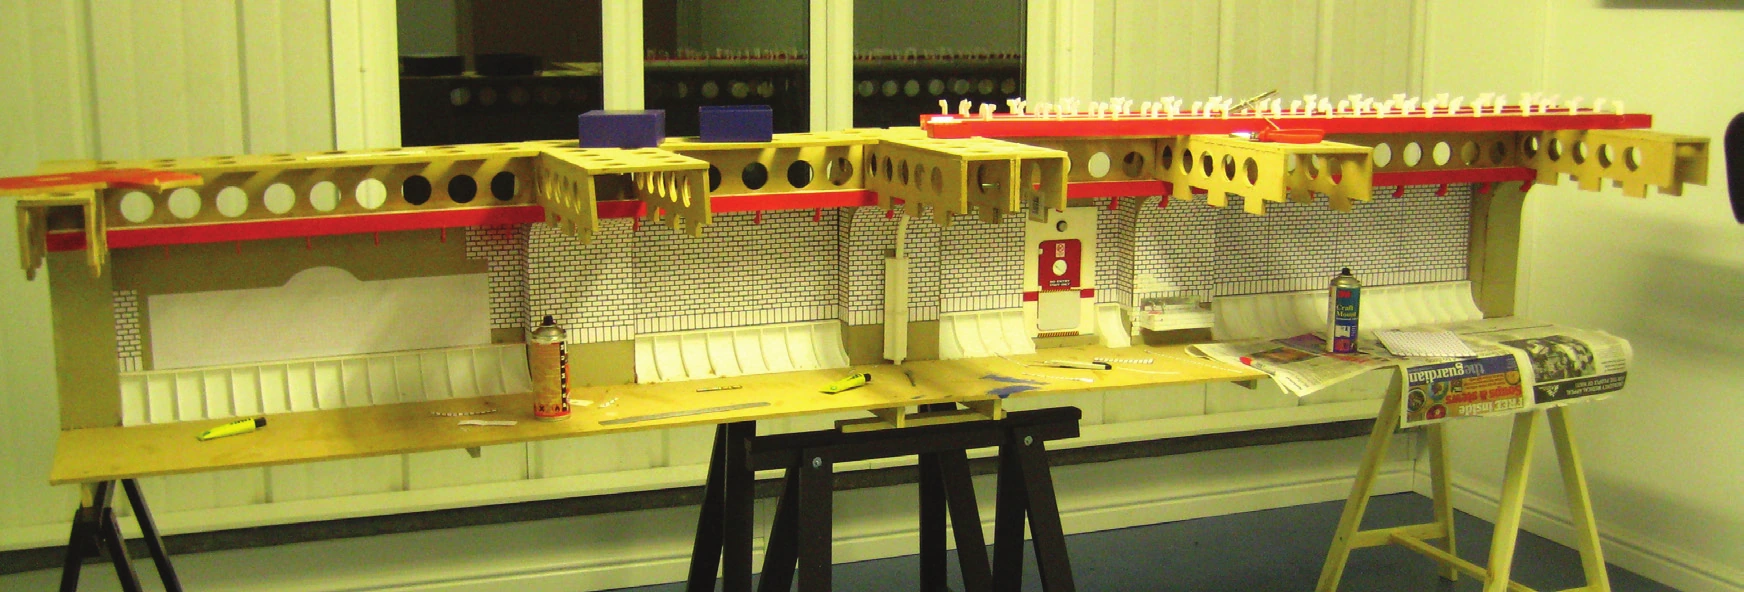
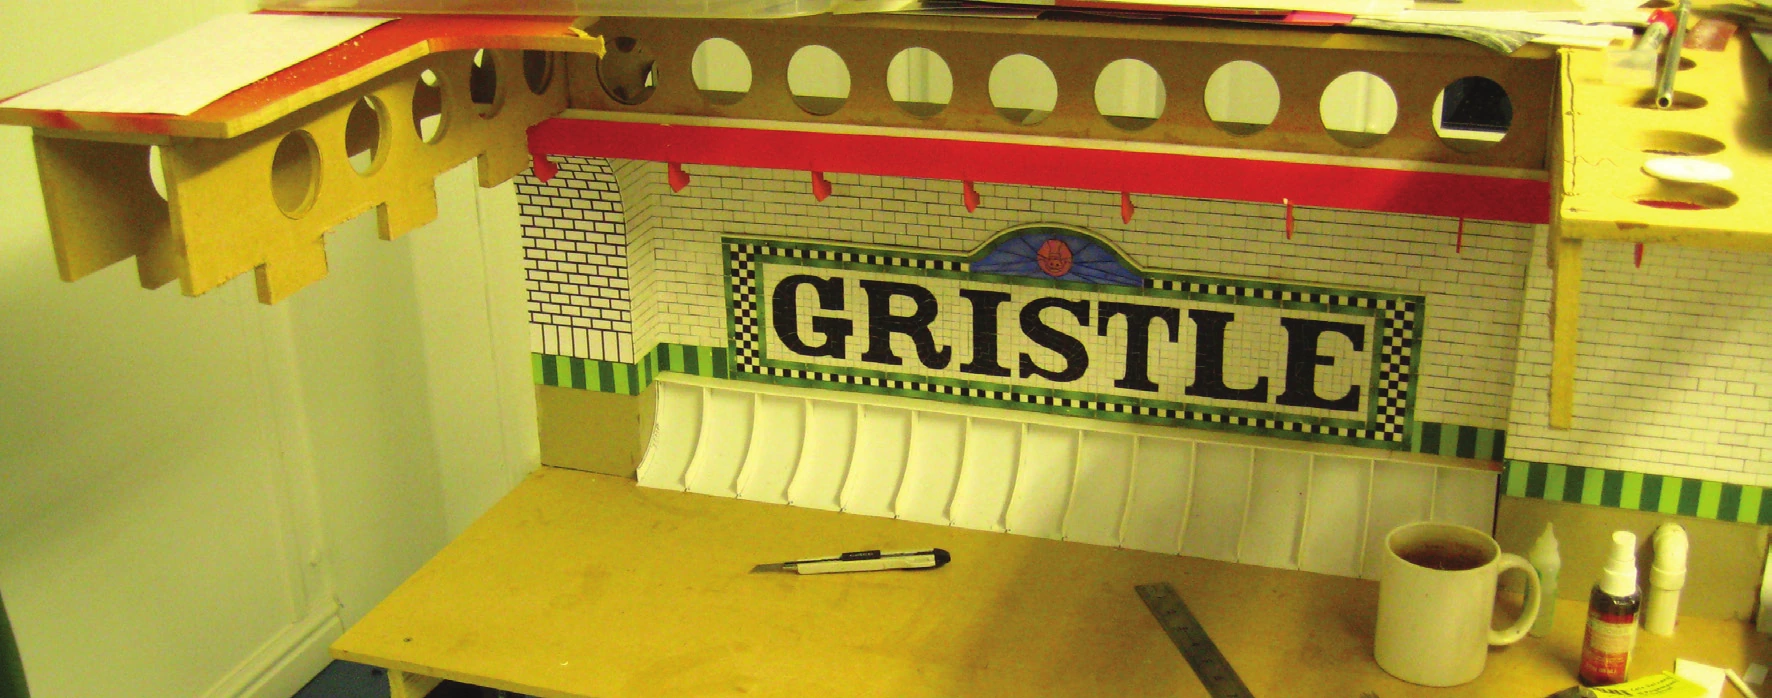
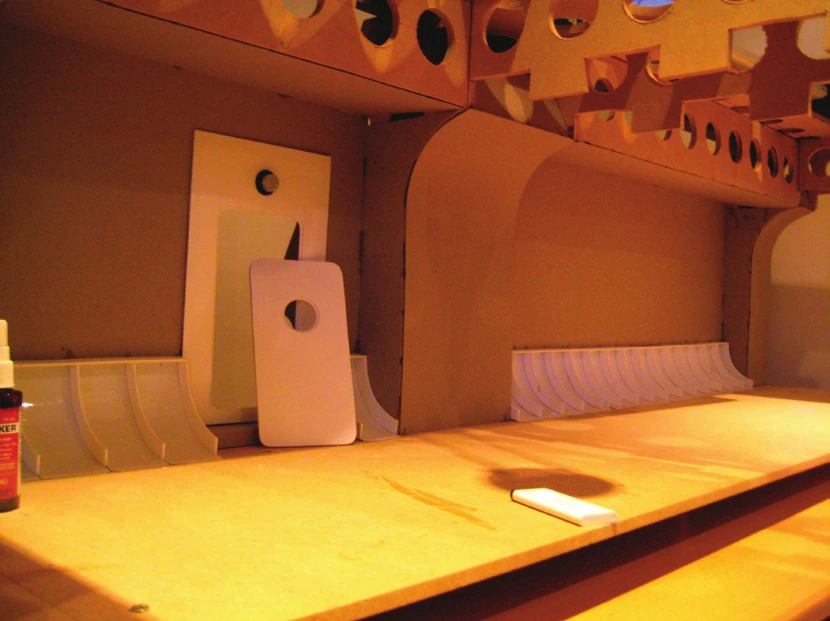
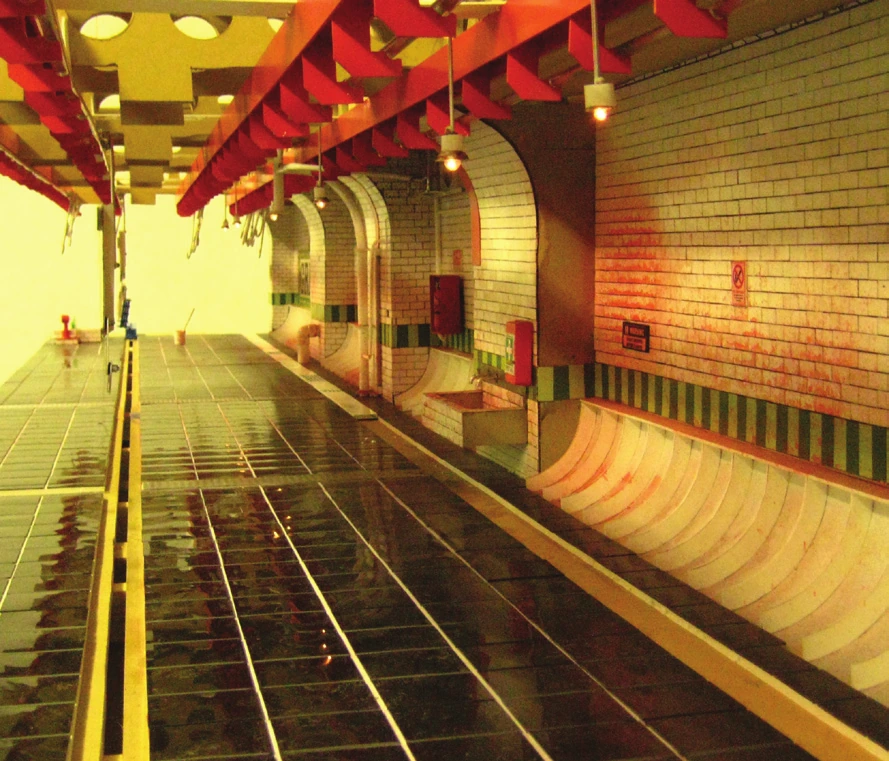
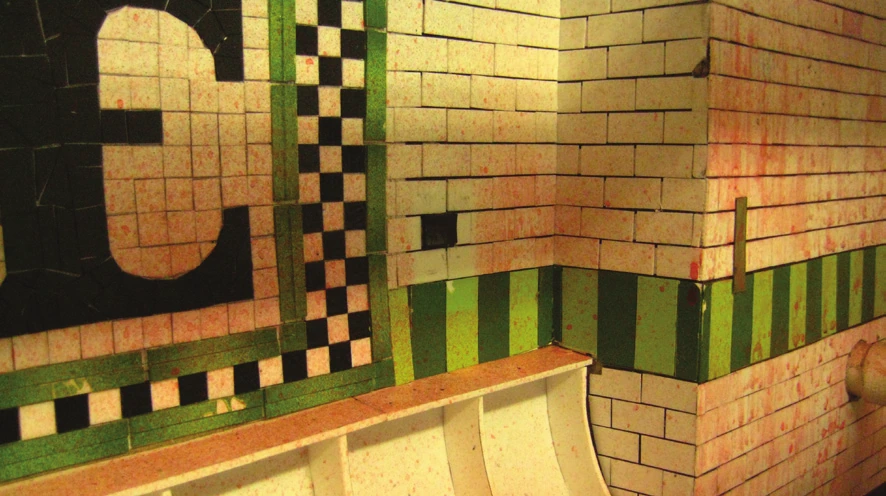
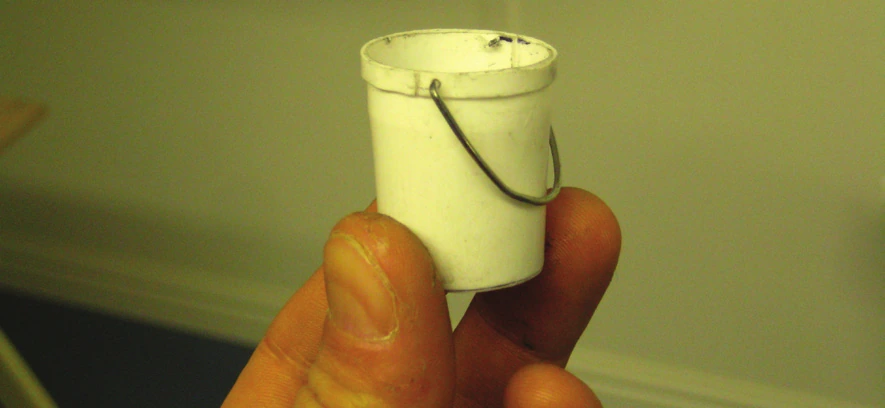
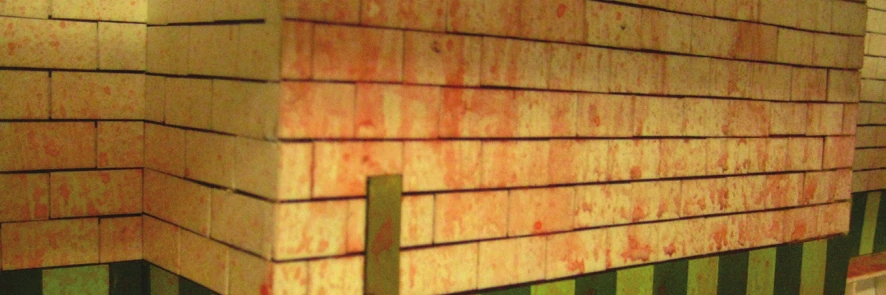
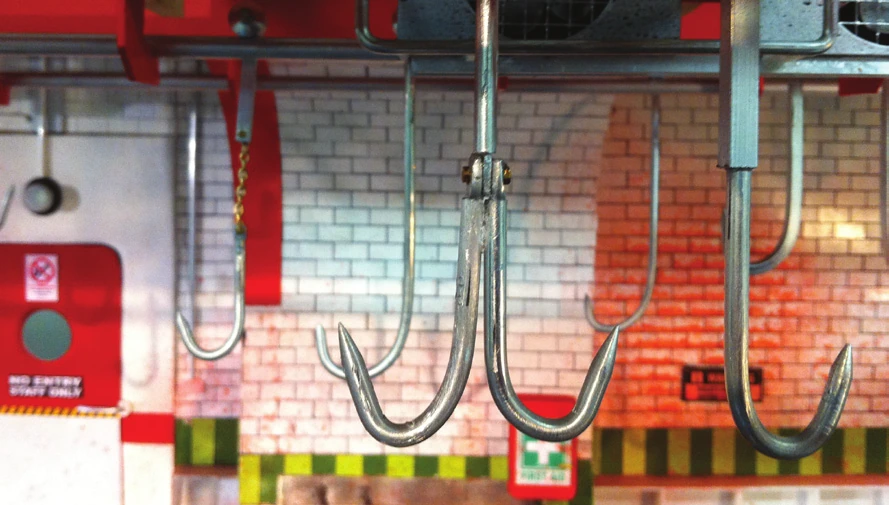
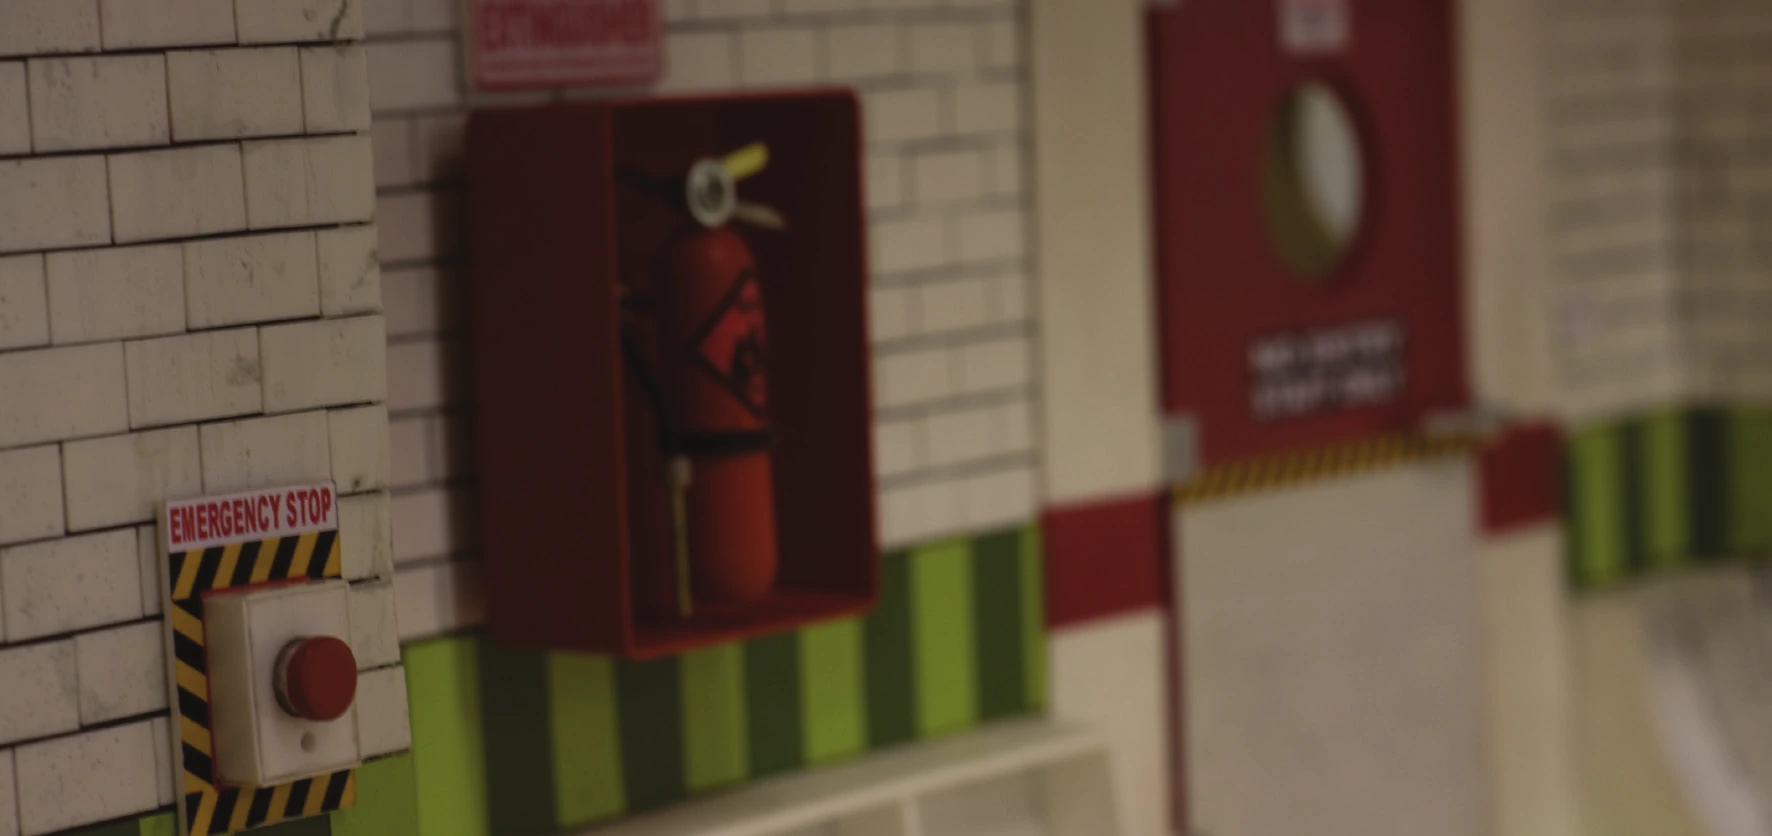
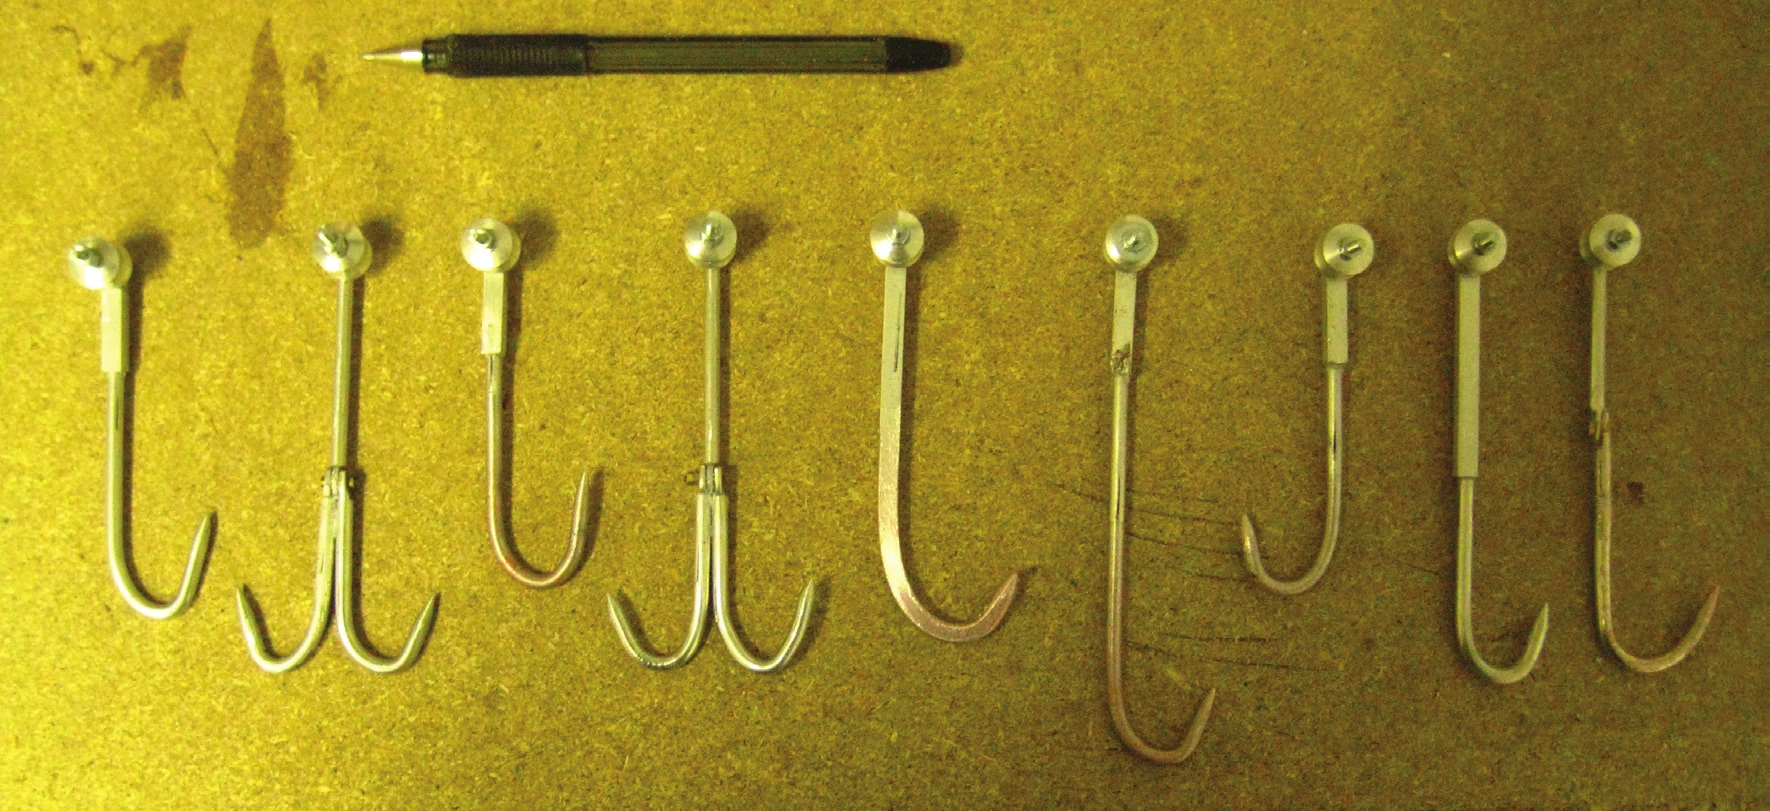
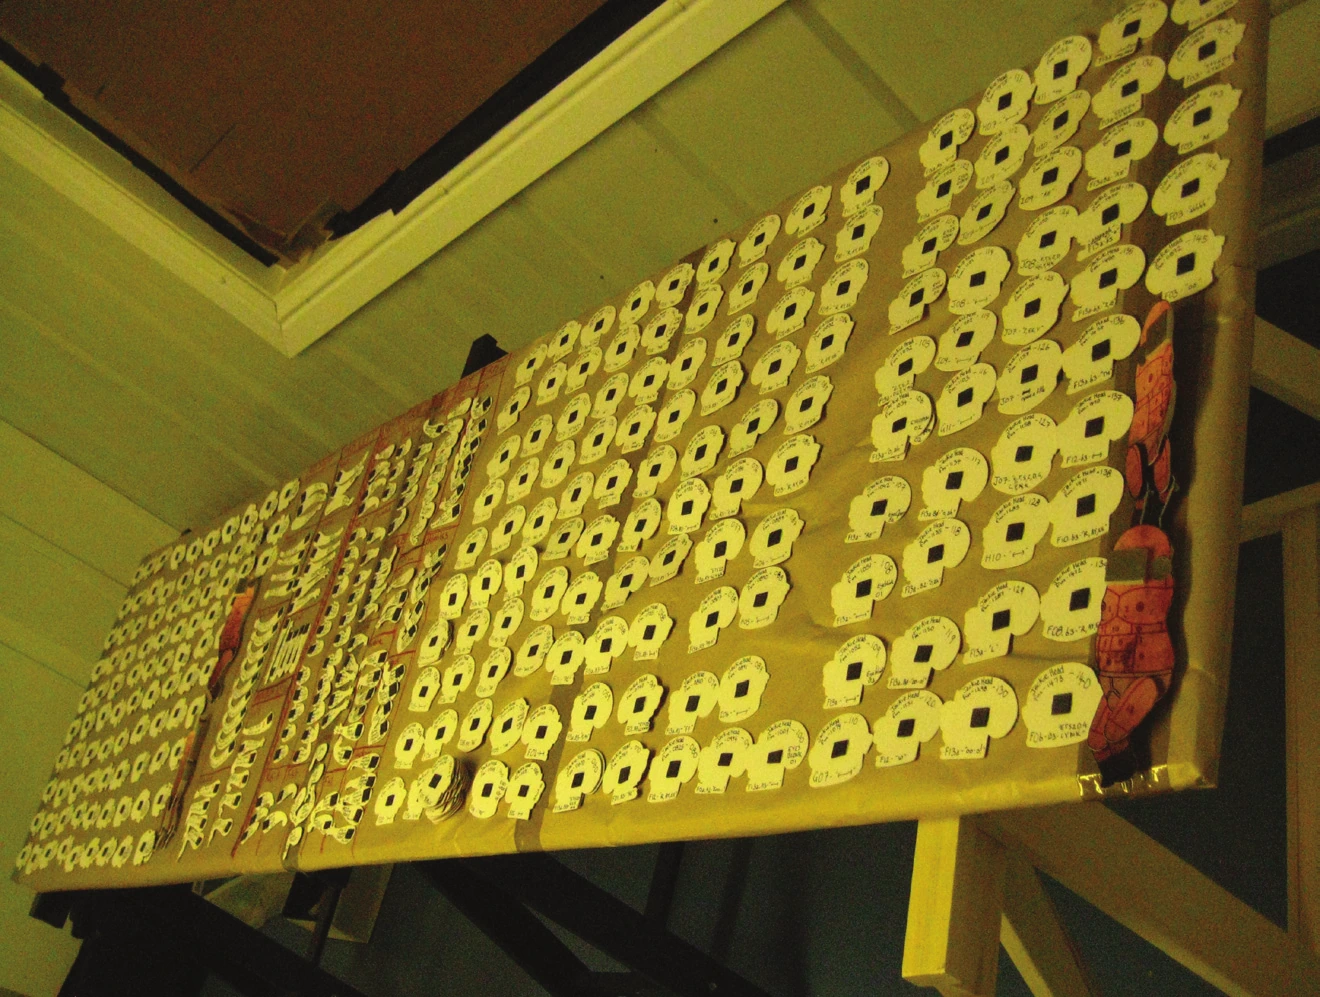
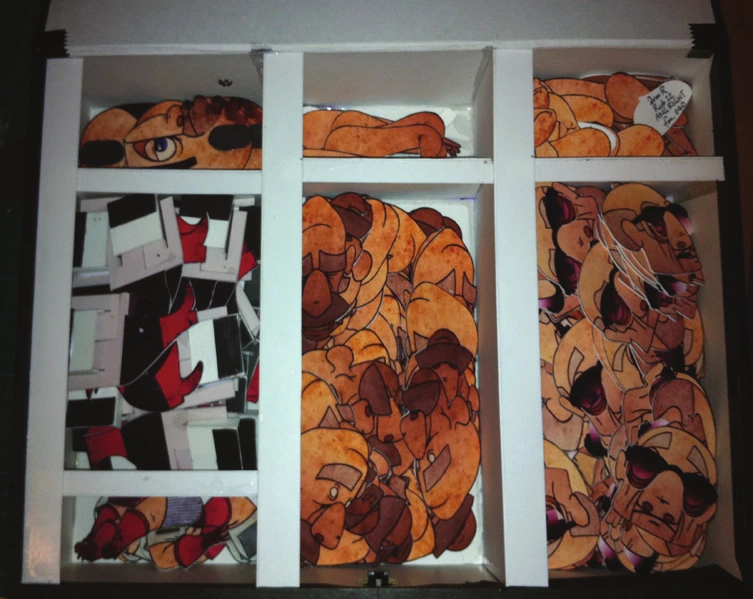
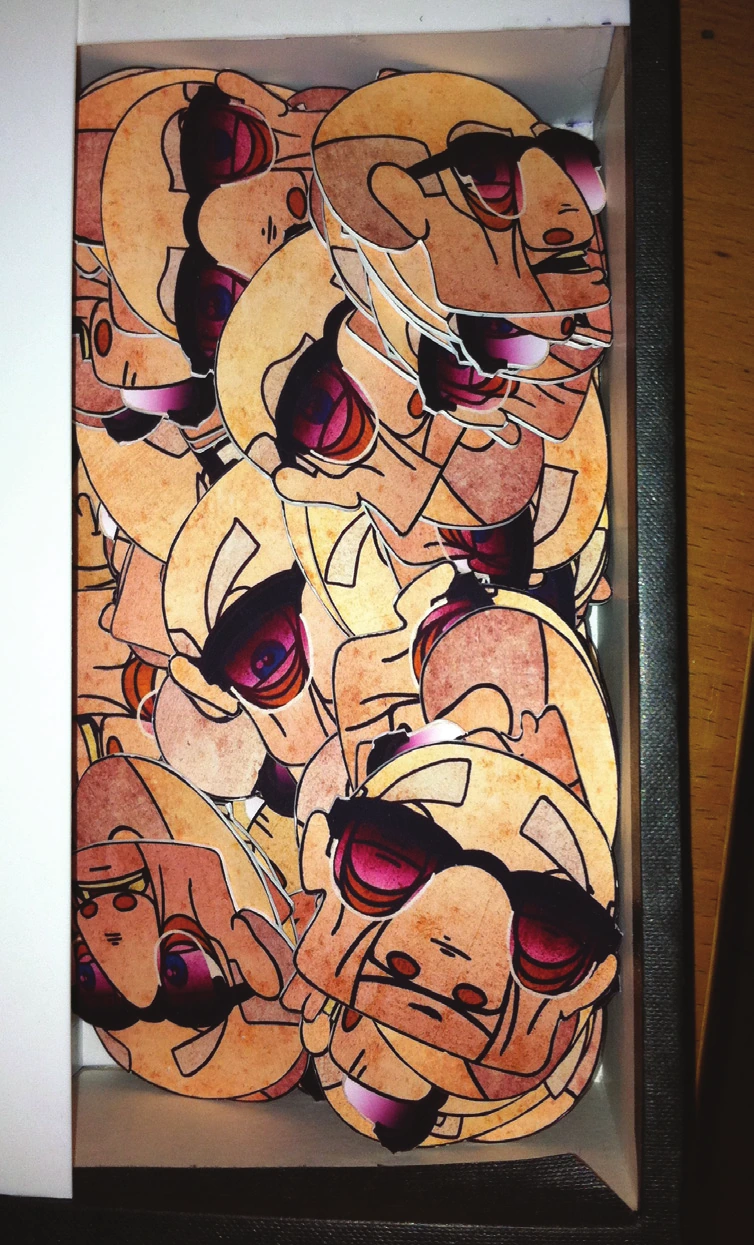
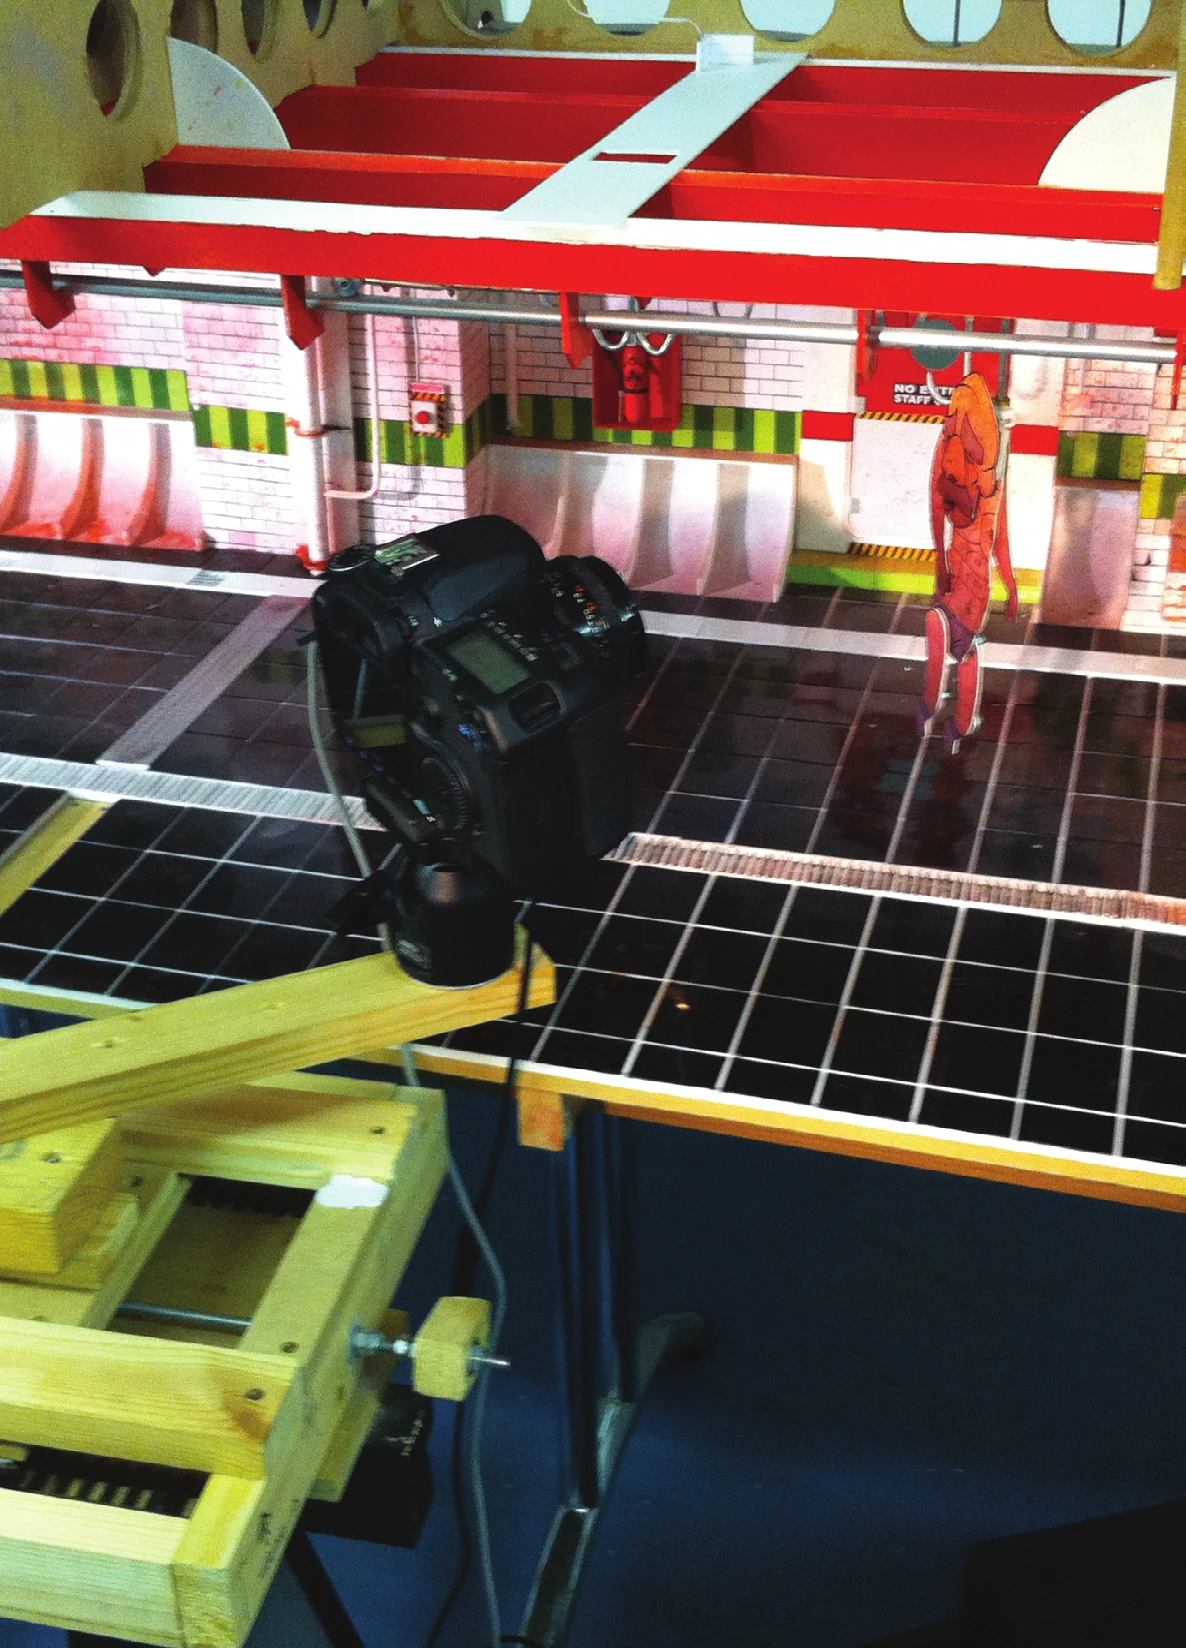
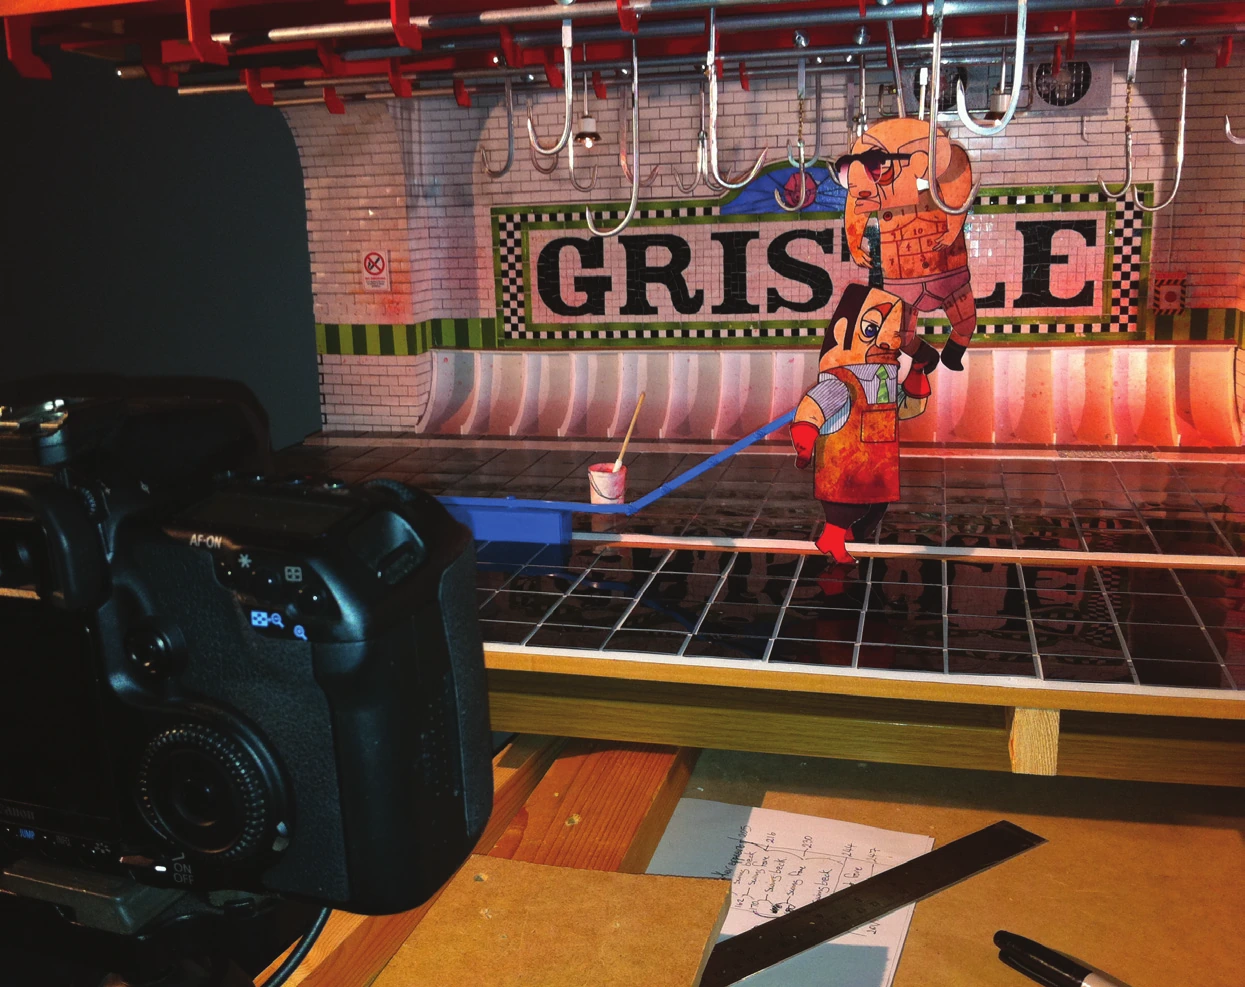
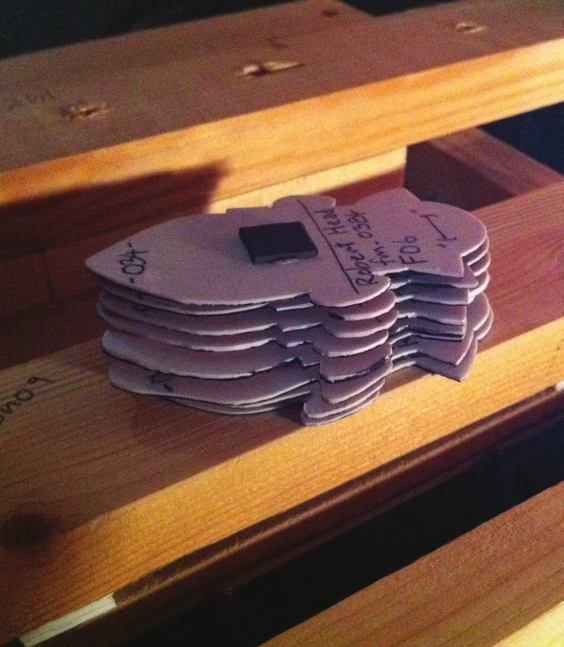
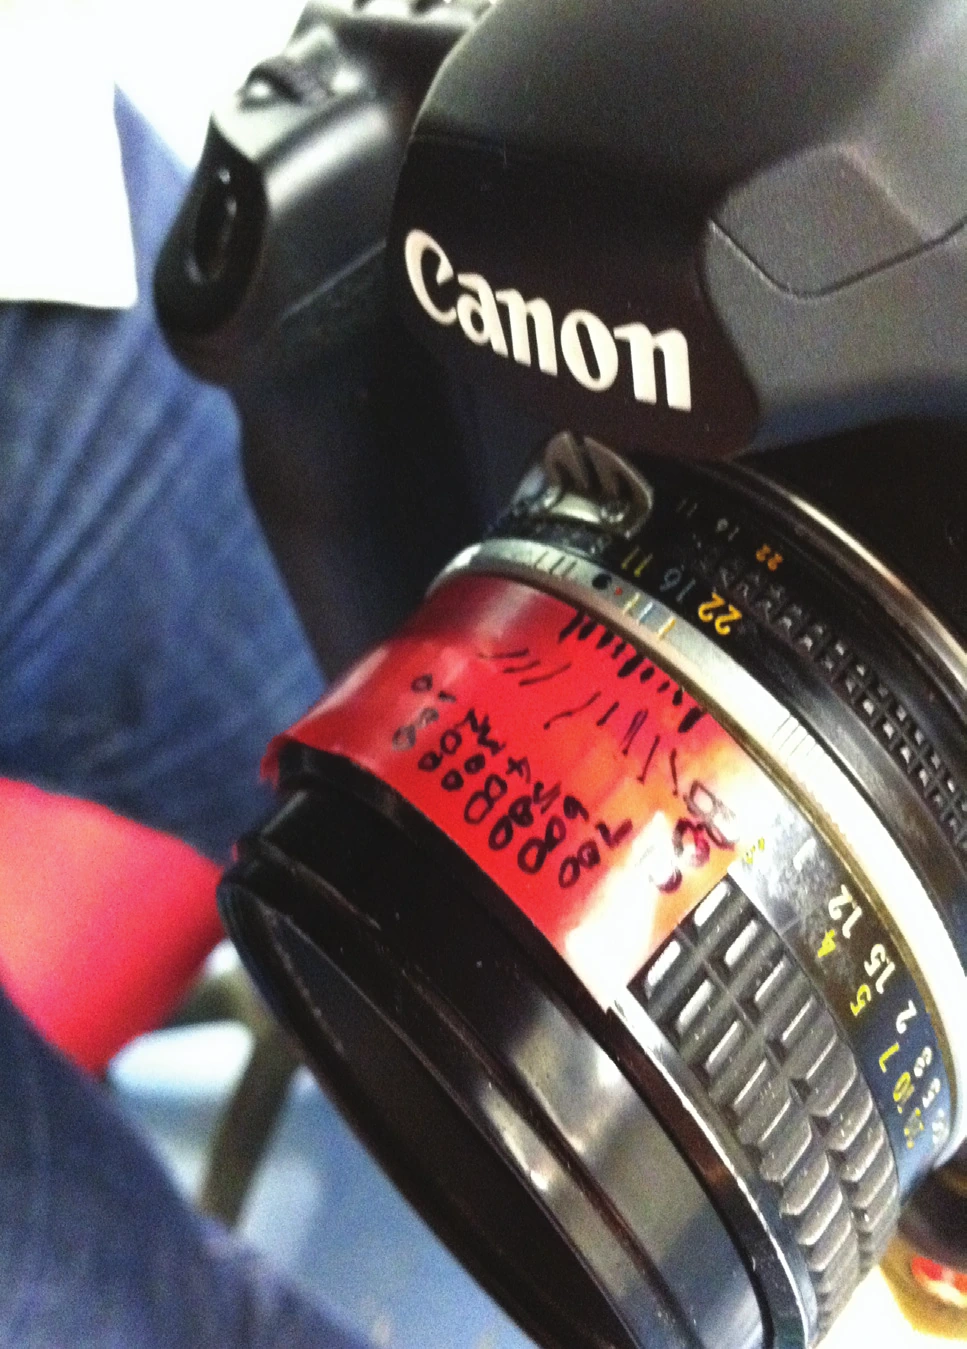
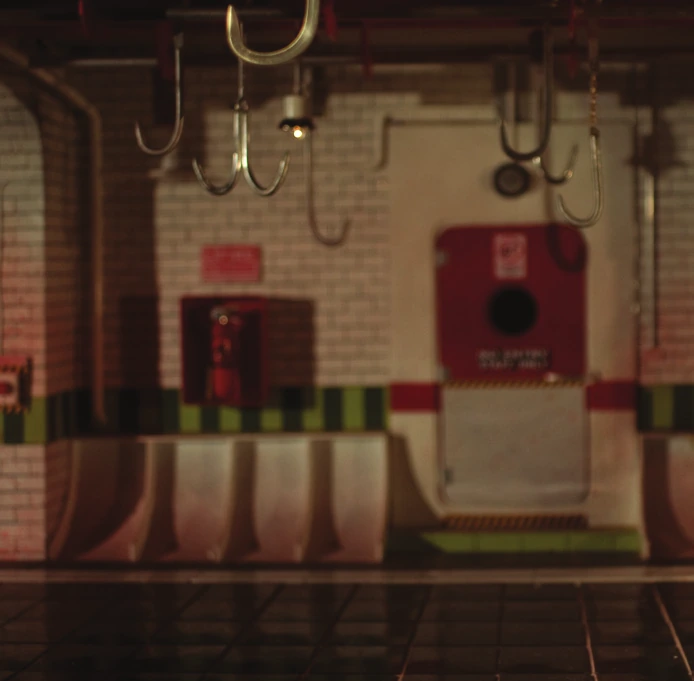
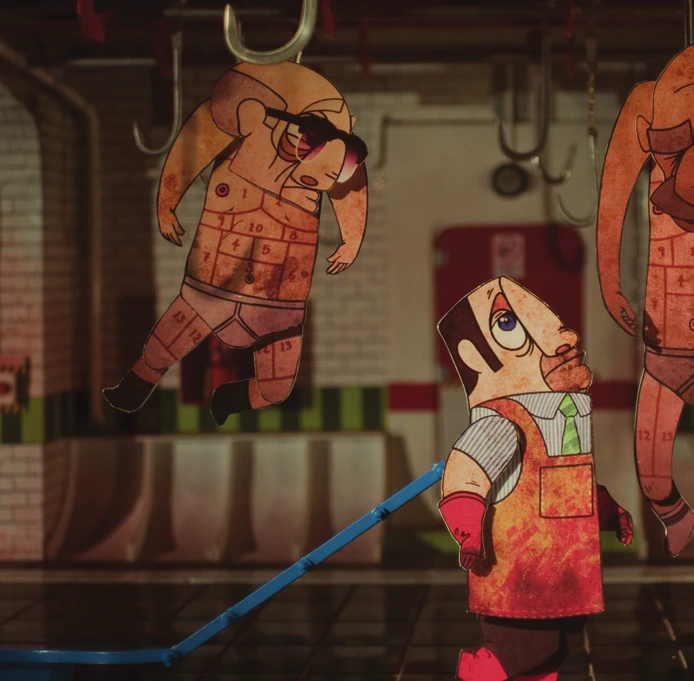
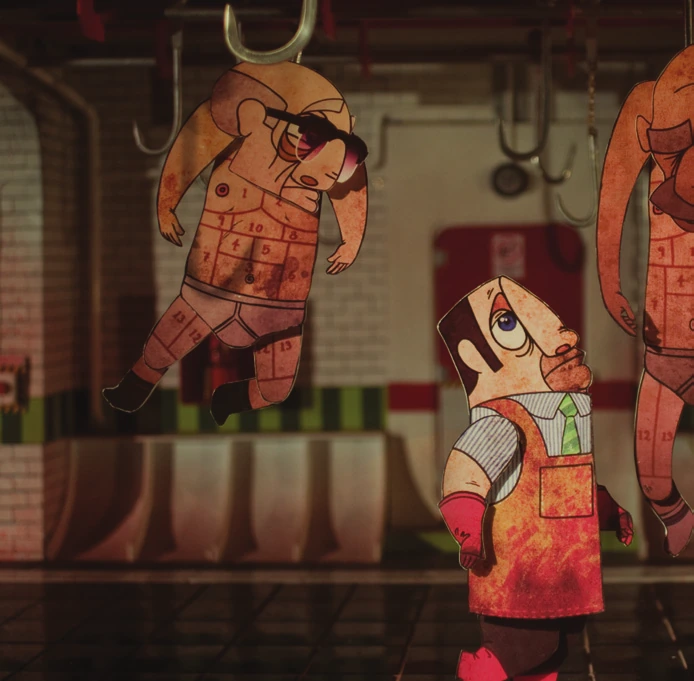
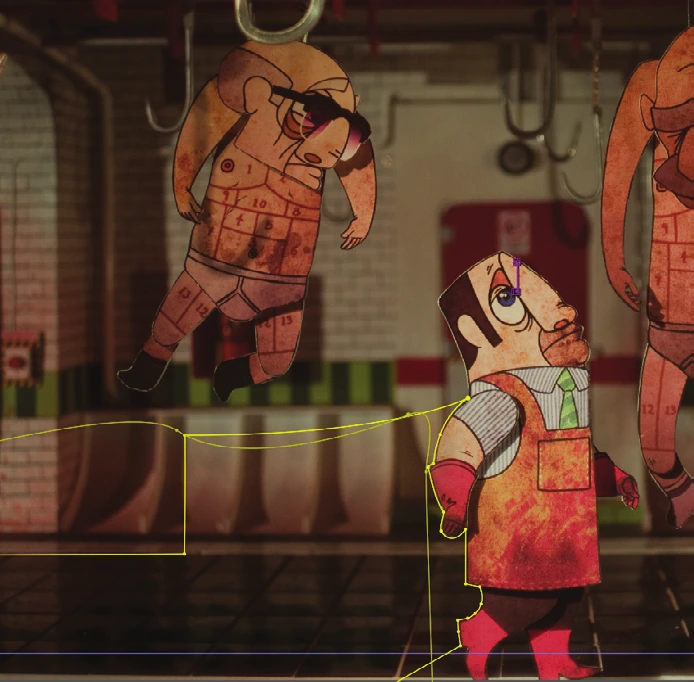
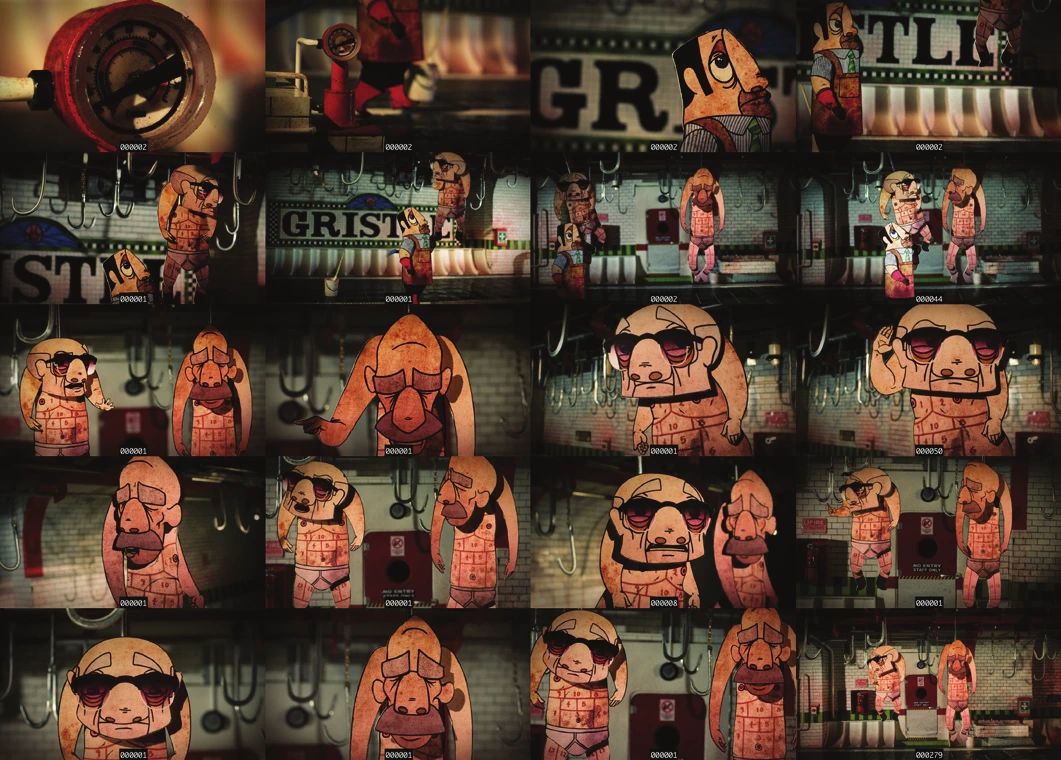
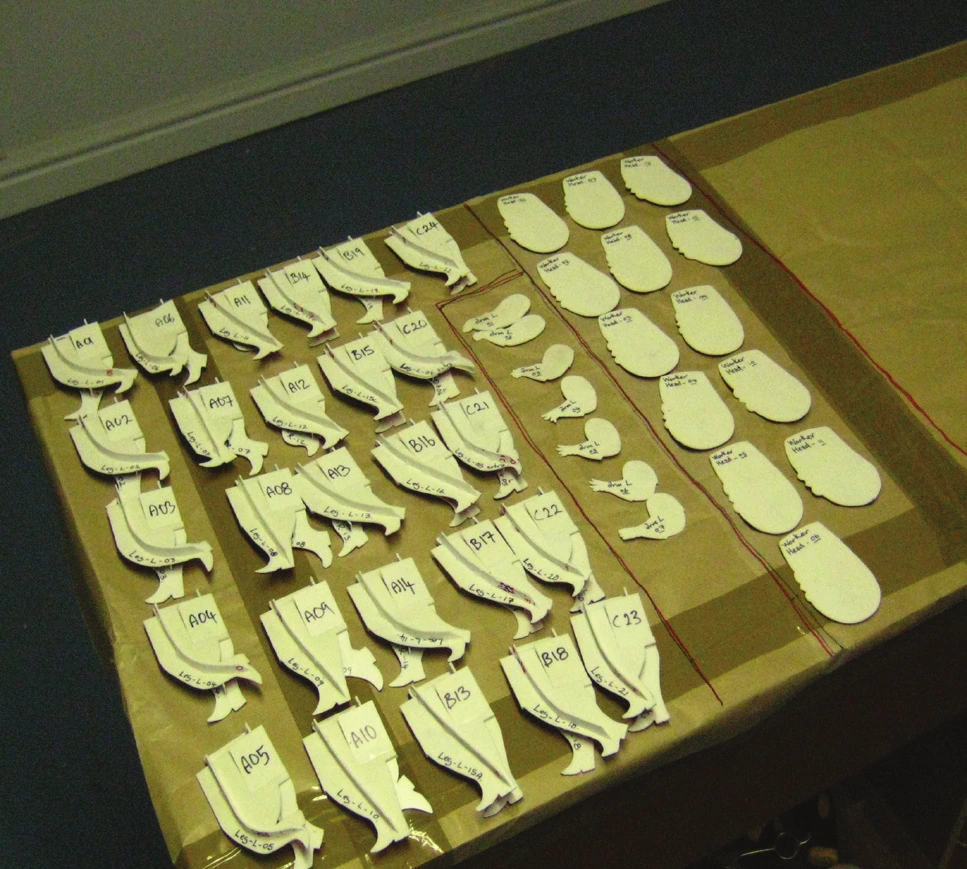
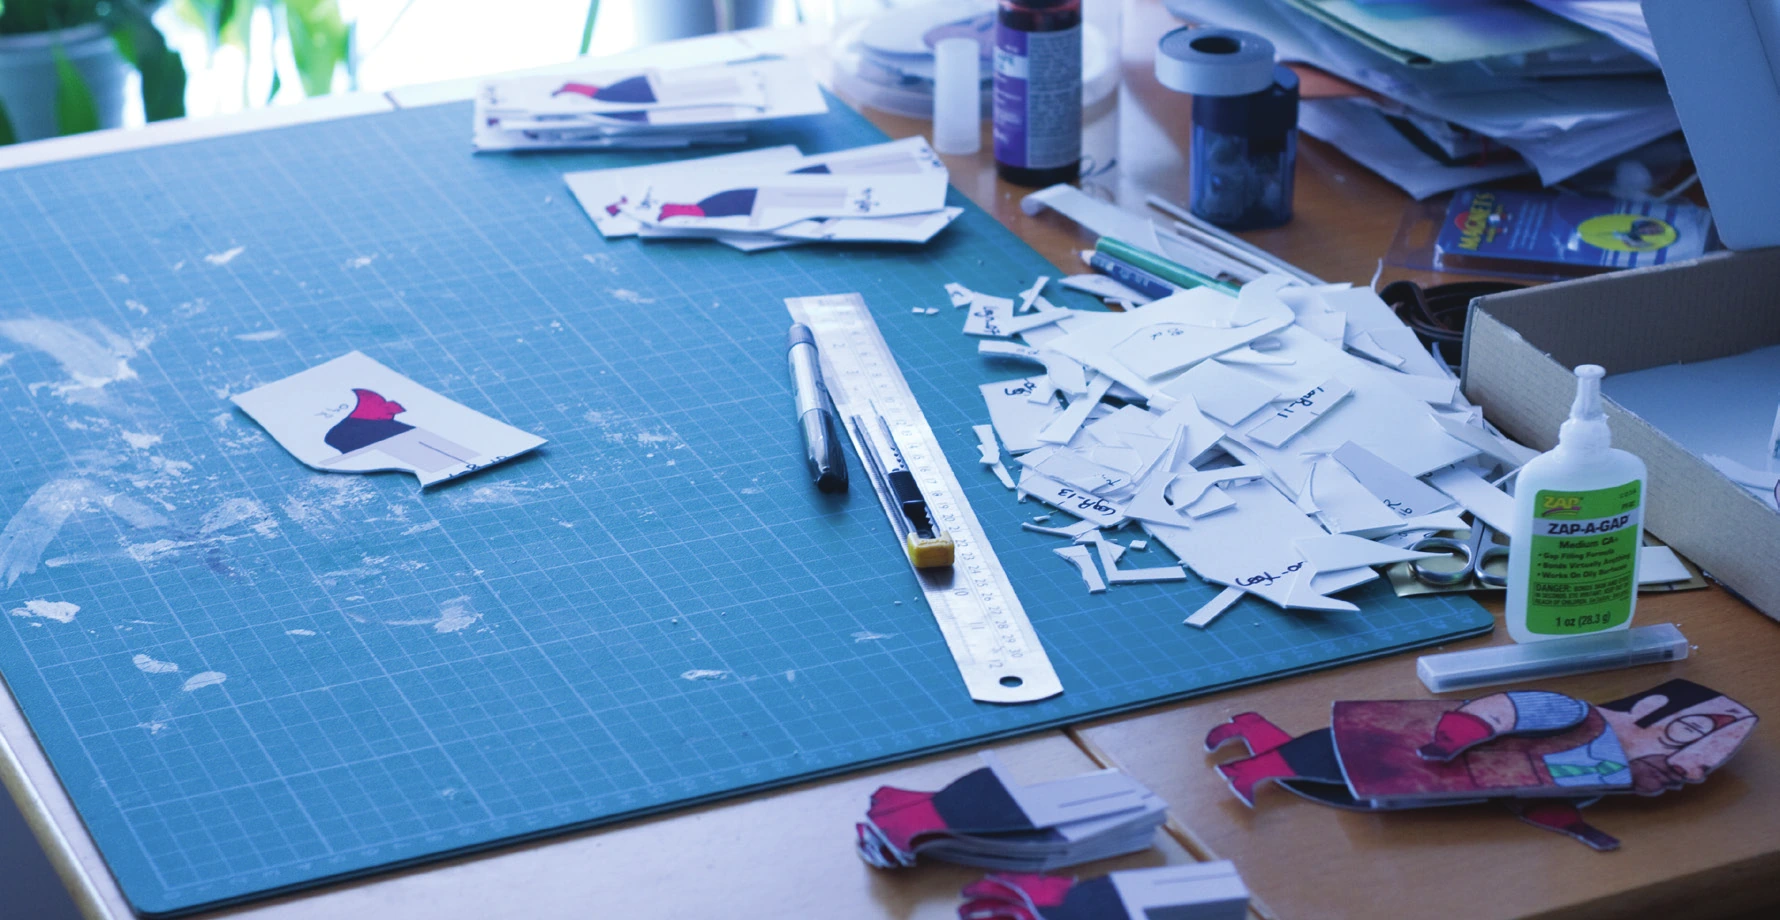
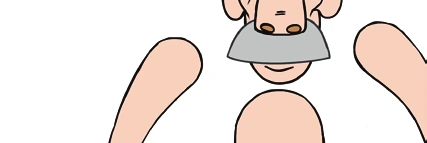
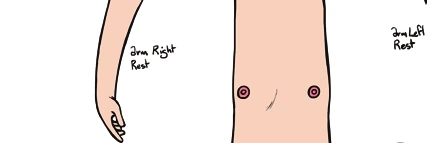
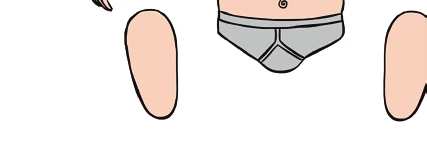
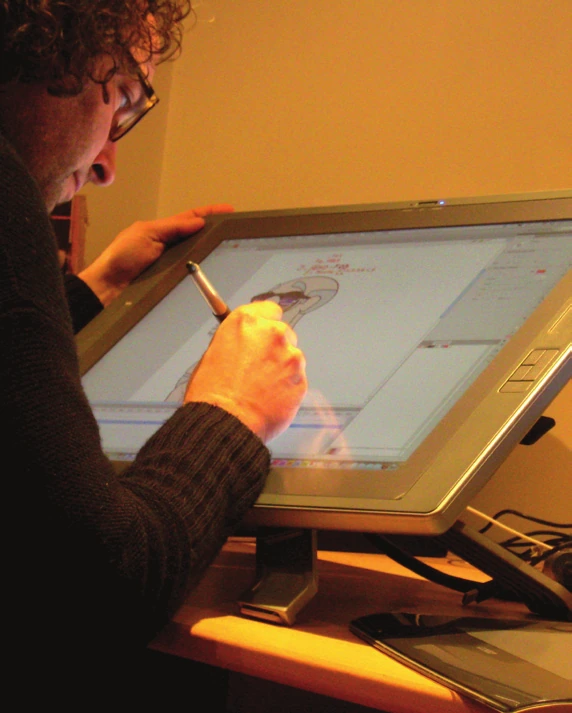
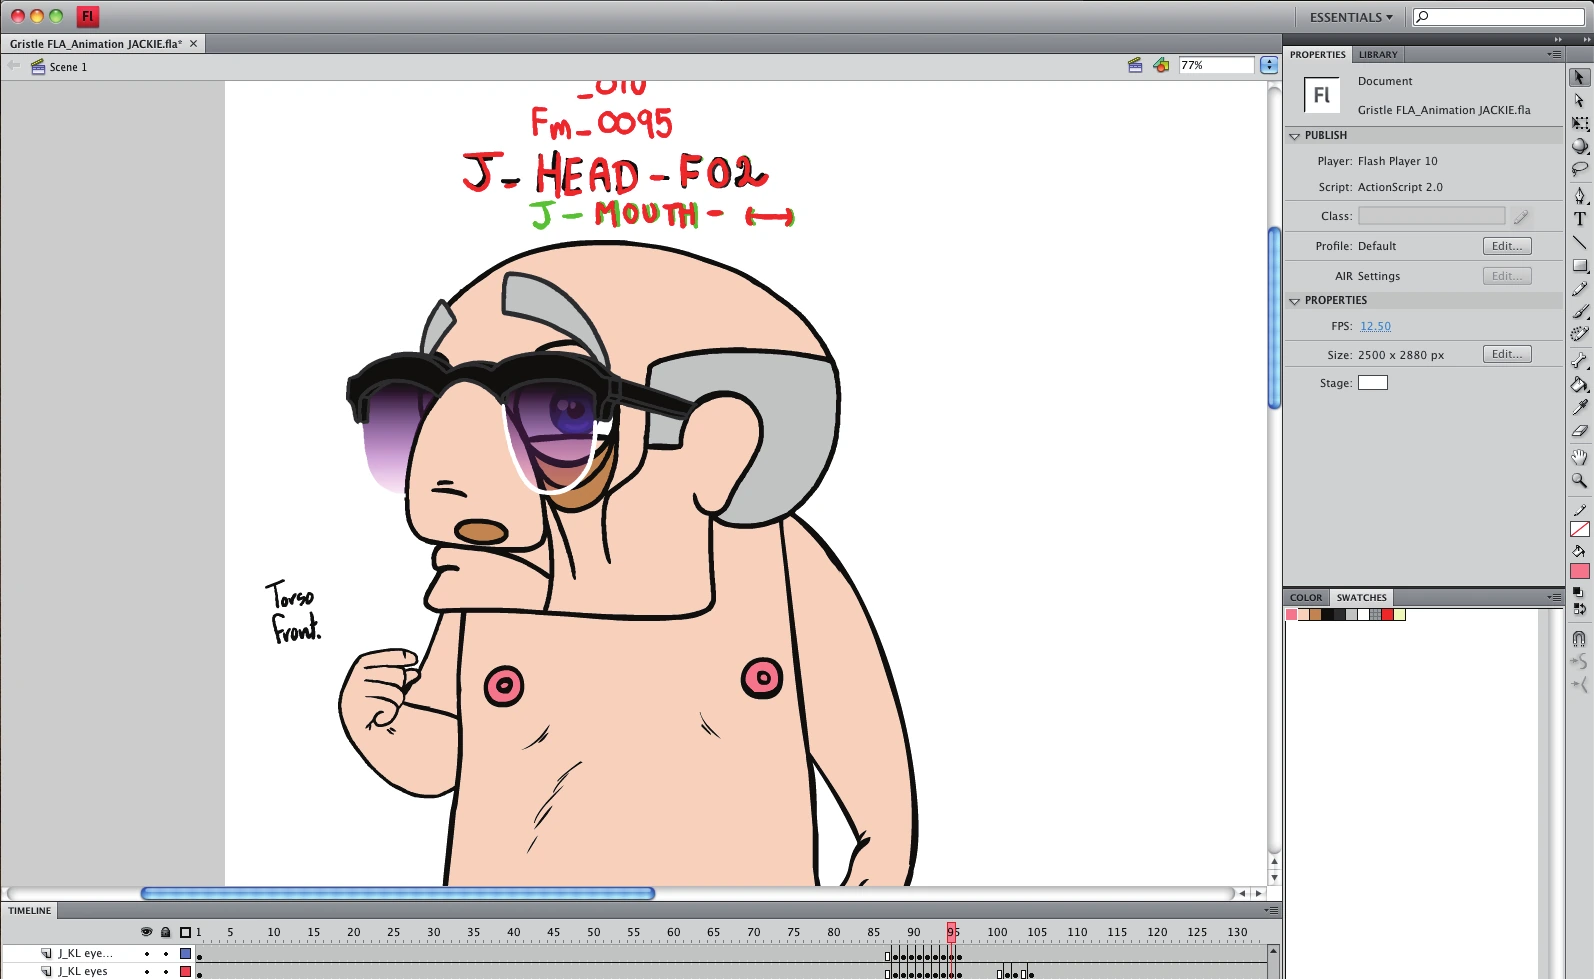
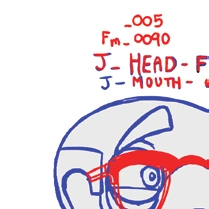
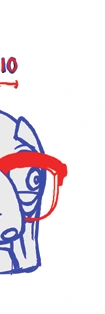
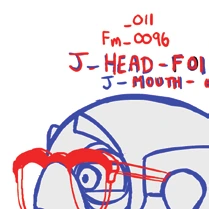
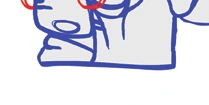
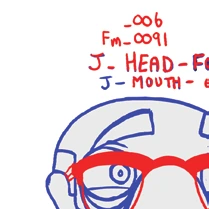
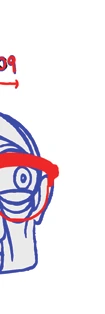
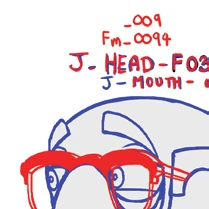
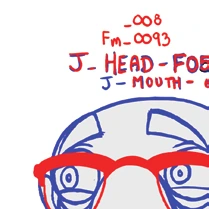
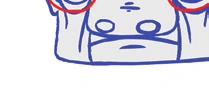
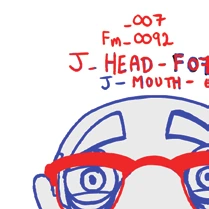
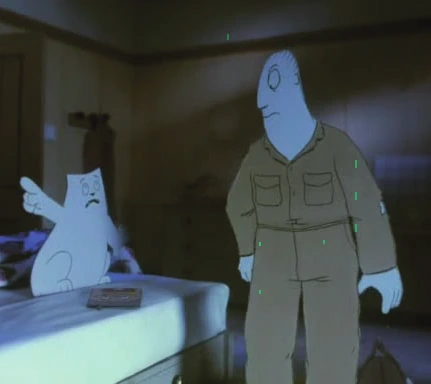
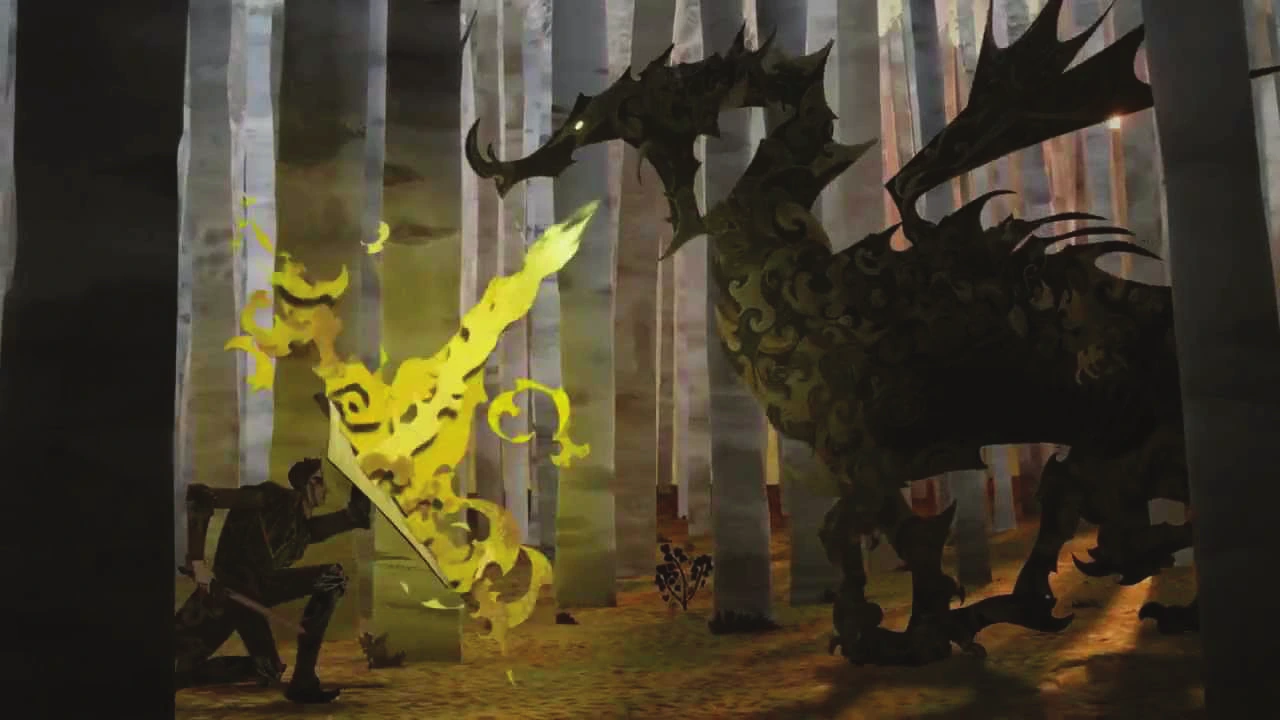
GRISTLE information and production notes (2012) GRISTLE “It could be the end of the line for Jackie and Robert, two crotchety old men who have an enduring love of small talk, personal liberty and very good pies.” FULL CREDITS FESTIVALS & AWARDS Written By: Jonathan auf der Heide Director: Jamie Clennett • Perth Revelations FIlm Festival (2012) Animator: Jamie Clennett • London International Animation Festival (2012) VOICES Jackie: Robin Cumming Robert: John Flaus • St Kilda Film Festival (2012) ANIMATION • Melbourne International Animation Festival (2012) Co-Producer: Jonathan auf der Heide WINNER - Best Australian Showcase Co-Producer: Jamie Clennett Puppet & Set Design: Jamie Clennett Set and Puppet Fabrication: Jamie Clennett Production Assistants: Mariko Oya, Megan Abel, Katrina Bull Editor: Jamie Clennett AUDIO Foley: Robin McCarthy Music Composition: Will Barry Audio Mix: Robin McCarthy ... A BRIEF DESCRIPTION ON HOW I MADE IT. OVERVIEW: I created GRISTLE in 2011-2012, during the final months I lived in London. I drew inspiration from the exquisite handmade worlds of FilmFair (below left) , Tandem Films (below centre) , and Jamie Caliri (below right) . Flat, two-dimensional puppets inhabited three-dimensional sets built at 1:10 scale, where everything was animated frame by frame. Heads, mouths, arms and other body parts were swapped between shots in a process called "replacement animation". This deceptively simple technique is actu- ally an eye-watering amount of work.  The production had three main stages... A • DRAWING THE CELLS & 2D ANIMATION B • FABRICATION (CREATING THE SETS, PROPS, AND PUPPETS) C • FILMING (STOP-FRAME PHOTOGRAPHY) A • DRAWING THE CELLS & 2D ANIMATION: It began on a Wacom Cintiq, where I drew every component directly into Adobe Flash. Each head, arm and torso was given its own catalogue number, so that it could be found quickly during the stop-frame shoot—and reused whenever it reappeared on the timeline. Once drawn, the compo- nents were coloured and textured in Adobe Photoshop. This painstaking preparation made everything that followed considerably easier. The aim was to build a physical vocabulary of expressions and gestures comprehensive enough to handle almost anything I might need on set. Jackie’s puppet alone had 150 interchangeable heads, 97 arms and three torsos, each seen from a different angle. To make Jackie speak, the process would involve replacing his entire head between frames, selecting each new one from the library according to the mouth shape and expression required. A single line of dialogue might therefore involve dozens of heads, each one with a weak rare-earth magnet on it to attach to the puppet torso. Because there were only a limited number of mouth shapes, each one needed to be fabricated only once and could then be reused again and again throughout the shoot. Jackie turned his head or moved his arms in much the same way: one head or arm was replaced with the next progres- sive component in the sequence. Some components were created for a particular gesture in a particular scene, but many represented generic movements that could be used again and again. A single head or arm might therefore appear 20 or 30 times, scattered across completely different scenes and sequences. Once the numbered components had been coloured and textured, I import- ed them into Adobe After Effects and assembled a first-draft version of each scene. This allowed me to test character expressions, camera move- ments, tracking and framing—and to correct mistakes easily and cheaply before they became considerably more difficult to fix on set. I then exported each prototype as a QuickTime movie. These rough com- posites offered a preview of how the finished scenes would look and became my frame-by-frame animation guide during the stop-frame shoot. belongs to that frame. B • FABRICATION: This stage is divided into two sub-stages. B1 • PUPPETS B2 • SETS AND PROPERTIES The first sub-stage ( B1 ) involved constructing the puppets. The previously digital-only artwork—all the numbered heads, arms and other body parts—was printed at high resolution onto heavy card. The printed artwork was then mounted onto styrene sheets (below), hand-cut to shape and fitted with small rare-earth magnets. Each finished piece became a physical ‘Puppet Component’ and was as- signed a number corresponding precisely with its equivalent in the digital animation guide. On the corresponding attachment points, I added small square pads cut from thin metal. The magnets were strong enough to hold the puppet to- gether, but weak enough for components to be removed without disturbing its position between takes. One component could therefore be lifted away and quickly replaced with the next in the sequence. The system also introduced a degree of flexibility between replacements. A static component could be repositioned slightly from frame to frame—al- lowing an arm to swing or a head to nod—without having to replace the component itself. B2 • SETS AND PROPERTIES The second part of Stage B was the construction of the 1:10 scale set—the physical world the puppets would inhabit. While the characters were delib- erately flat, the set and its props were built as fully three-dimensional ob- jects. This contrast was central to the look of *GRISTLE*: the puppets re- tained the graphic quality of illustrations, but occupied a world with real depth, texture, light and shadow. The completed set measured 3.2 metres long and 55 centimetres high. At that scale, even the smallest details had to be carefully considered, as everything would eventually be seen through the unforgiving eye of the camera. It took three weeks to build. ANIMATION TEST ANIMATION TEST ‘JACKIE’ ‘JACKIE’ LIP SYNC LIP SYNC QUICKTIME ANIMATION GUIDE ANIMATION TEST ANIMATION TEST MEAT WORKER MEAT WORKER WALK CYCLE WALK CYCLE C•STOP FRAME ANIMATION: With the puppets fabricated, the set built and every shot already mapped out—pre-production was finally over. I now needed somewhere large enough to assemble the 1:10 scale set and spread out all the animation assets. I found it at Second Floor Studios in Woolwich, where I took out a short-term lease on a studio that allowed me to block out the sunlight com- pletely and maintain controlled shooting conditions. Once everything was set up, I began the stop-frame shoot. I photographed the film one frame at a time using a Canon EOS 40D and an amazing ap- plication called Dragonframe, running on my Apple MacBook under OSX-10.6 Snow Leopard. The camera was mounted on a custom-built rig, which I controlled manual- ly to create tracking, craning and other camera movements. This was where all the preparation began to pay off. Because the animation had al- ready been worked out in detail, the shoot became a largely mechanical process: consult the digital guide, find the numbered component, position it (as shown below), capture the shot and move on to the next frame . Glacially slow - Frame by frame. Even with such comprehensive planning, three minutes of finished animation took two and a half weeks to shoot. REPLACEMENT REPLACEMENT ANIMATION ANIMATION IN ACTION IN ACTION SET TOUR December 2011 SET TOUR December 2011 C. POST PRODUCTION: Post-production took approximately three weeks. Much of that time was spent removing the armatures and assorted pieces of hardware that had held the puppets in place during the shoot. Everything that had made the animation physically possible now had to be made invisible. To achieve this, each shot was filmed twice: once with the characters and hardware in frame (Fig. A), and once with only the empty set behind them (Fig. B). This second version provided a clean background plate. In Adobe After Effects, I masked out the visible hardware (Fig. C), allowing the un- touched background to show through and create the final composite (Fig. D). Because the characters—and therefore the hardware supporting them—moved between frames, the masks also had to be adjusted frame by frame. It was a slow and painstaking process, but the result was that the Meatworker puppet appeared to inhabit the set entirely unsupported. (Fig-A) (Fig-B) (Fig-A) (Fig-B) (Fig-C) (Fig-D) (Fig-C) (Fig-D) COLOUR GRADING: Once the supporting hardware had been removed, I graded the footage to give all the disparate shots a consistent look. Throughout the grading process, I regularly took a frame from each shot and assembled them in a single Photoshop document (Fig. E1). I then drastically reduced the resolution of the document (Fig. E2), stripping away the detail until each frame became little more than a collection of coloured blocks. Viewed this way, any shot that was visually too distinct became im- mediately obvious. I could then return to it, adjust the grade and repeat the process until the film held together as a single visual world. (Fig-E1) (Fig-E1) (Fig-E2) (Fig-E2) After the grading audio was included. Elevator Muzak was produced by Will Barry (http://www.willbarry.com), and based on the Popular 1940’s song Run, Rabbit, Run by Noel Gay and Ralph Butler. Foley and Audio mix was by Robin McCarthy. Editing was the final stage. The edit was based heavily on the animatic and mostly required replacing the animatic rushes with the finished footage with only a few small cosmetic changes. Gristle was finished on the 30th of March 2012 CREDITS Director/Animator Jamie Clennett Producer/Writer Jonathan auf der Heide _______________________________________ Voice Of Robert John Flaus Voice Of Jackie Robin Cumming _______________________________________ Edited By Jamie Clennett Foley By Robin McCarthy Gaffers Robin McCarthy & Chris Austin Muzak By Will Barry Production Assistants Megan Abel Katrina Bull Mariko Oya Special thanks to: Matt Wood at Second Floor Studios, Woolwich, London © licensed under a Creative Commons 3.0 license 20111.
0:00 / 0:00 vimeo
The Glass Teat (2013), by Jamie Clennett The Glass Teat information and credits
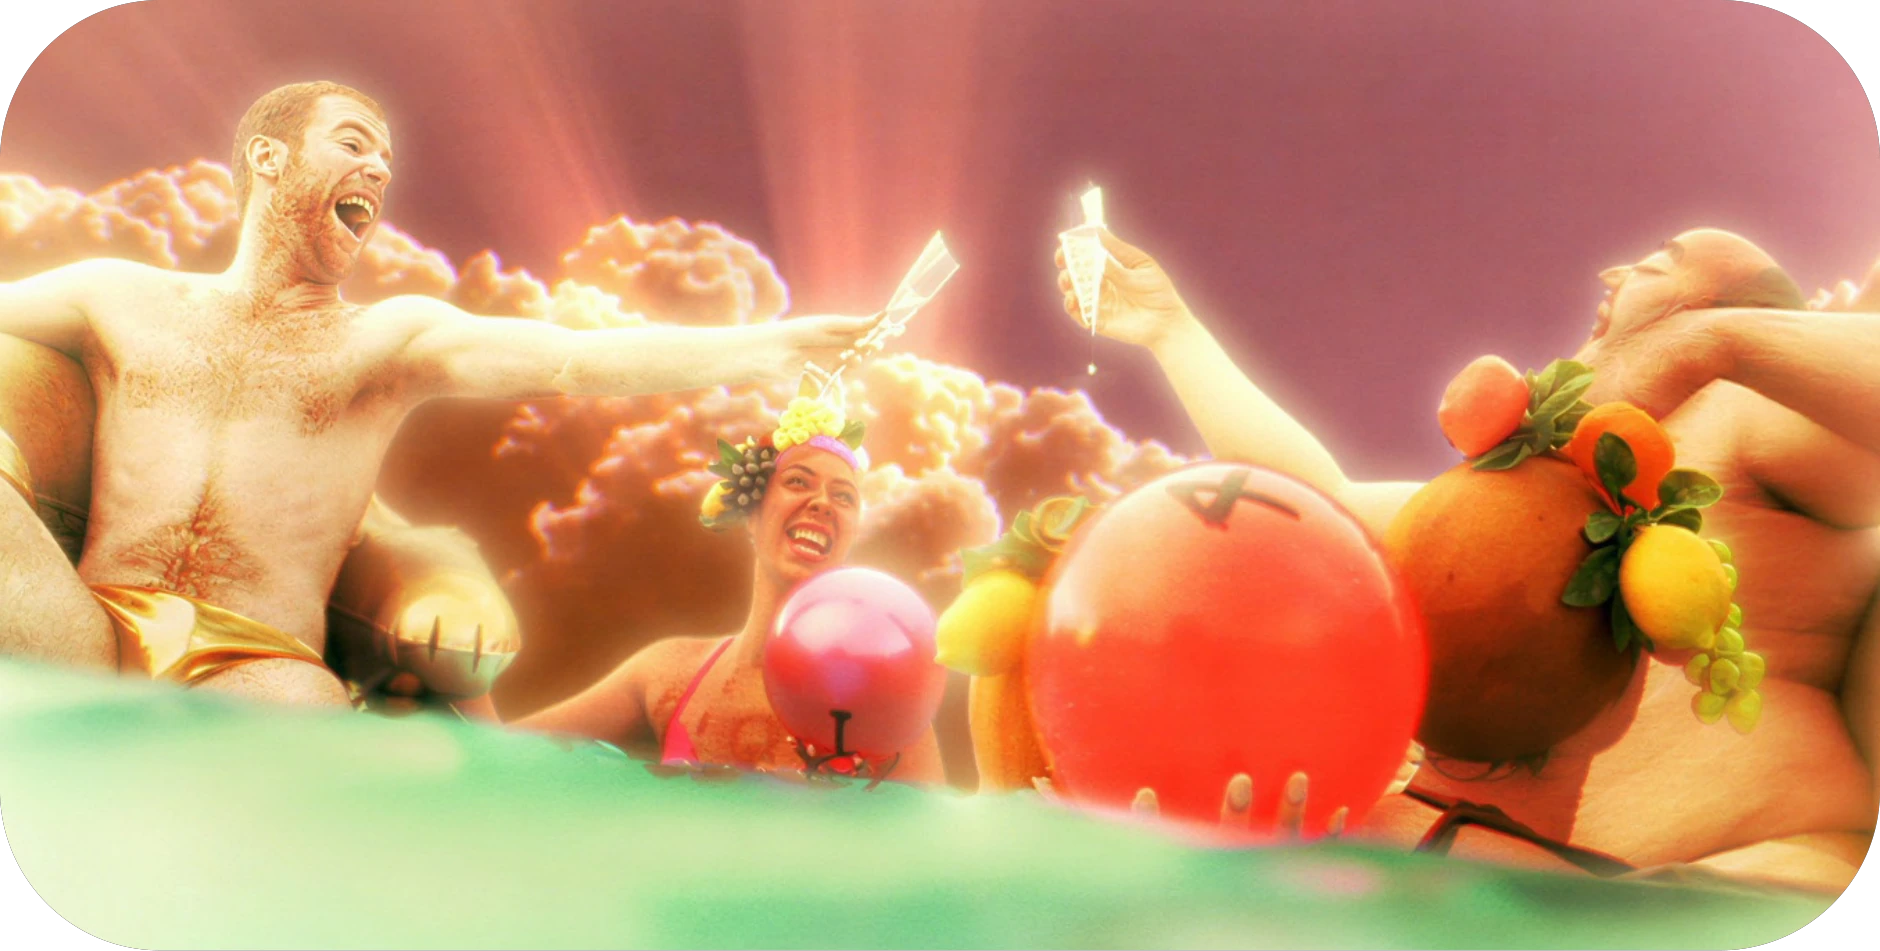
The Fabulous Adventure of Mr Money The Fabulous Adventure of Mr Money information, festivals and credits
Holey Moley entrance sign

Synthwave

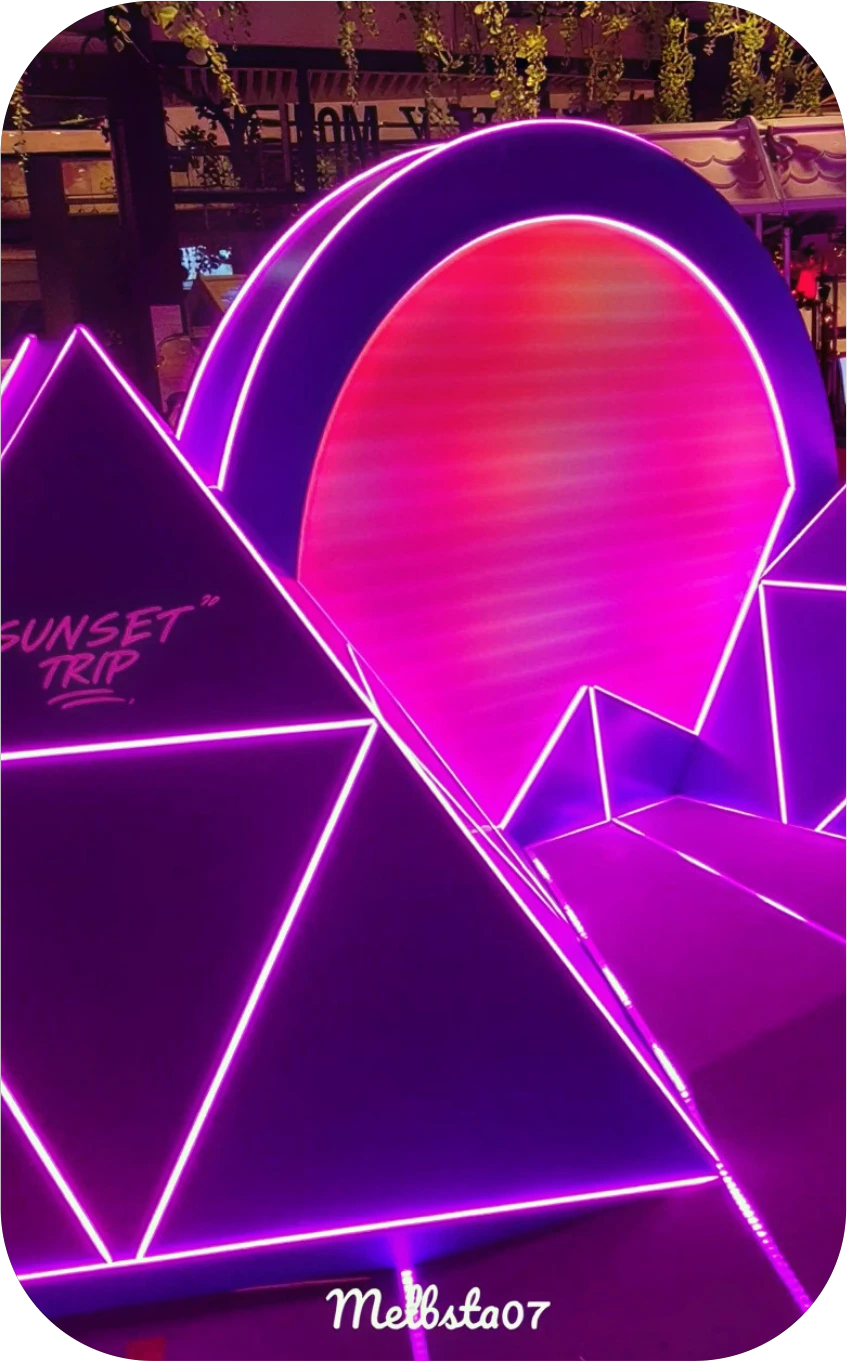
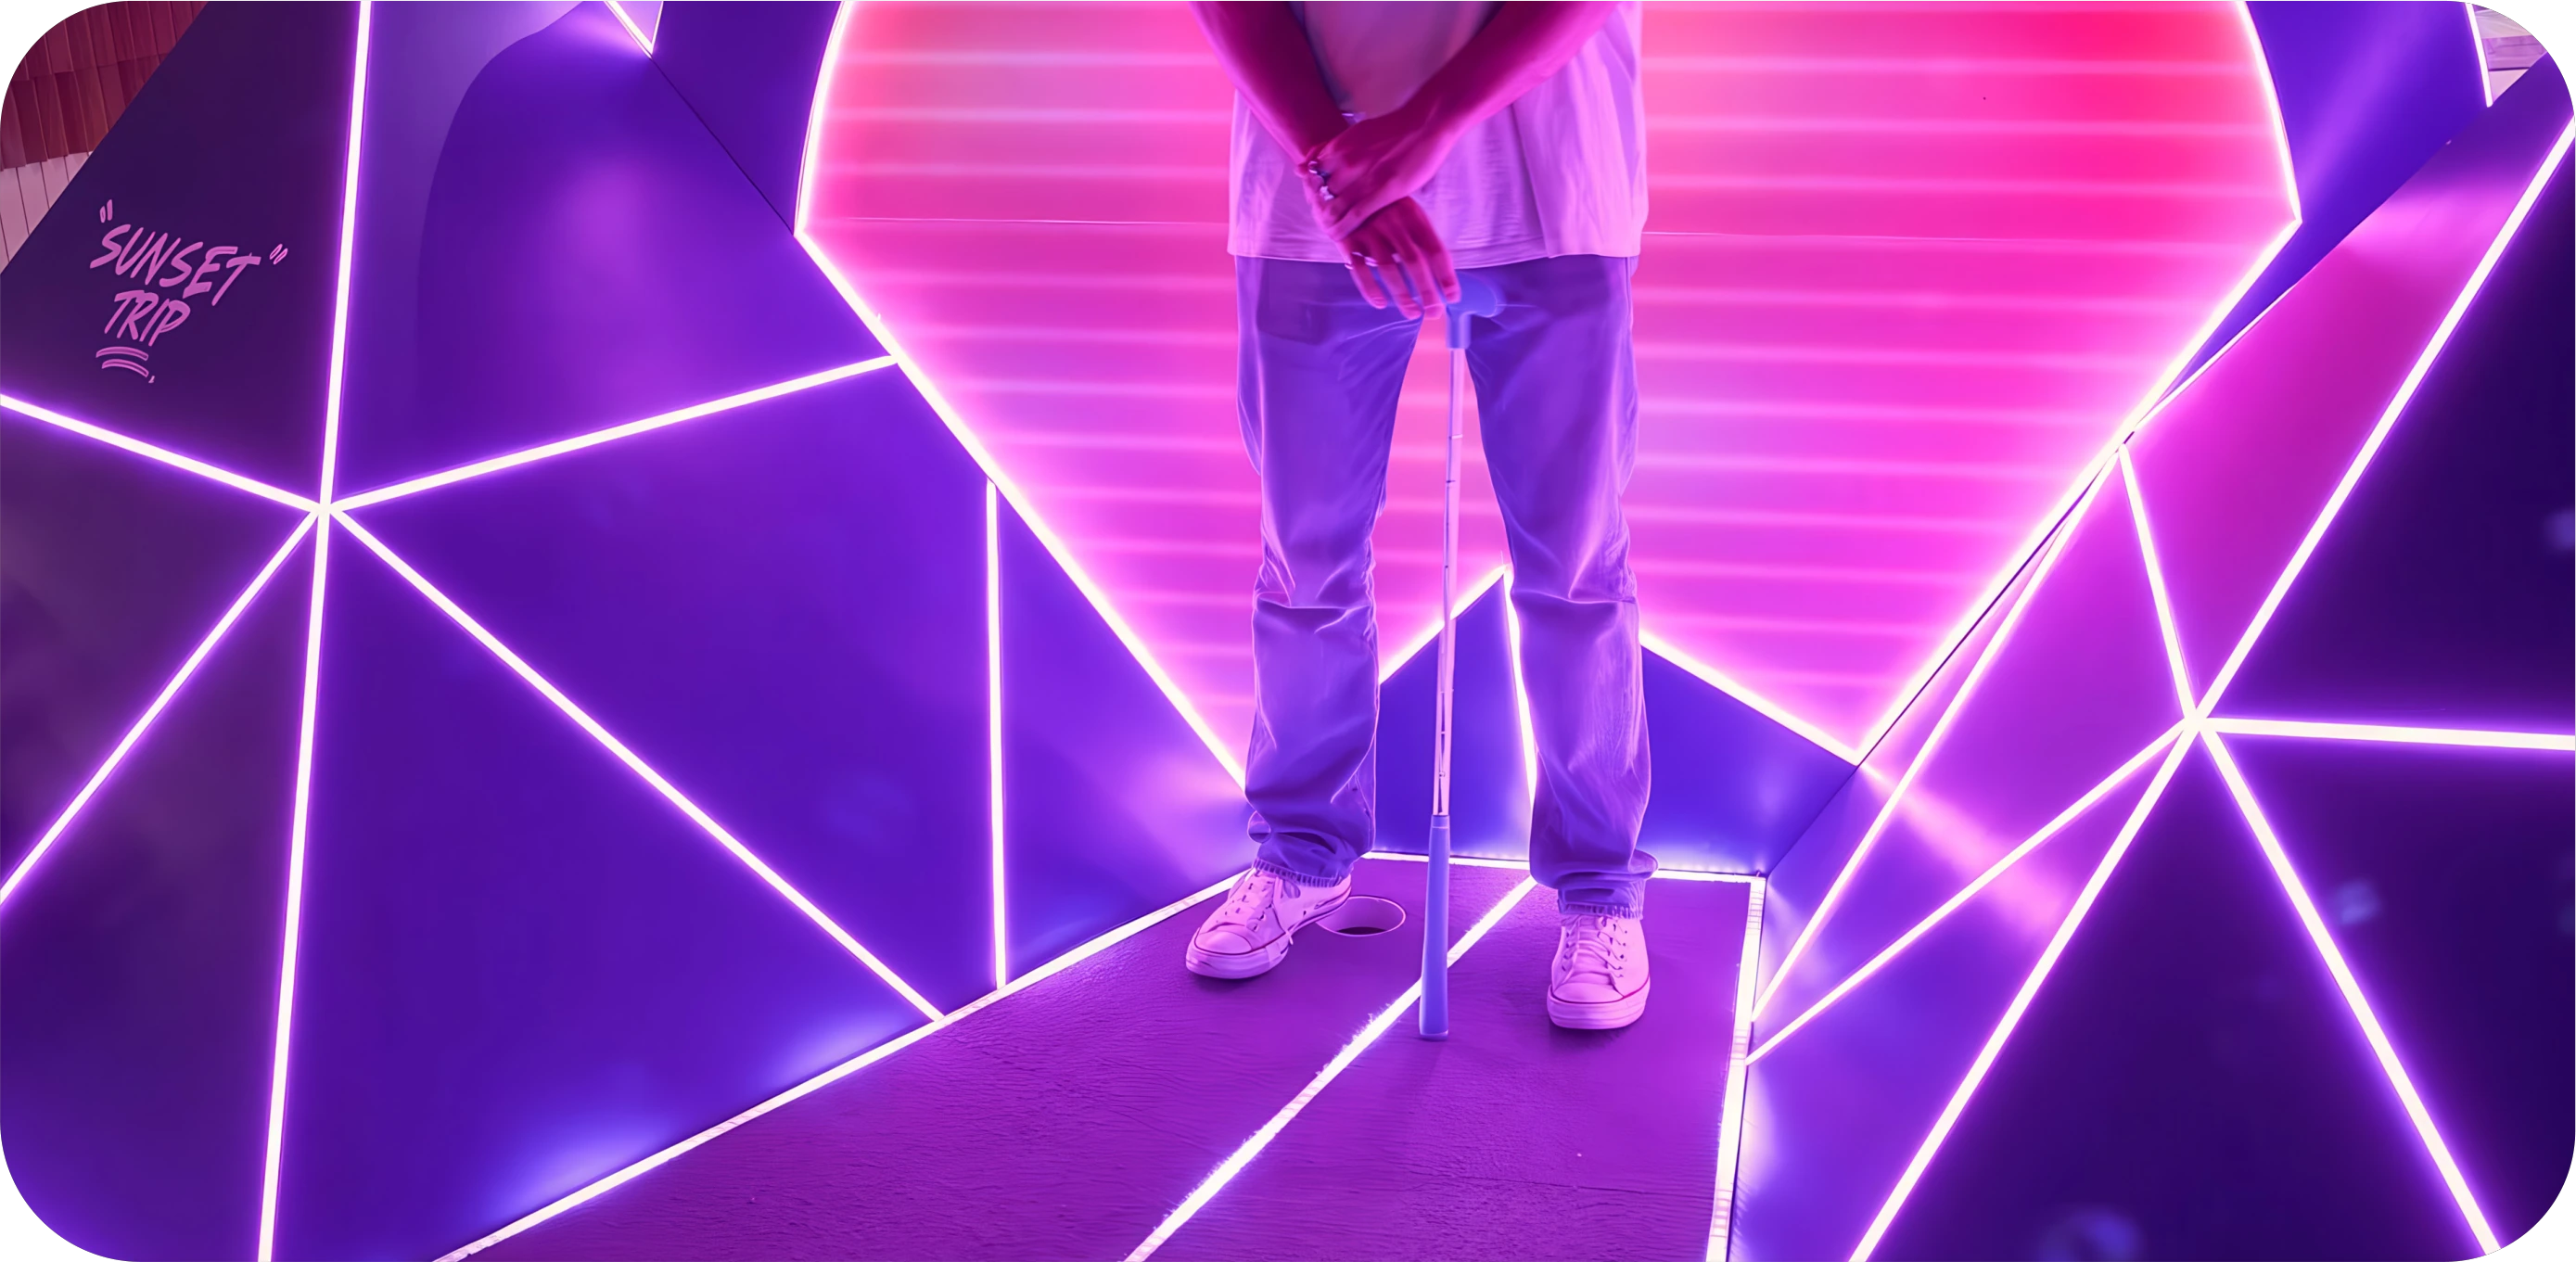
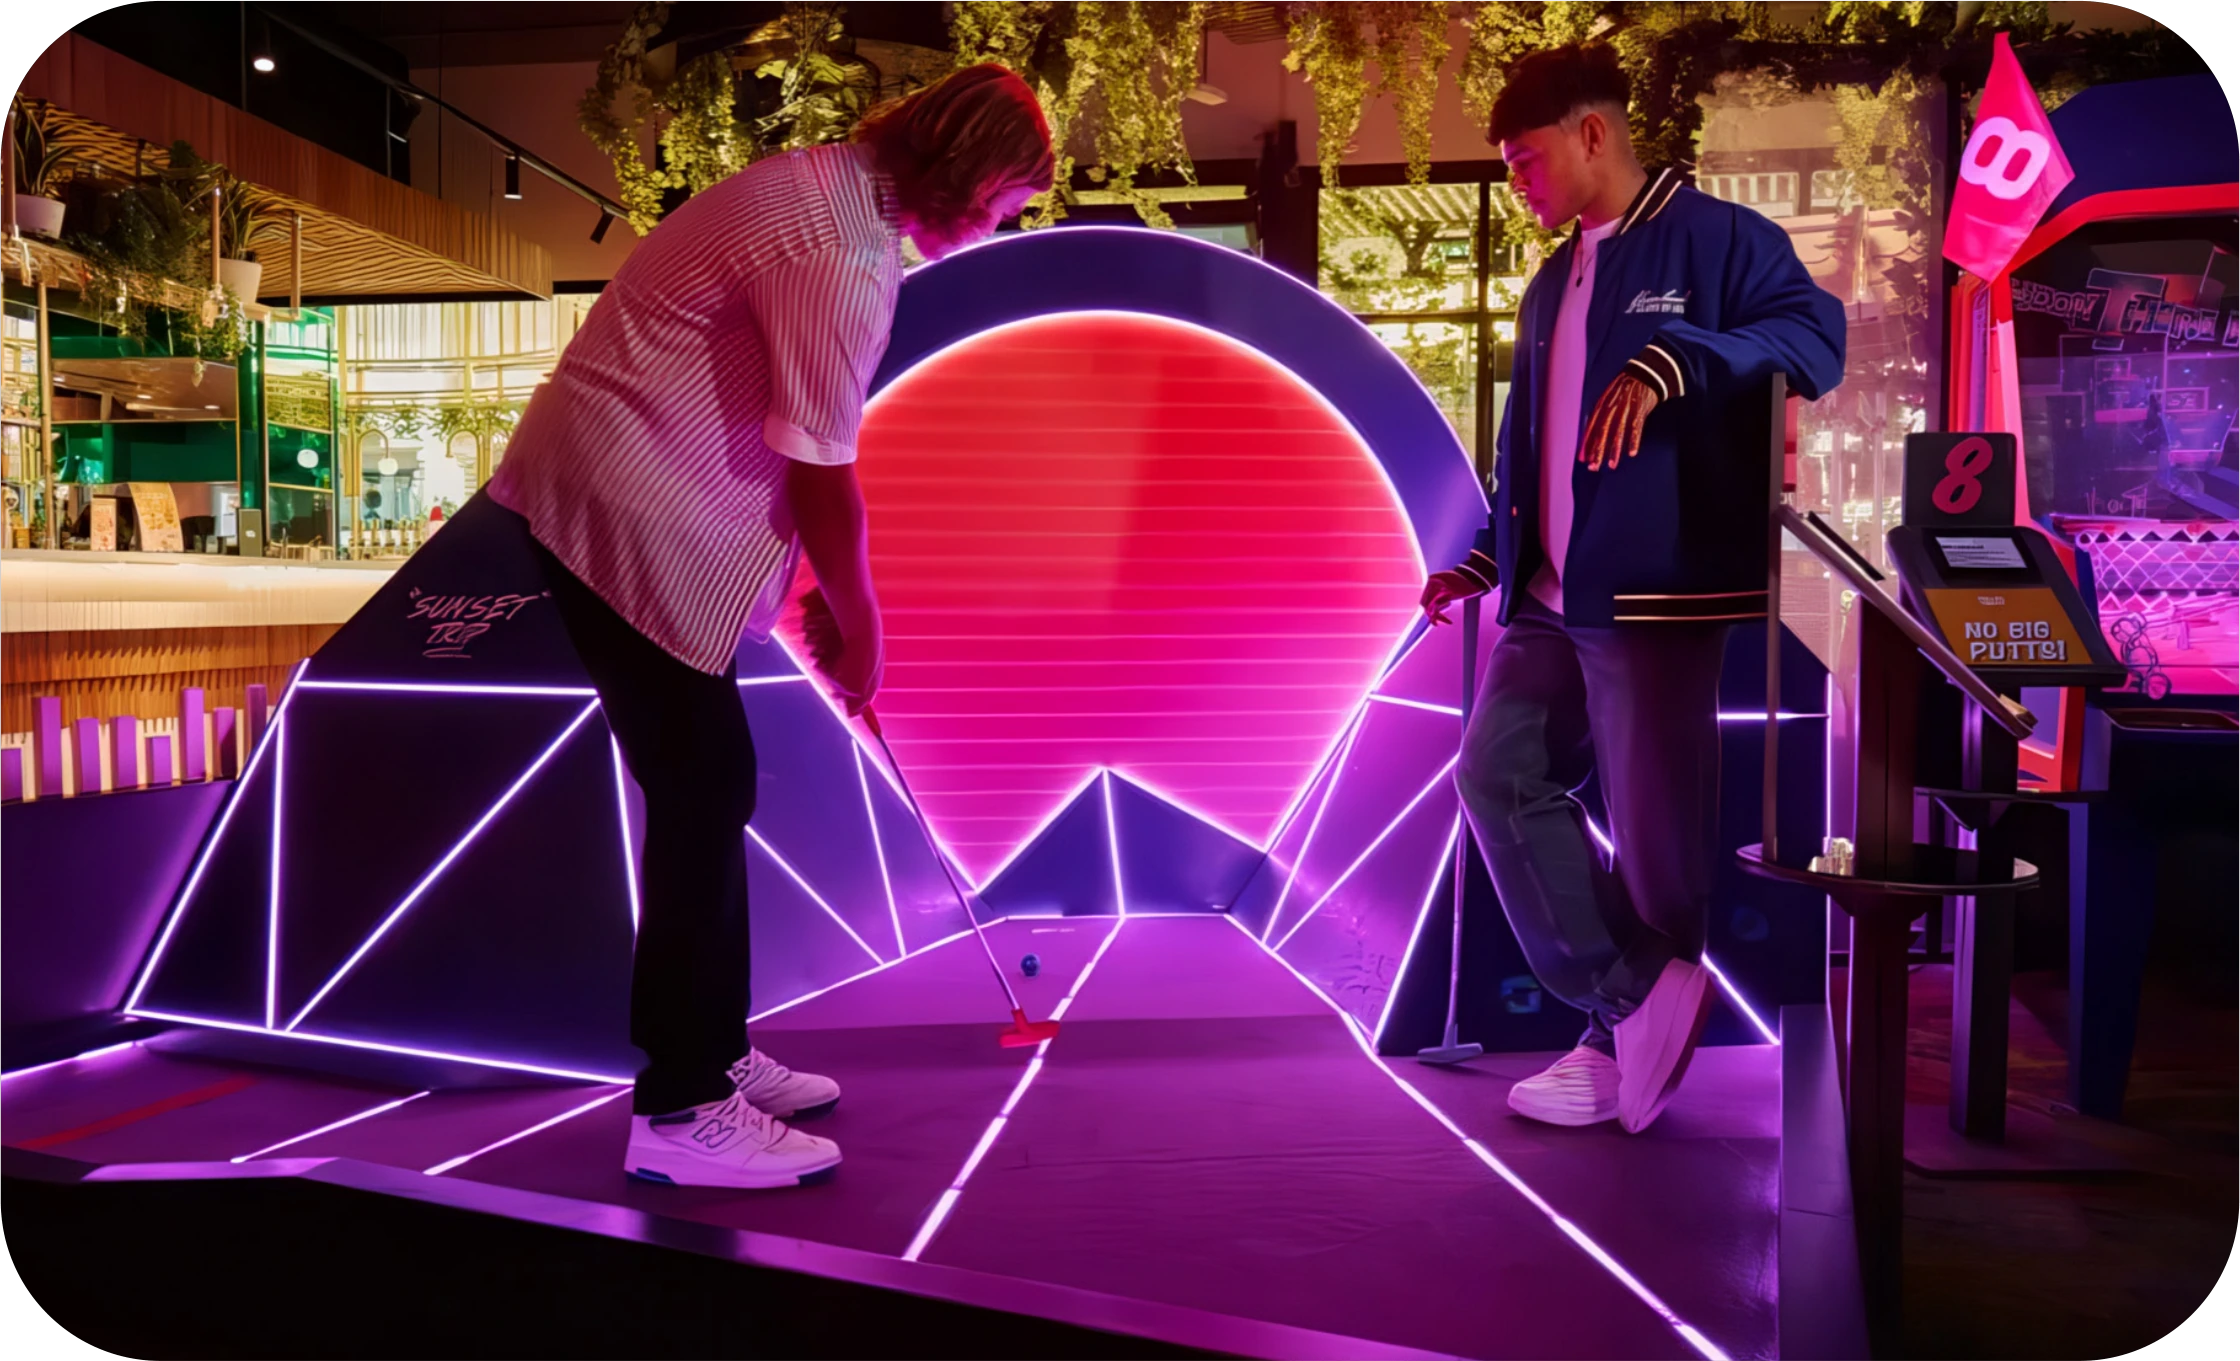
One of my first designs for Funlab was this minigolf hole, called Synthwave. Loosely and carefully inspired by Tron, maybe. We had to tread a delicate IP tightrope, so as not to upset that litigious company whose name rhymes with Disney.

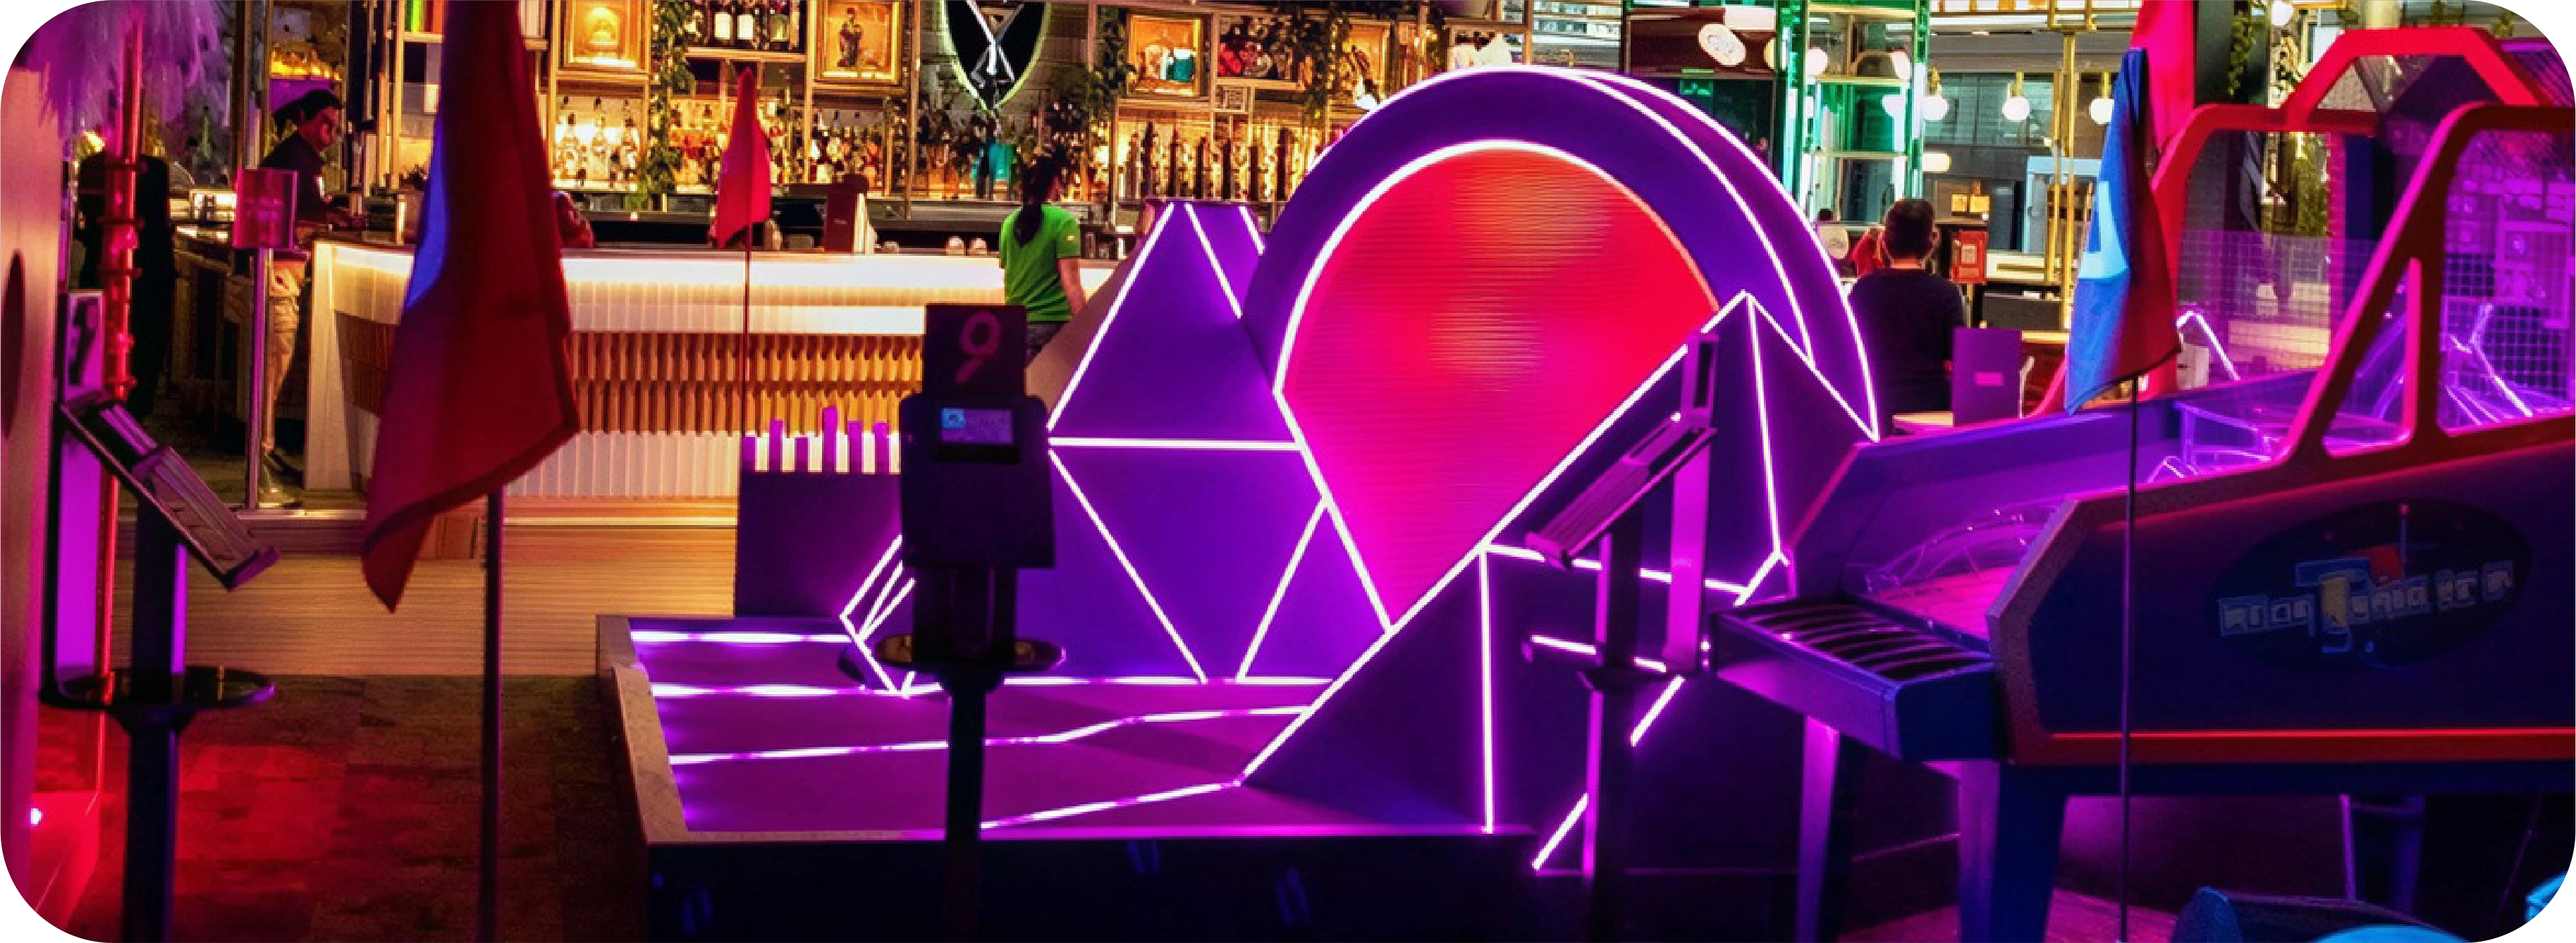
Synthwave minigolf installation
Synthwave loop detail
Player inside the Synthwave installation
Synthwave illuminated wall detail
Players on the Synthwave minigolf hole

Pop Art

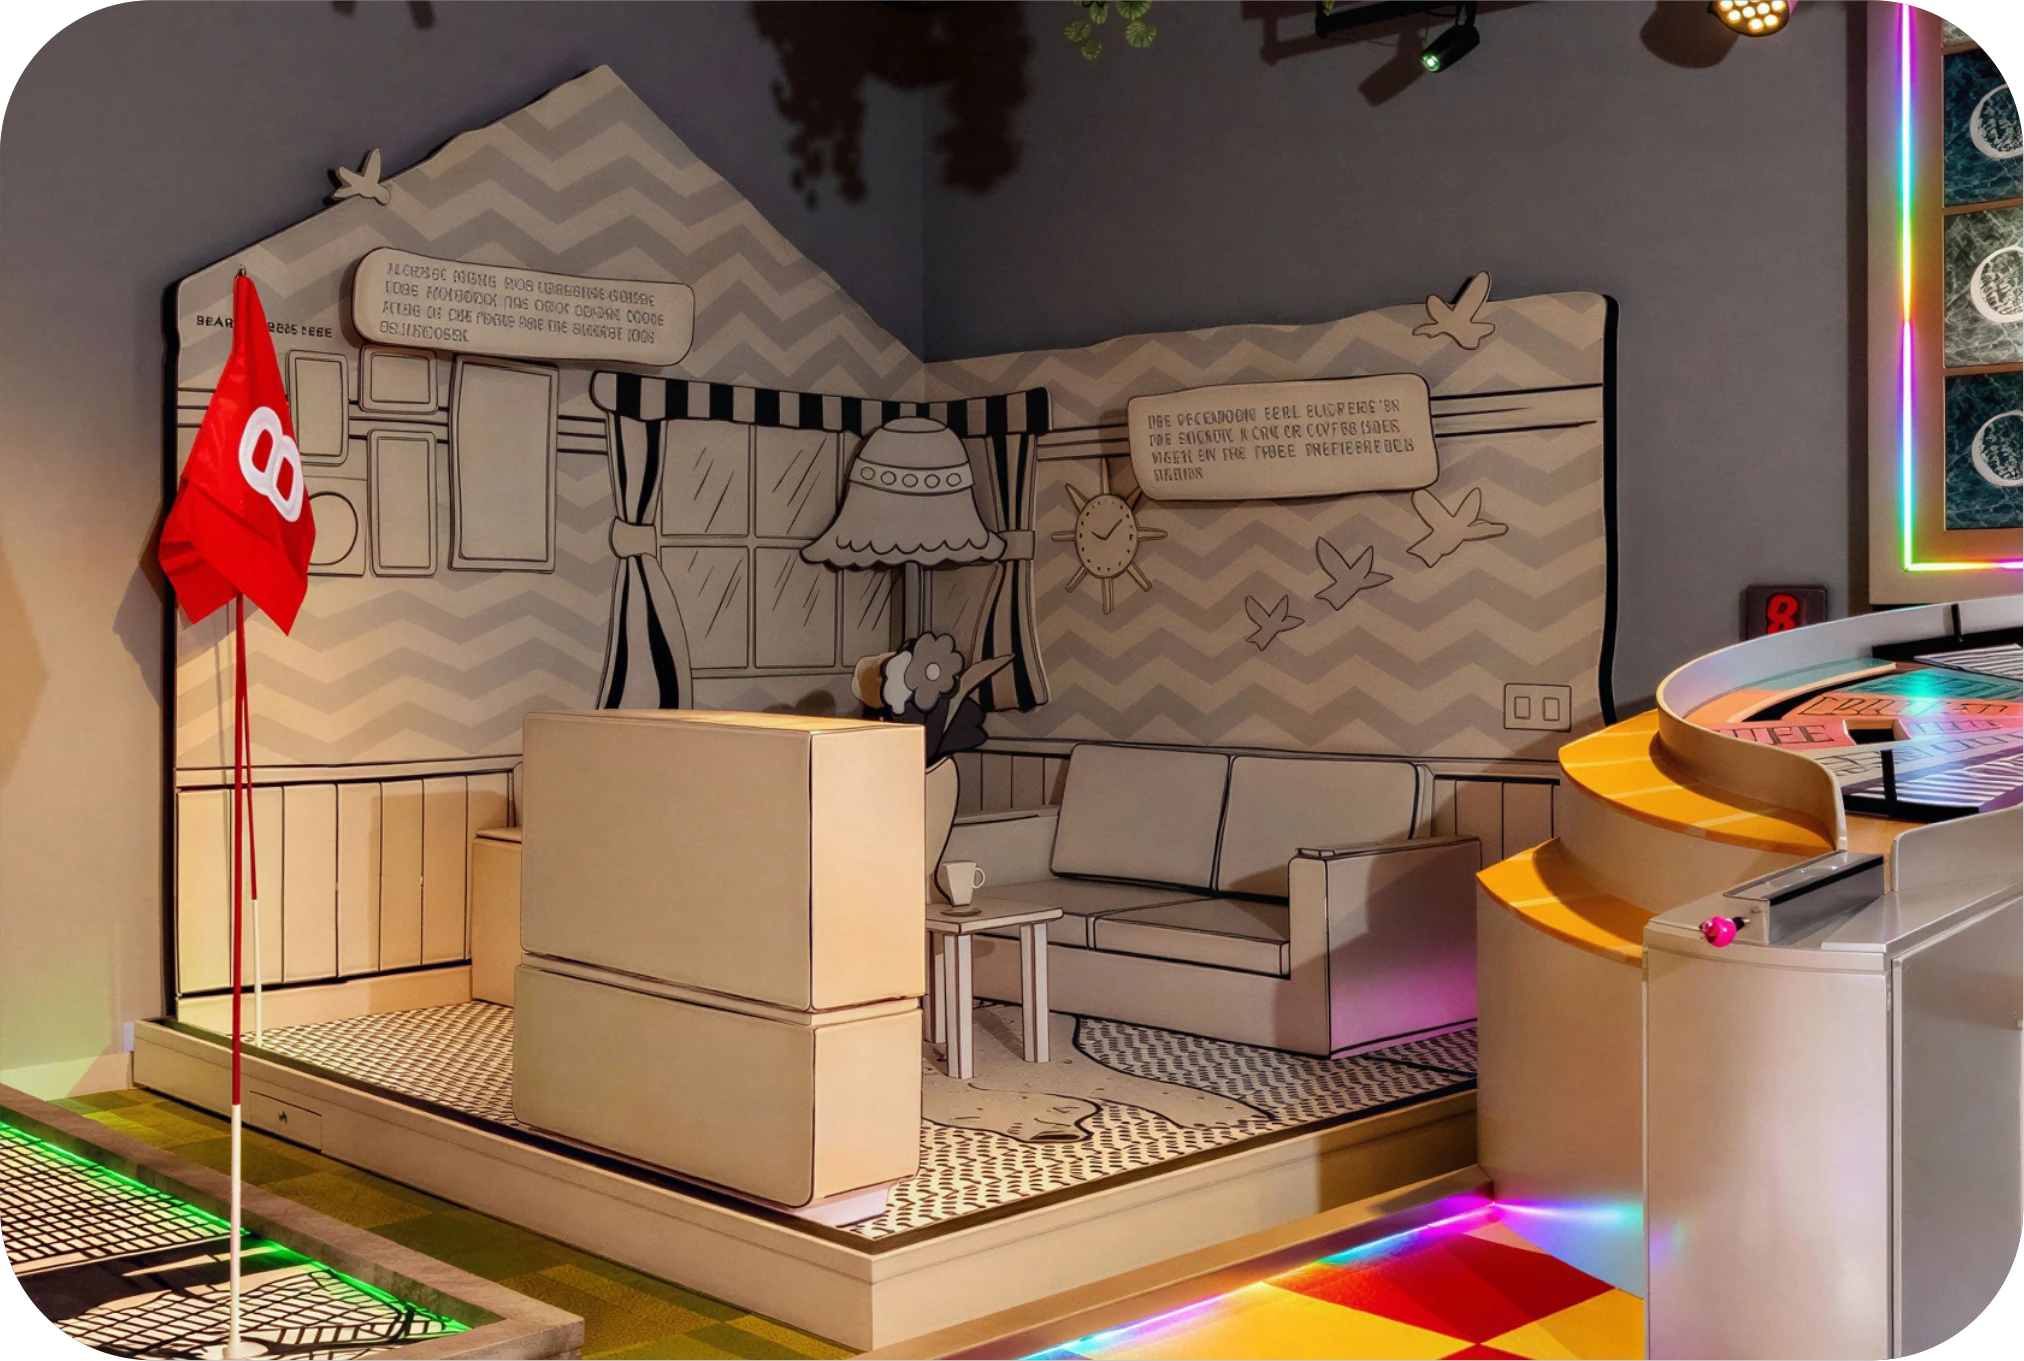
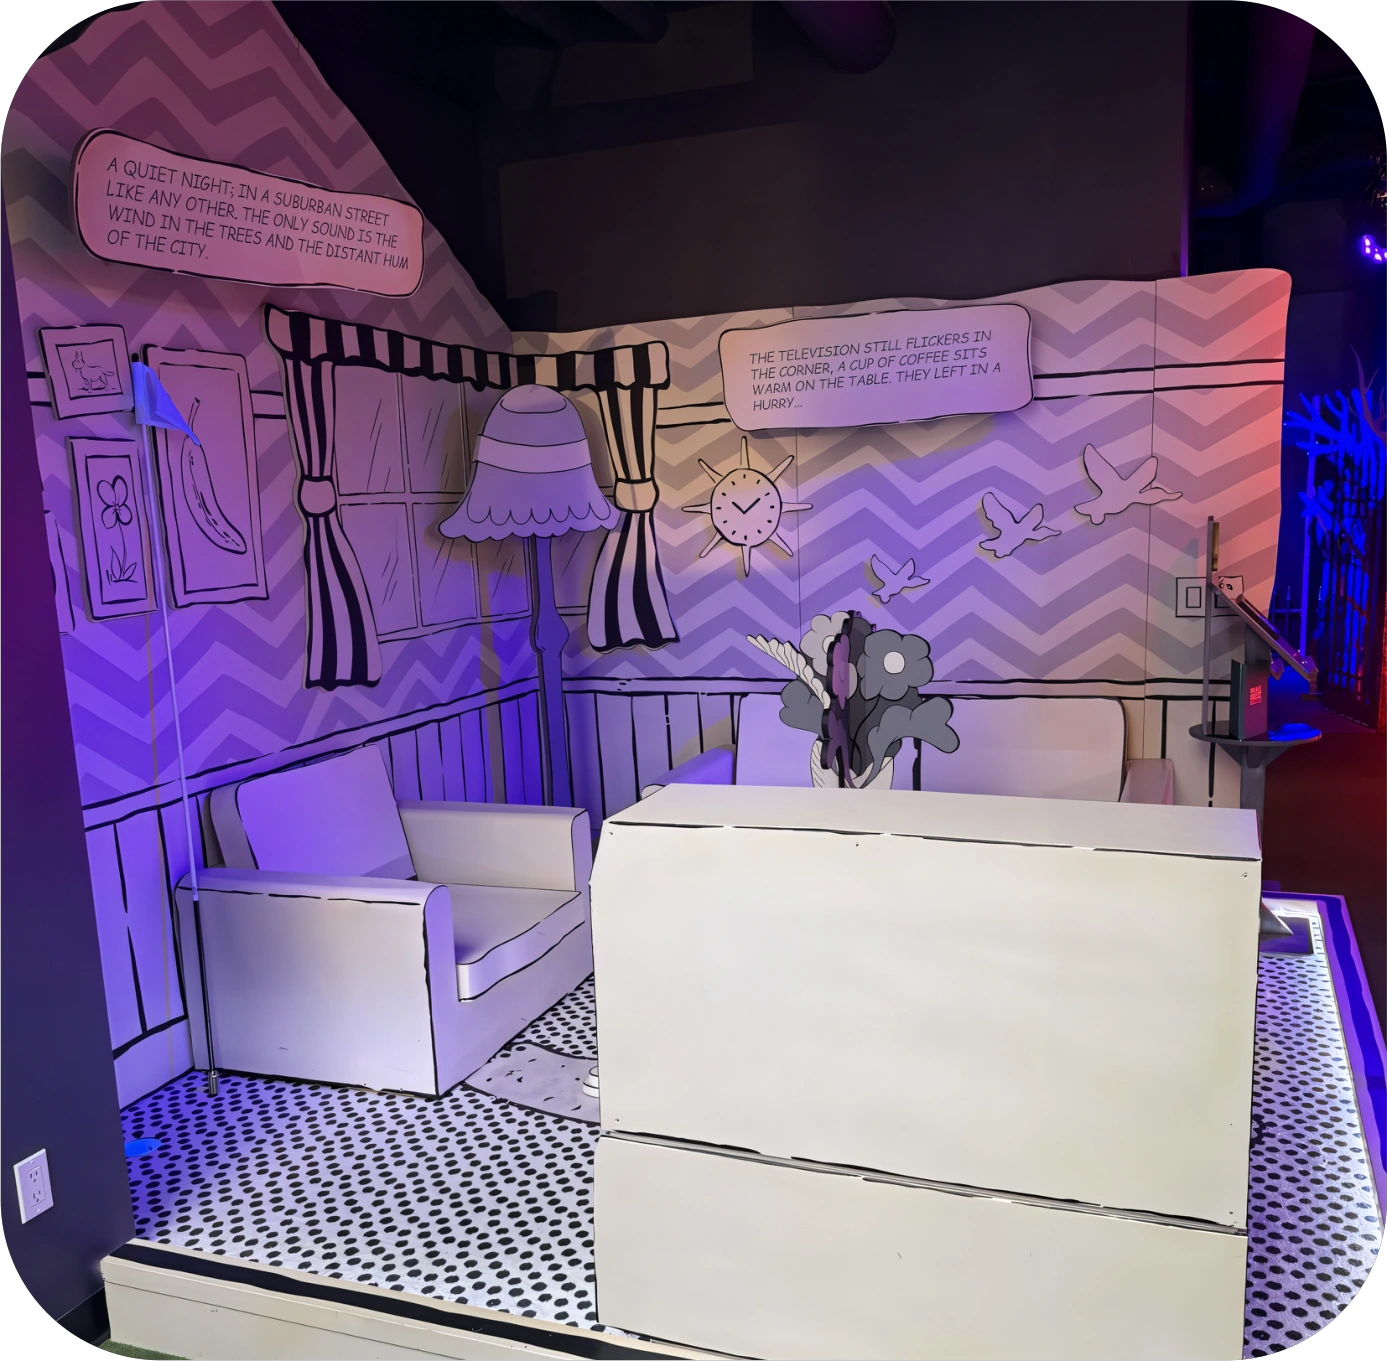
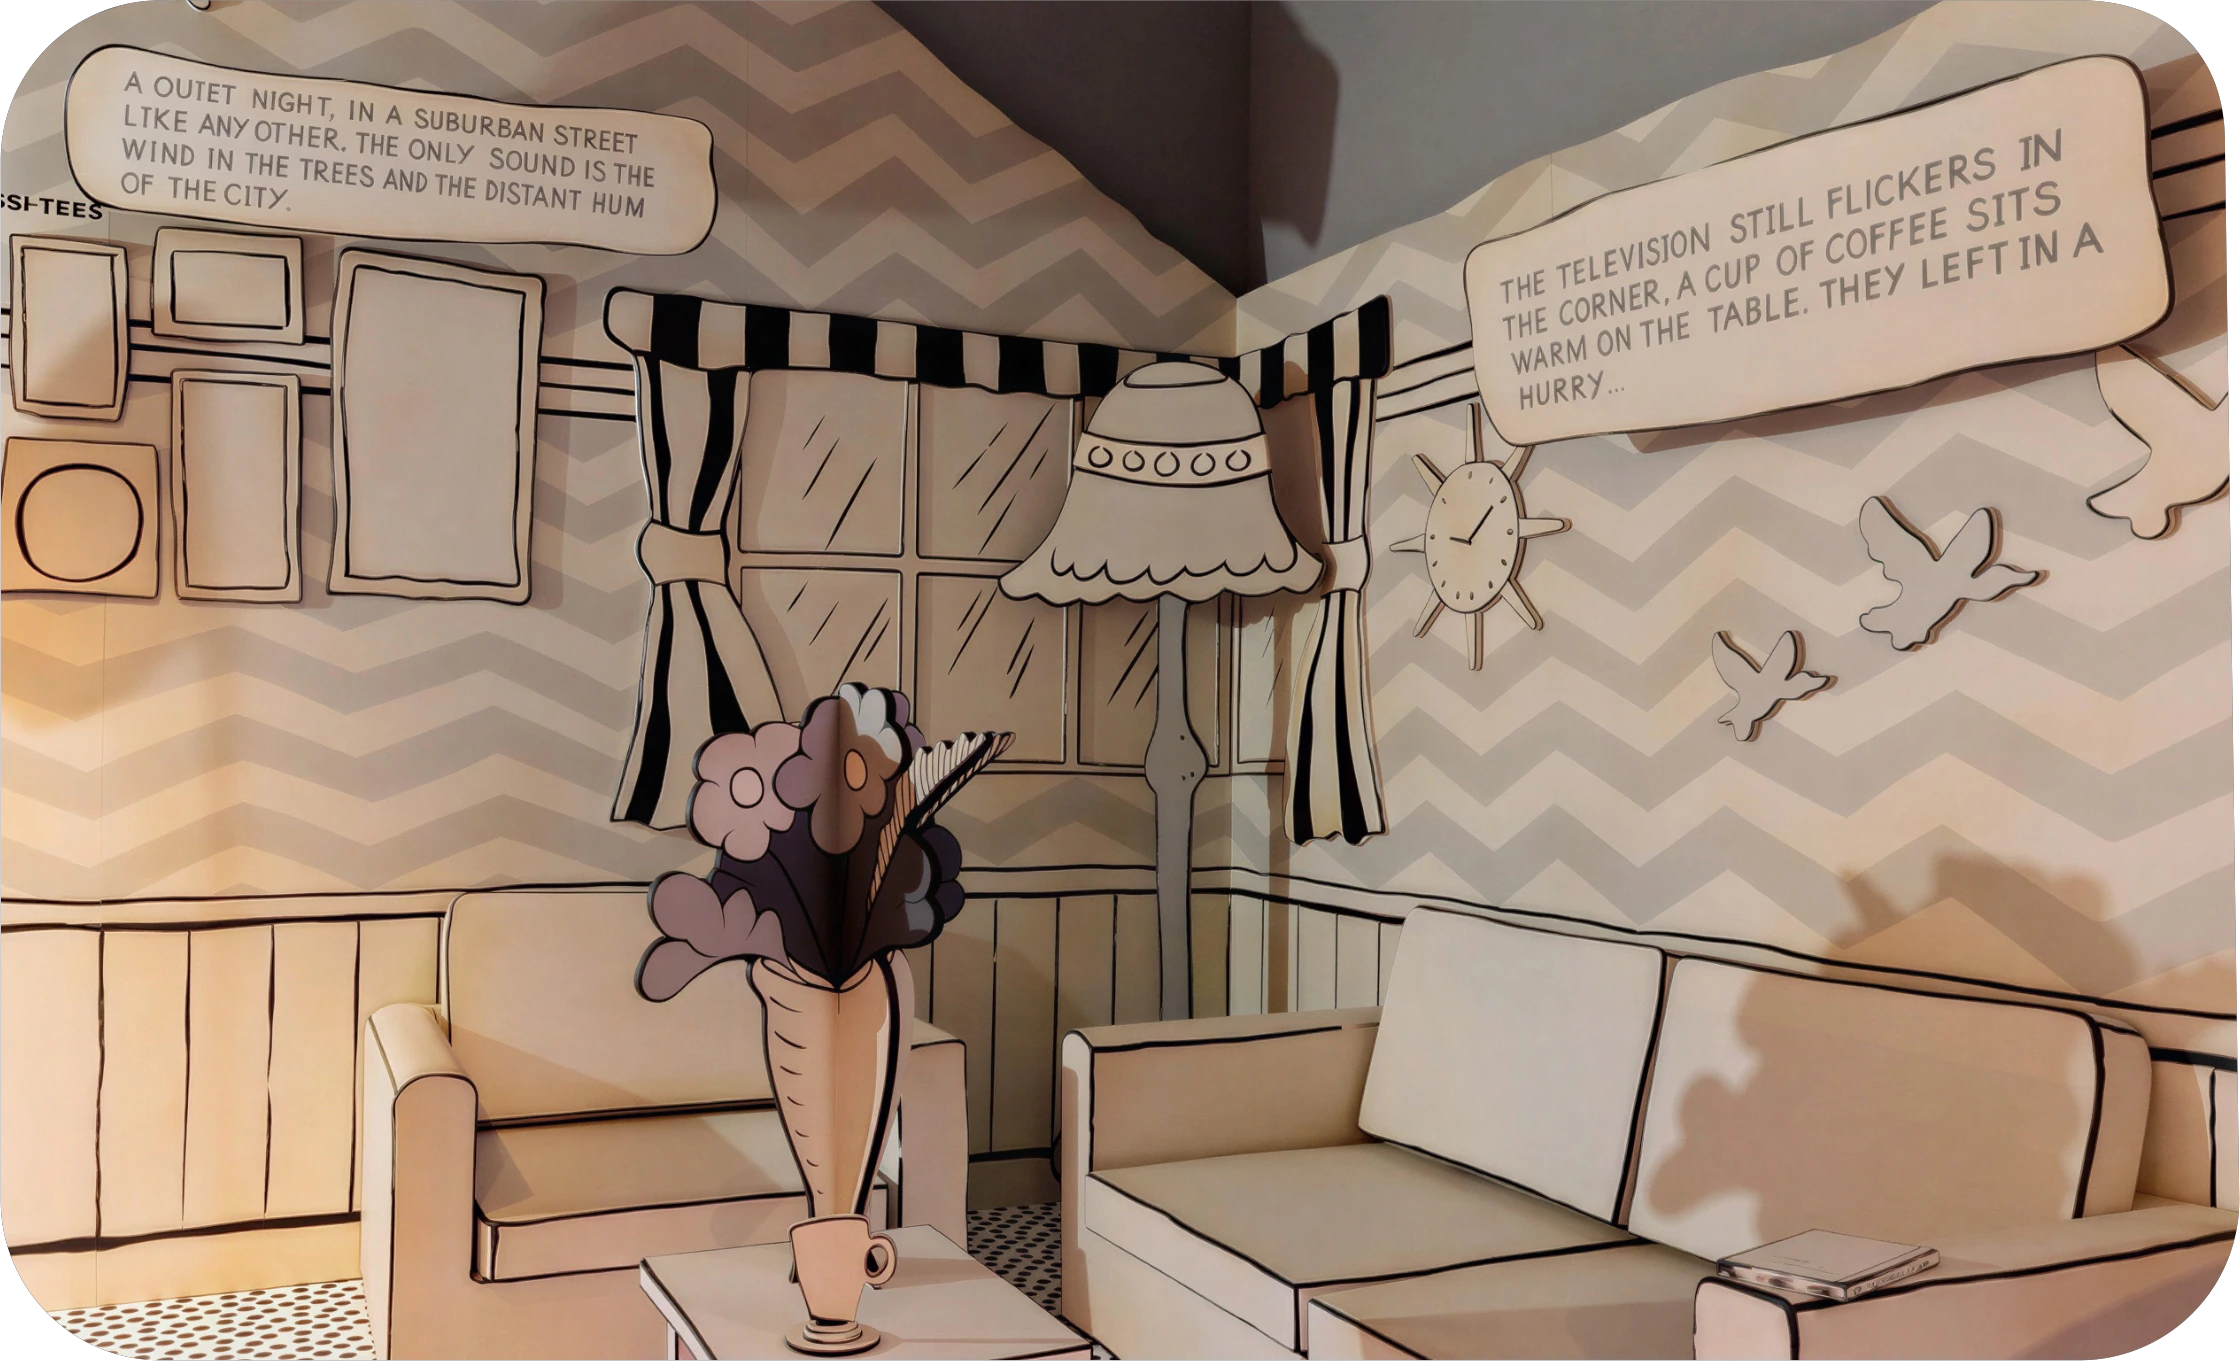
This brief from Hijinx Hotel was to create a minigolf hole derived from the work of Roy Lichtenstein. With hand-painted textures and printed carpet tiles, the final effect is a comic book wafer panel rendered in glorious 2.5D.

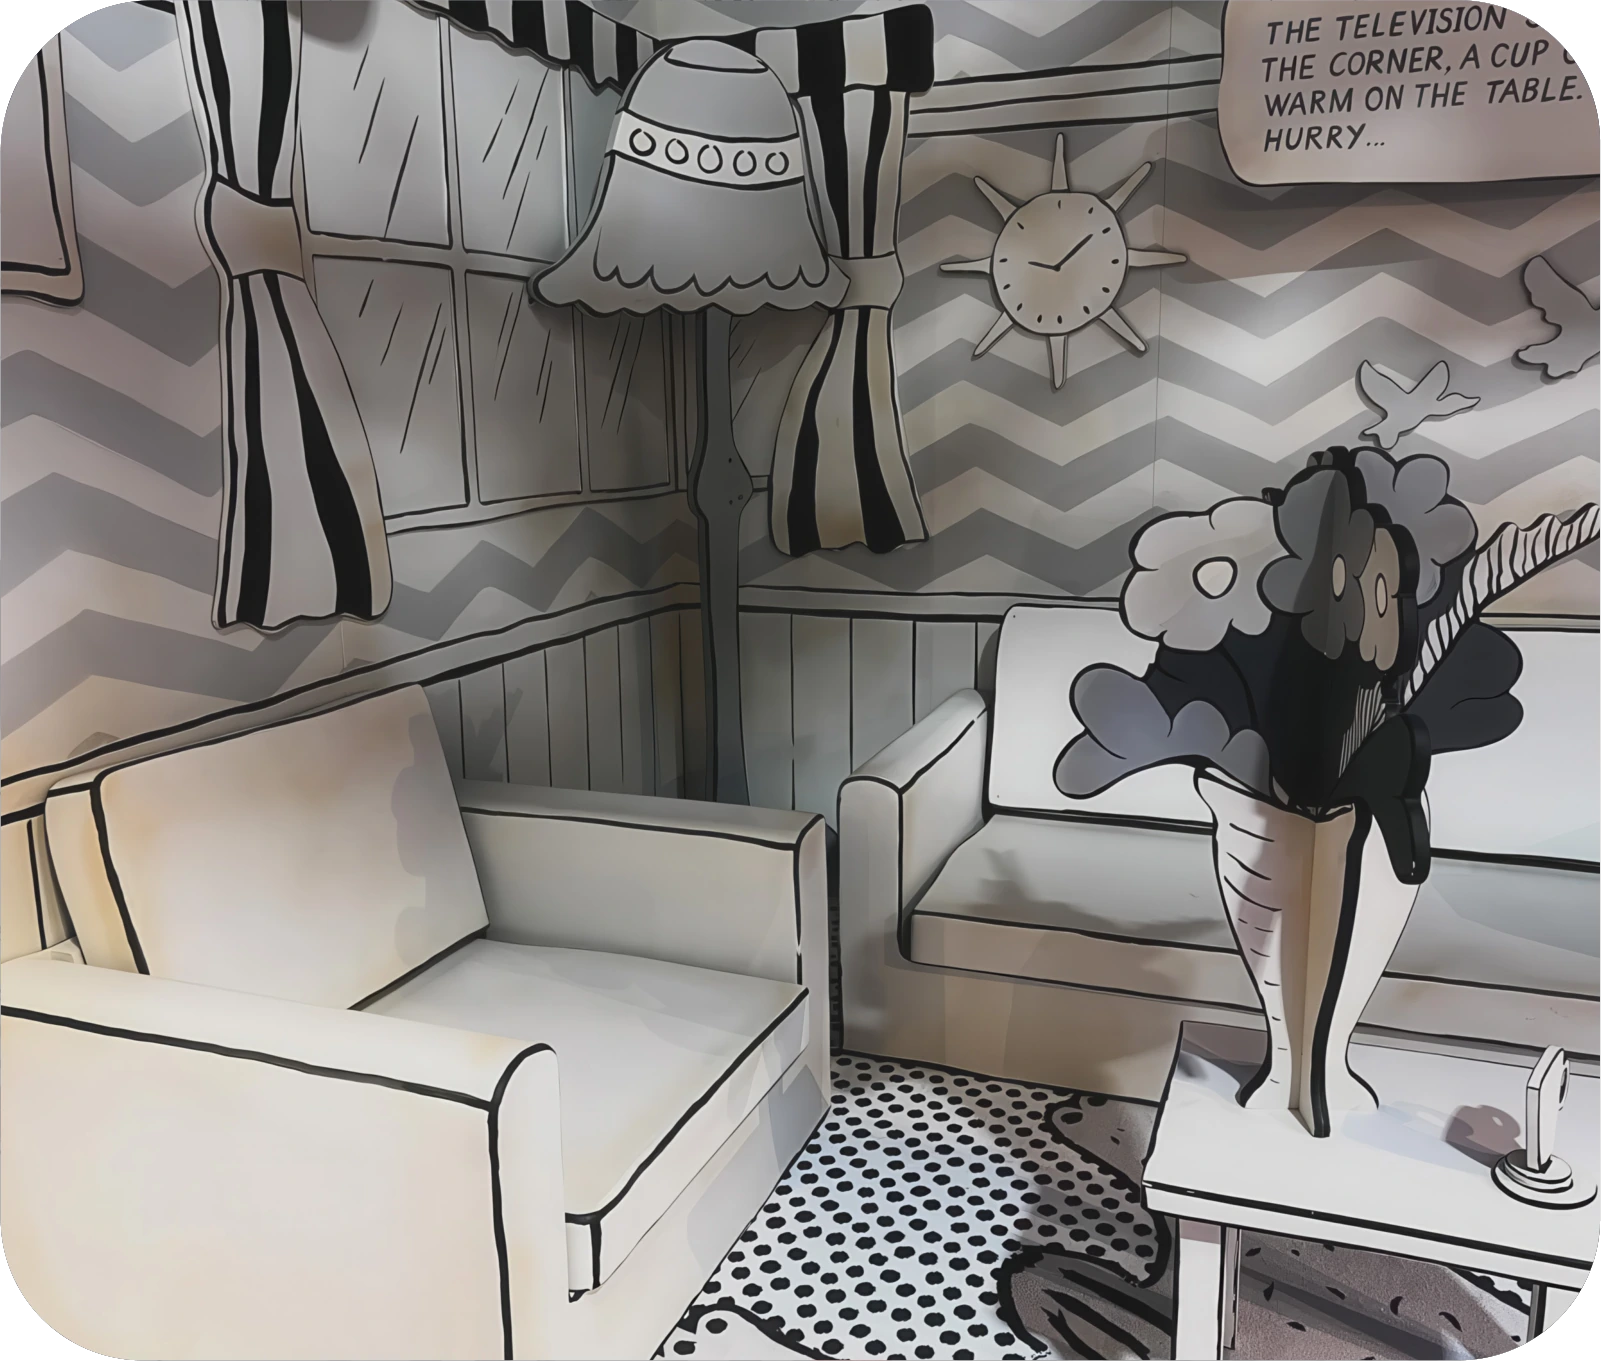
Pop Art minigolf room detail
Pop Art minigolf installation
Pop Art room wall detail
Pop Art room and player

2020 to 2022. Holey Moley by Funlab. I designed a handful of the Hijinx Hotel games rooms for Funlab between 2020 and 2022. Hijinx Hotel is an IP that is now in most Australian cities and several sites in the USA. The assets were constructed by Onset Arts, Brunswick. I worked on all of the Hijinx Hotel rooms at one time or another, but below are a few I designed from scratch.
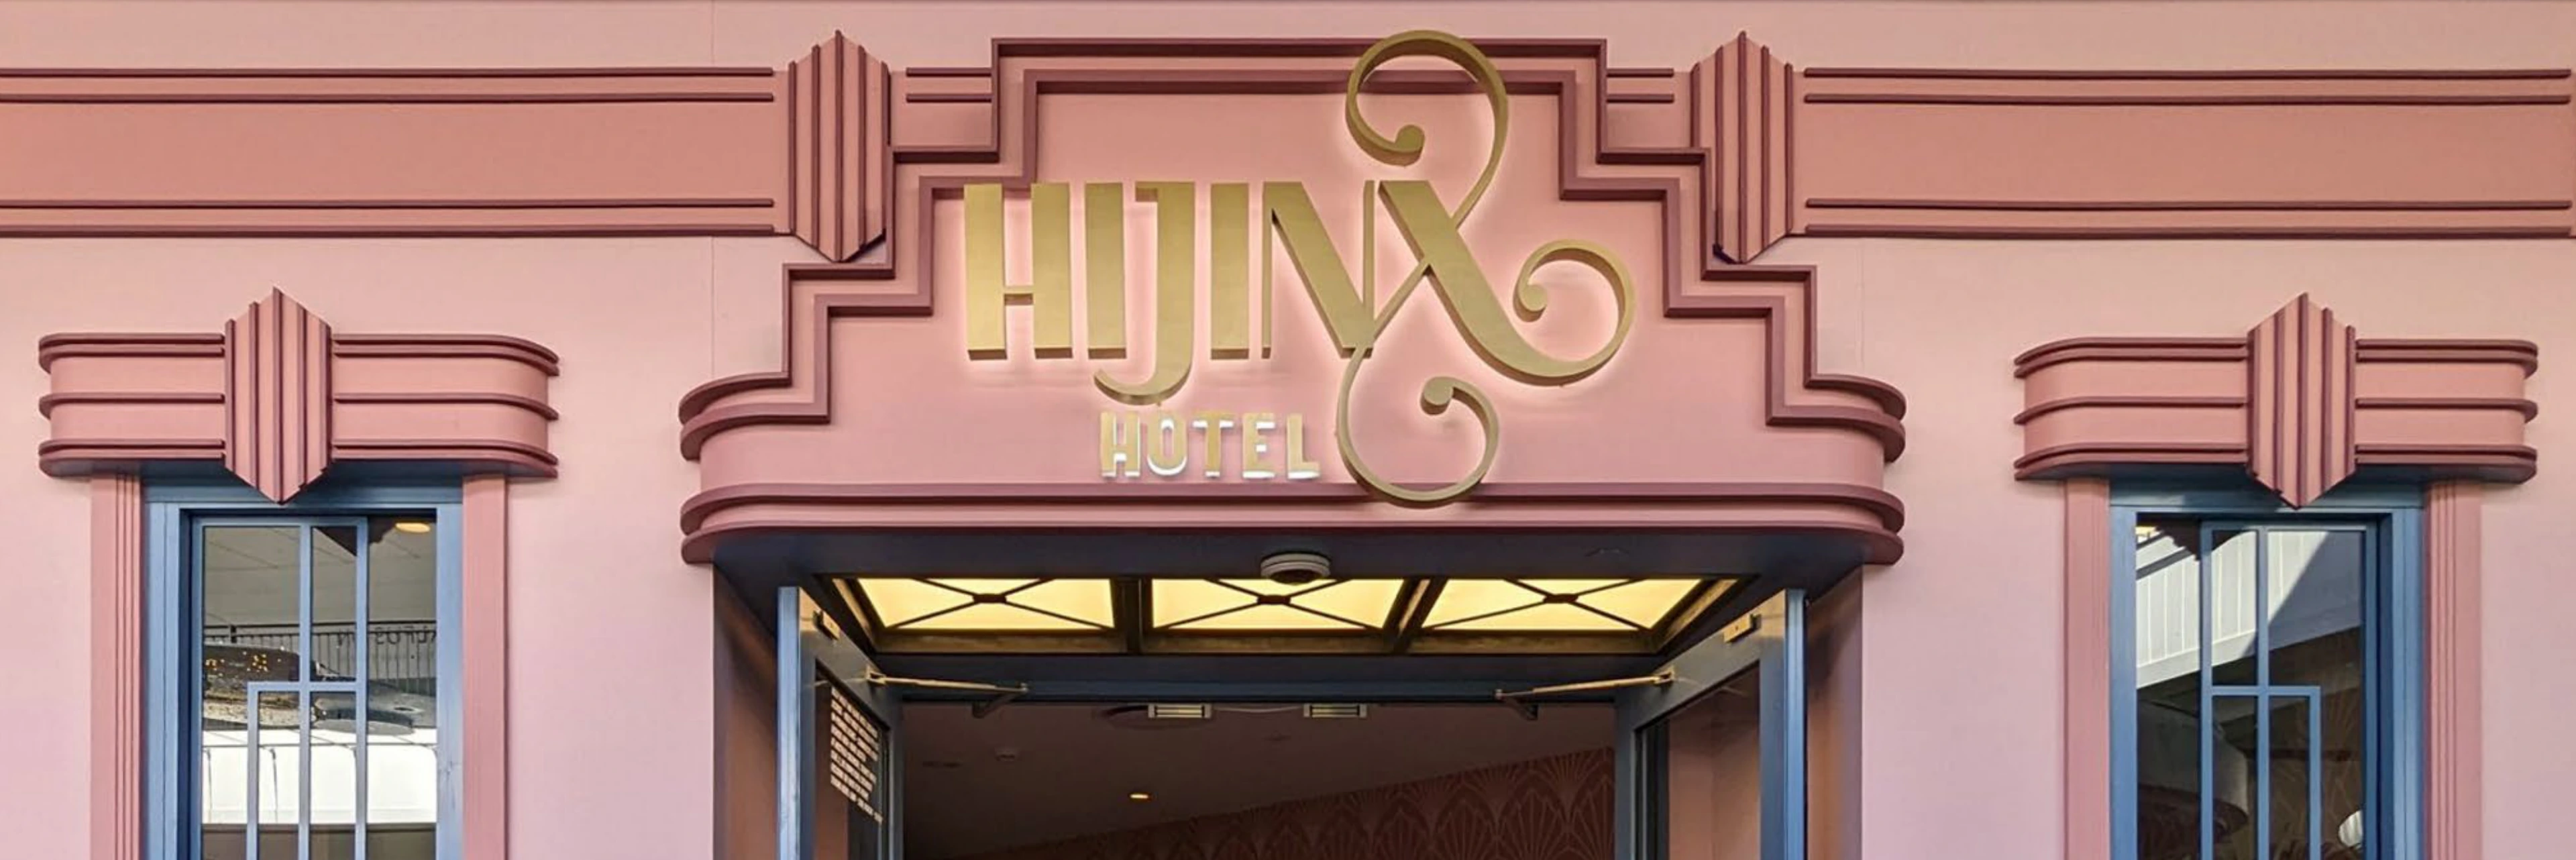

Hijinx Hotel entrance

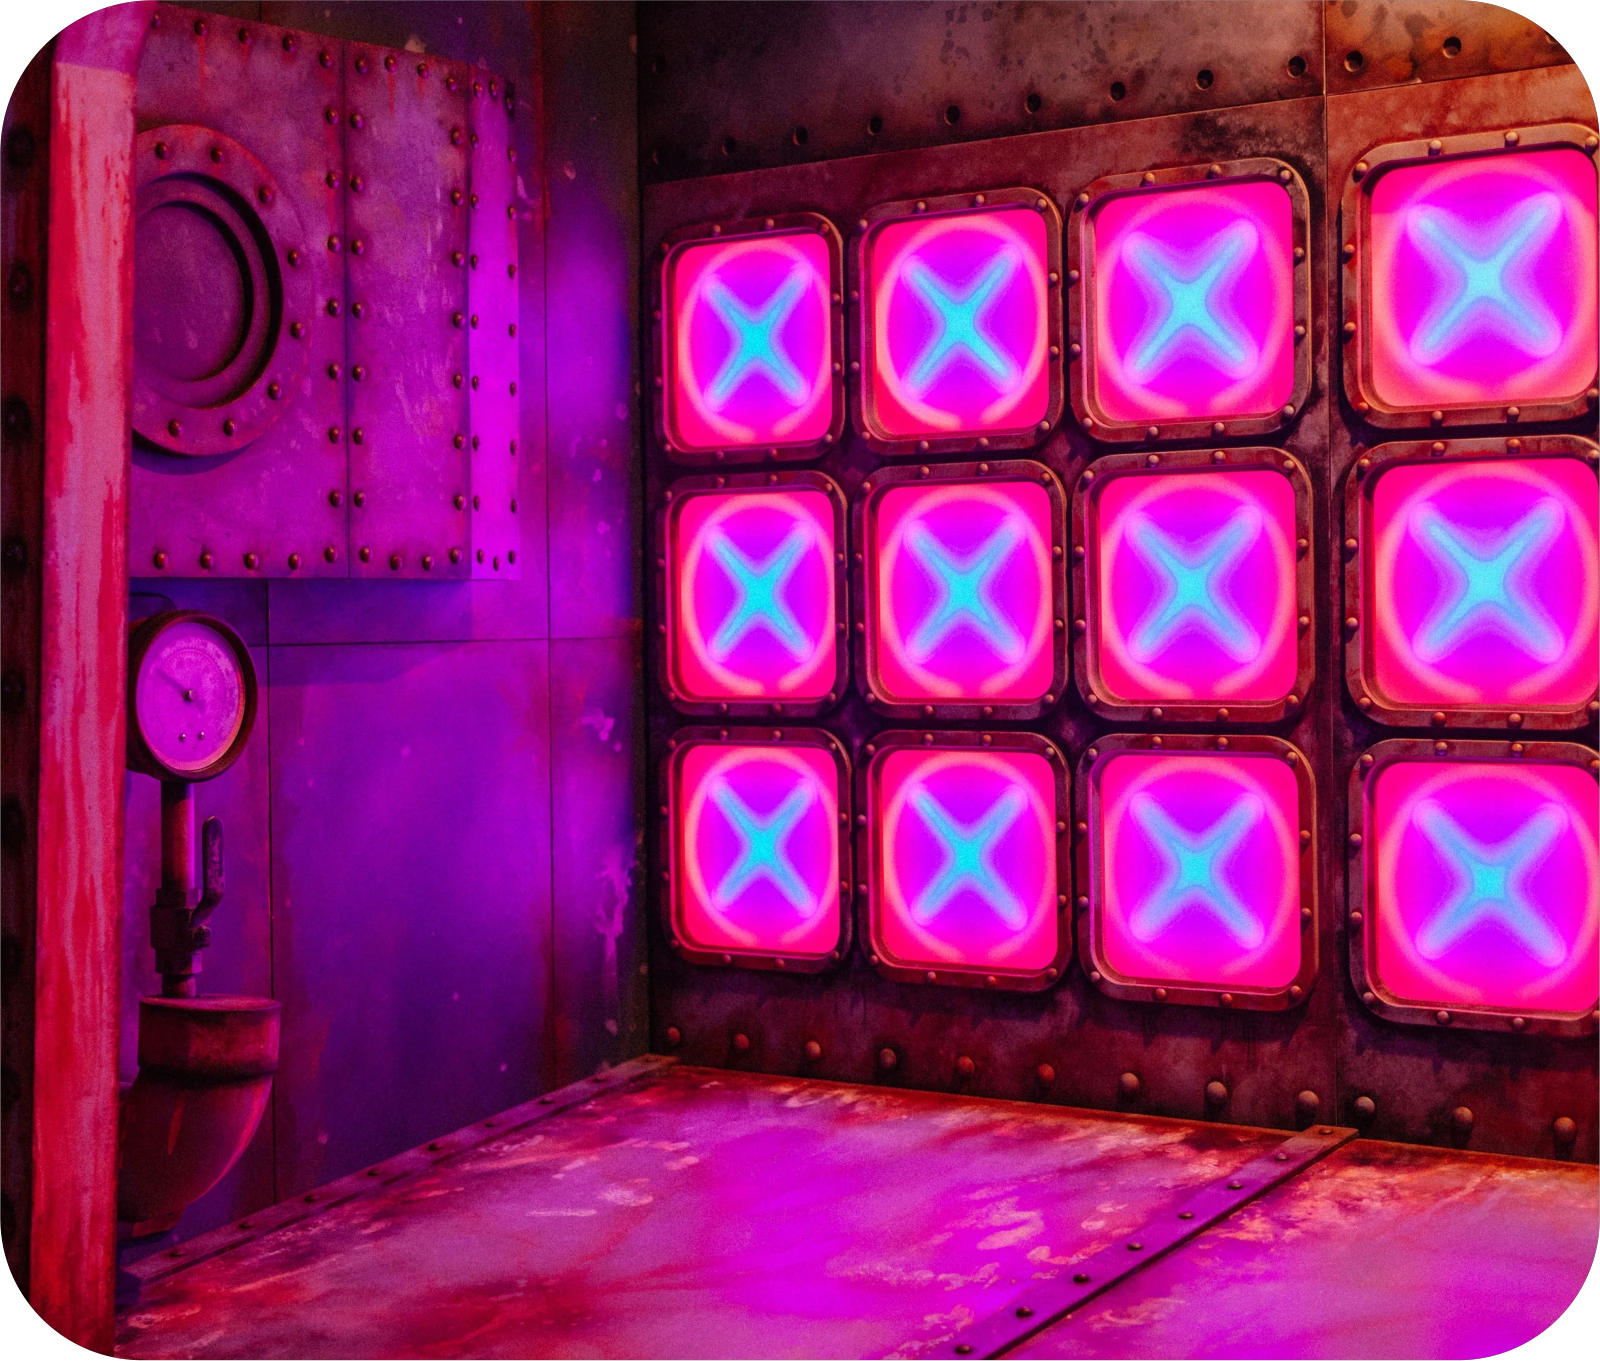
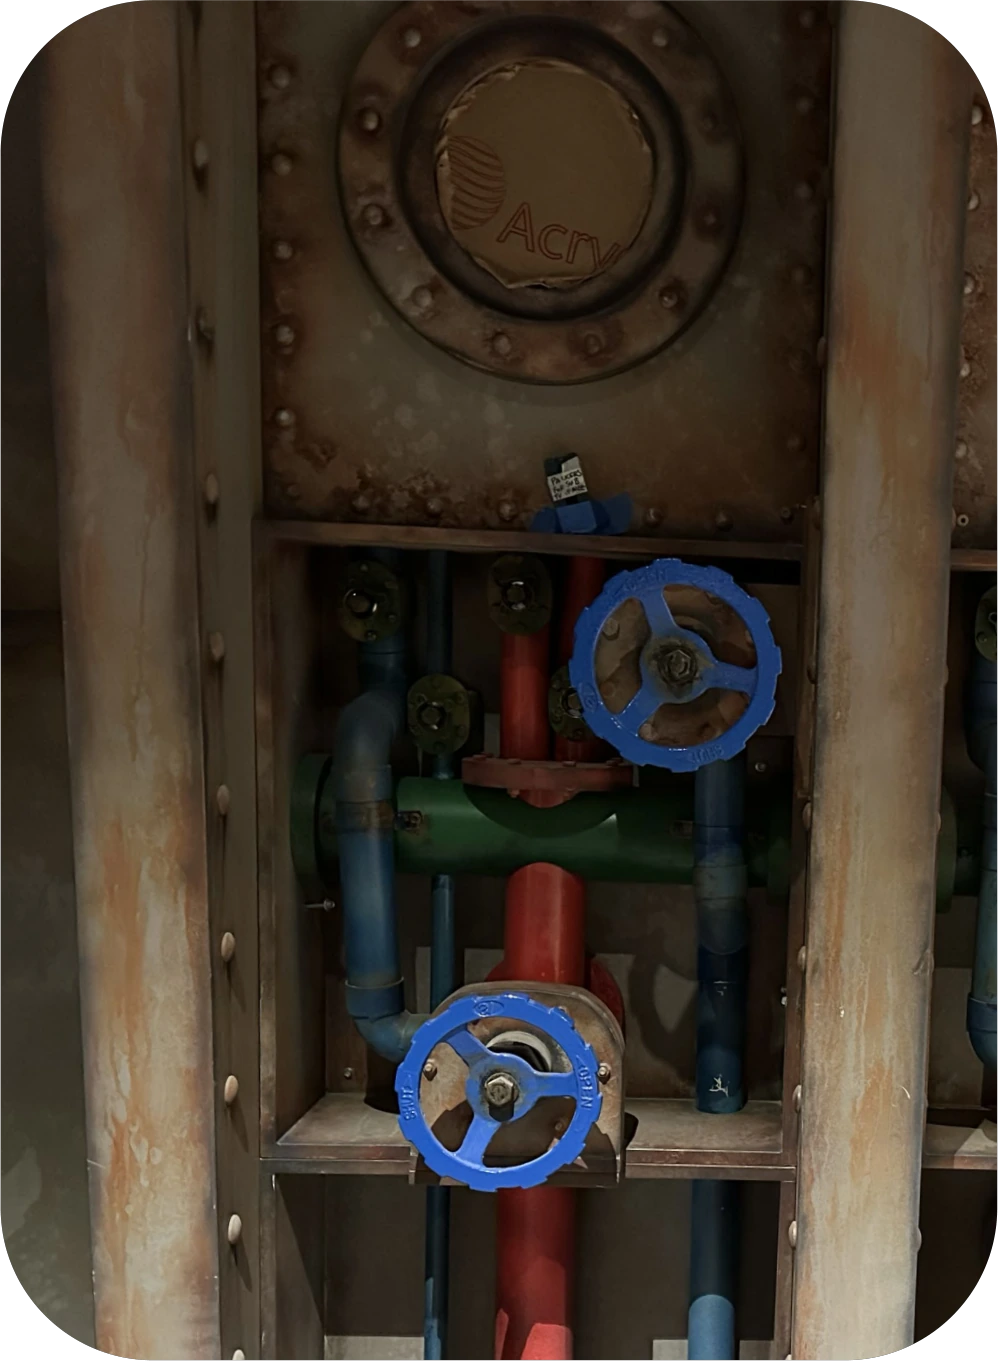
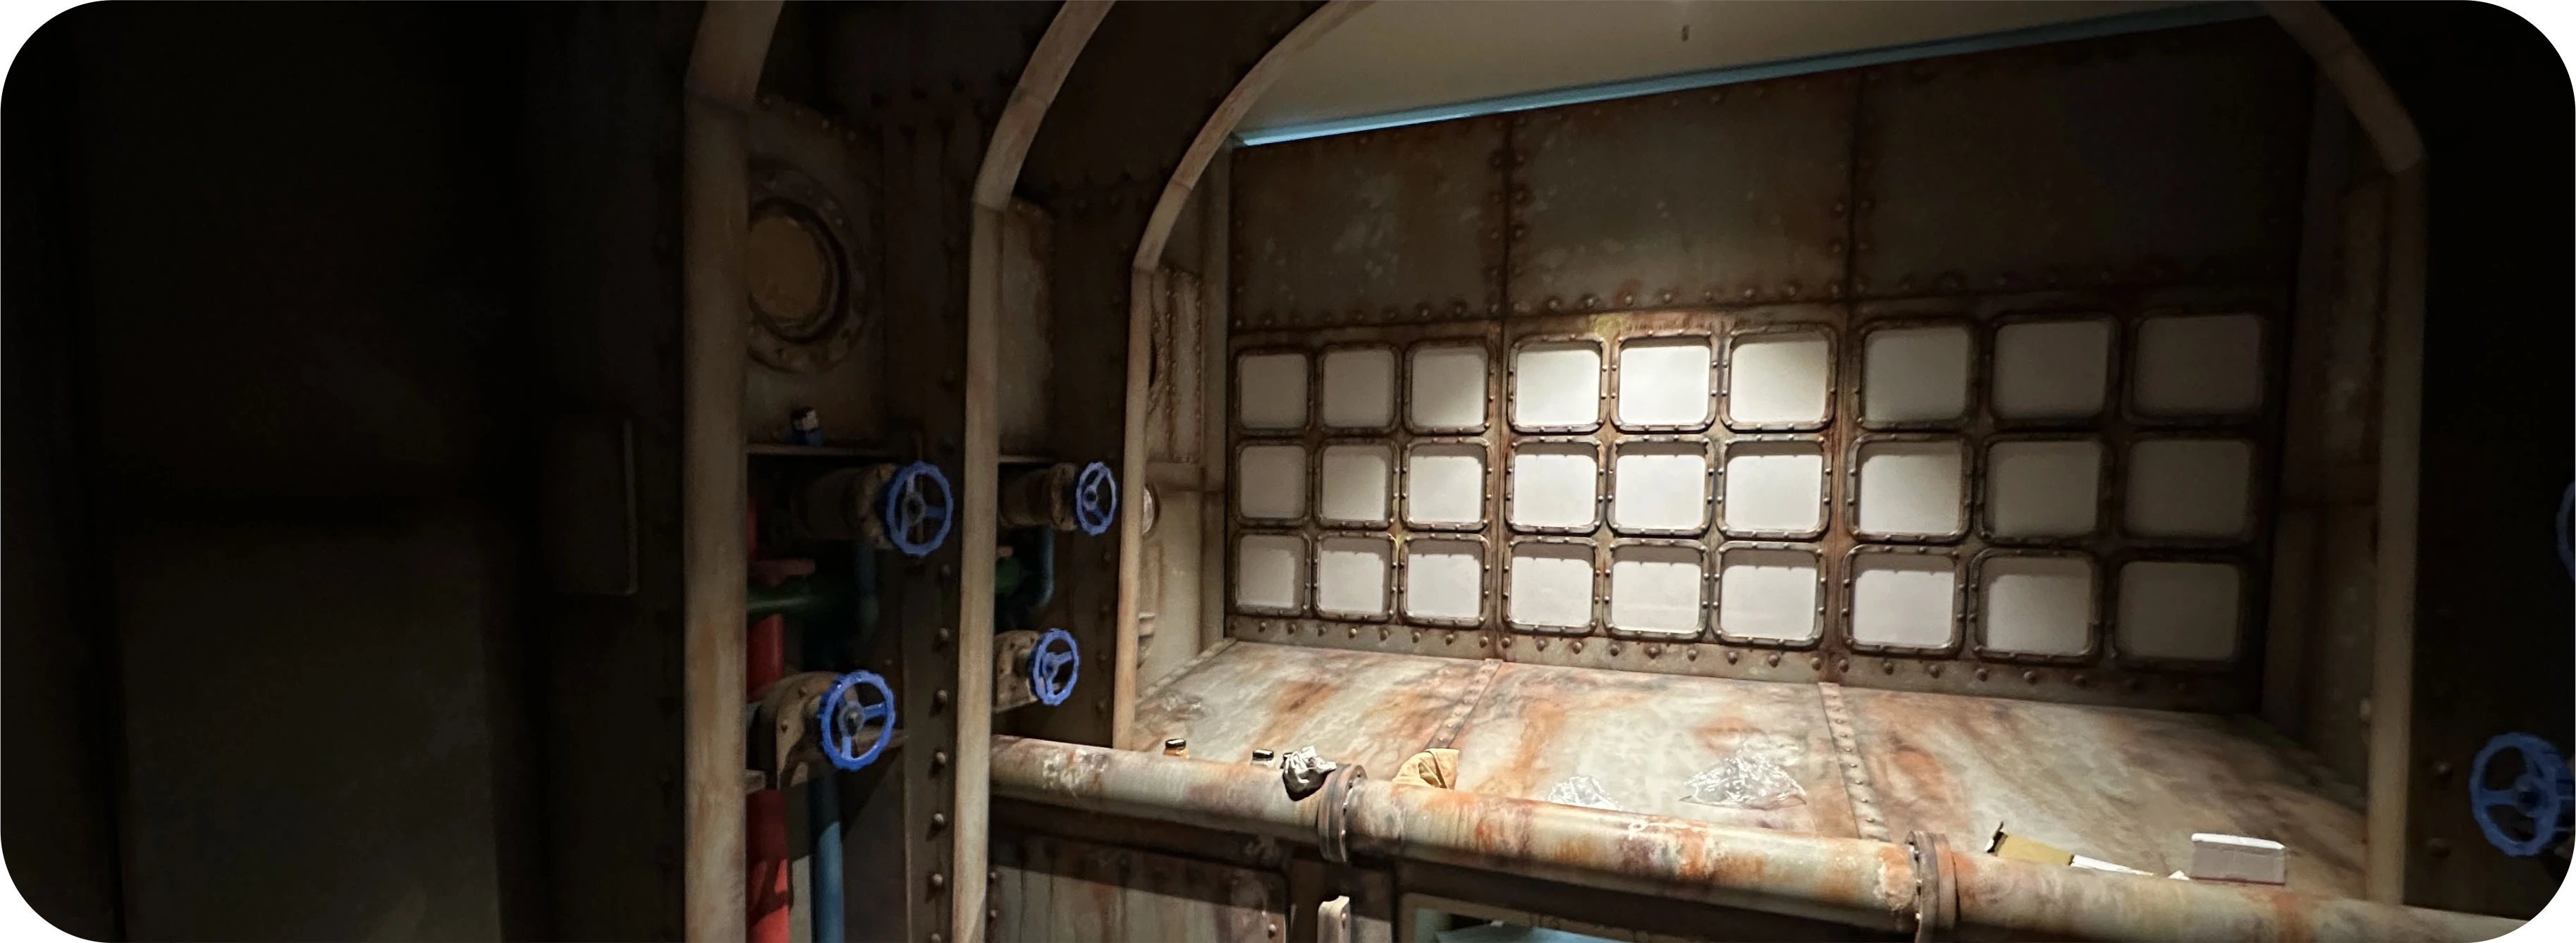
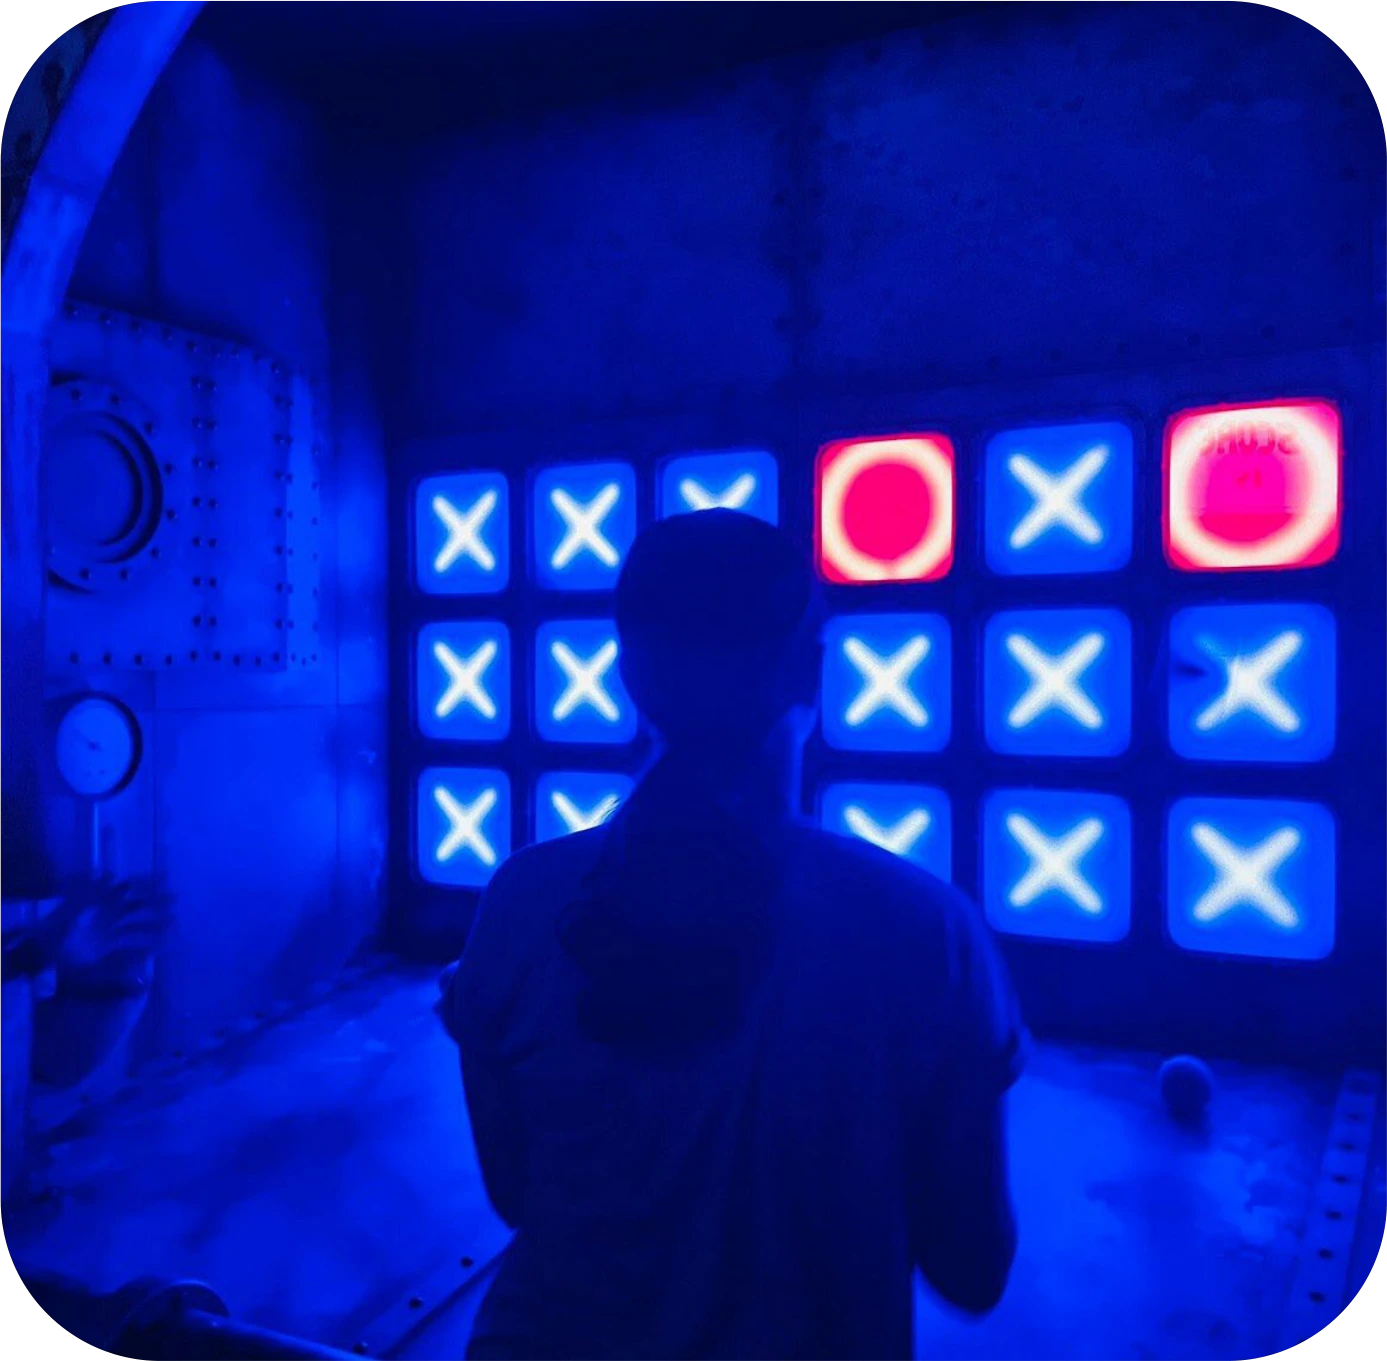
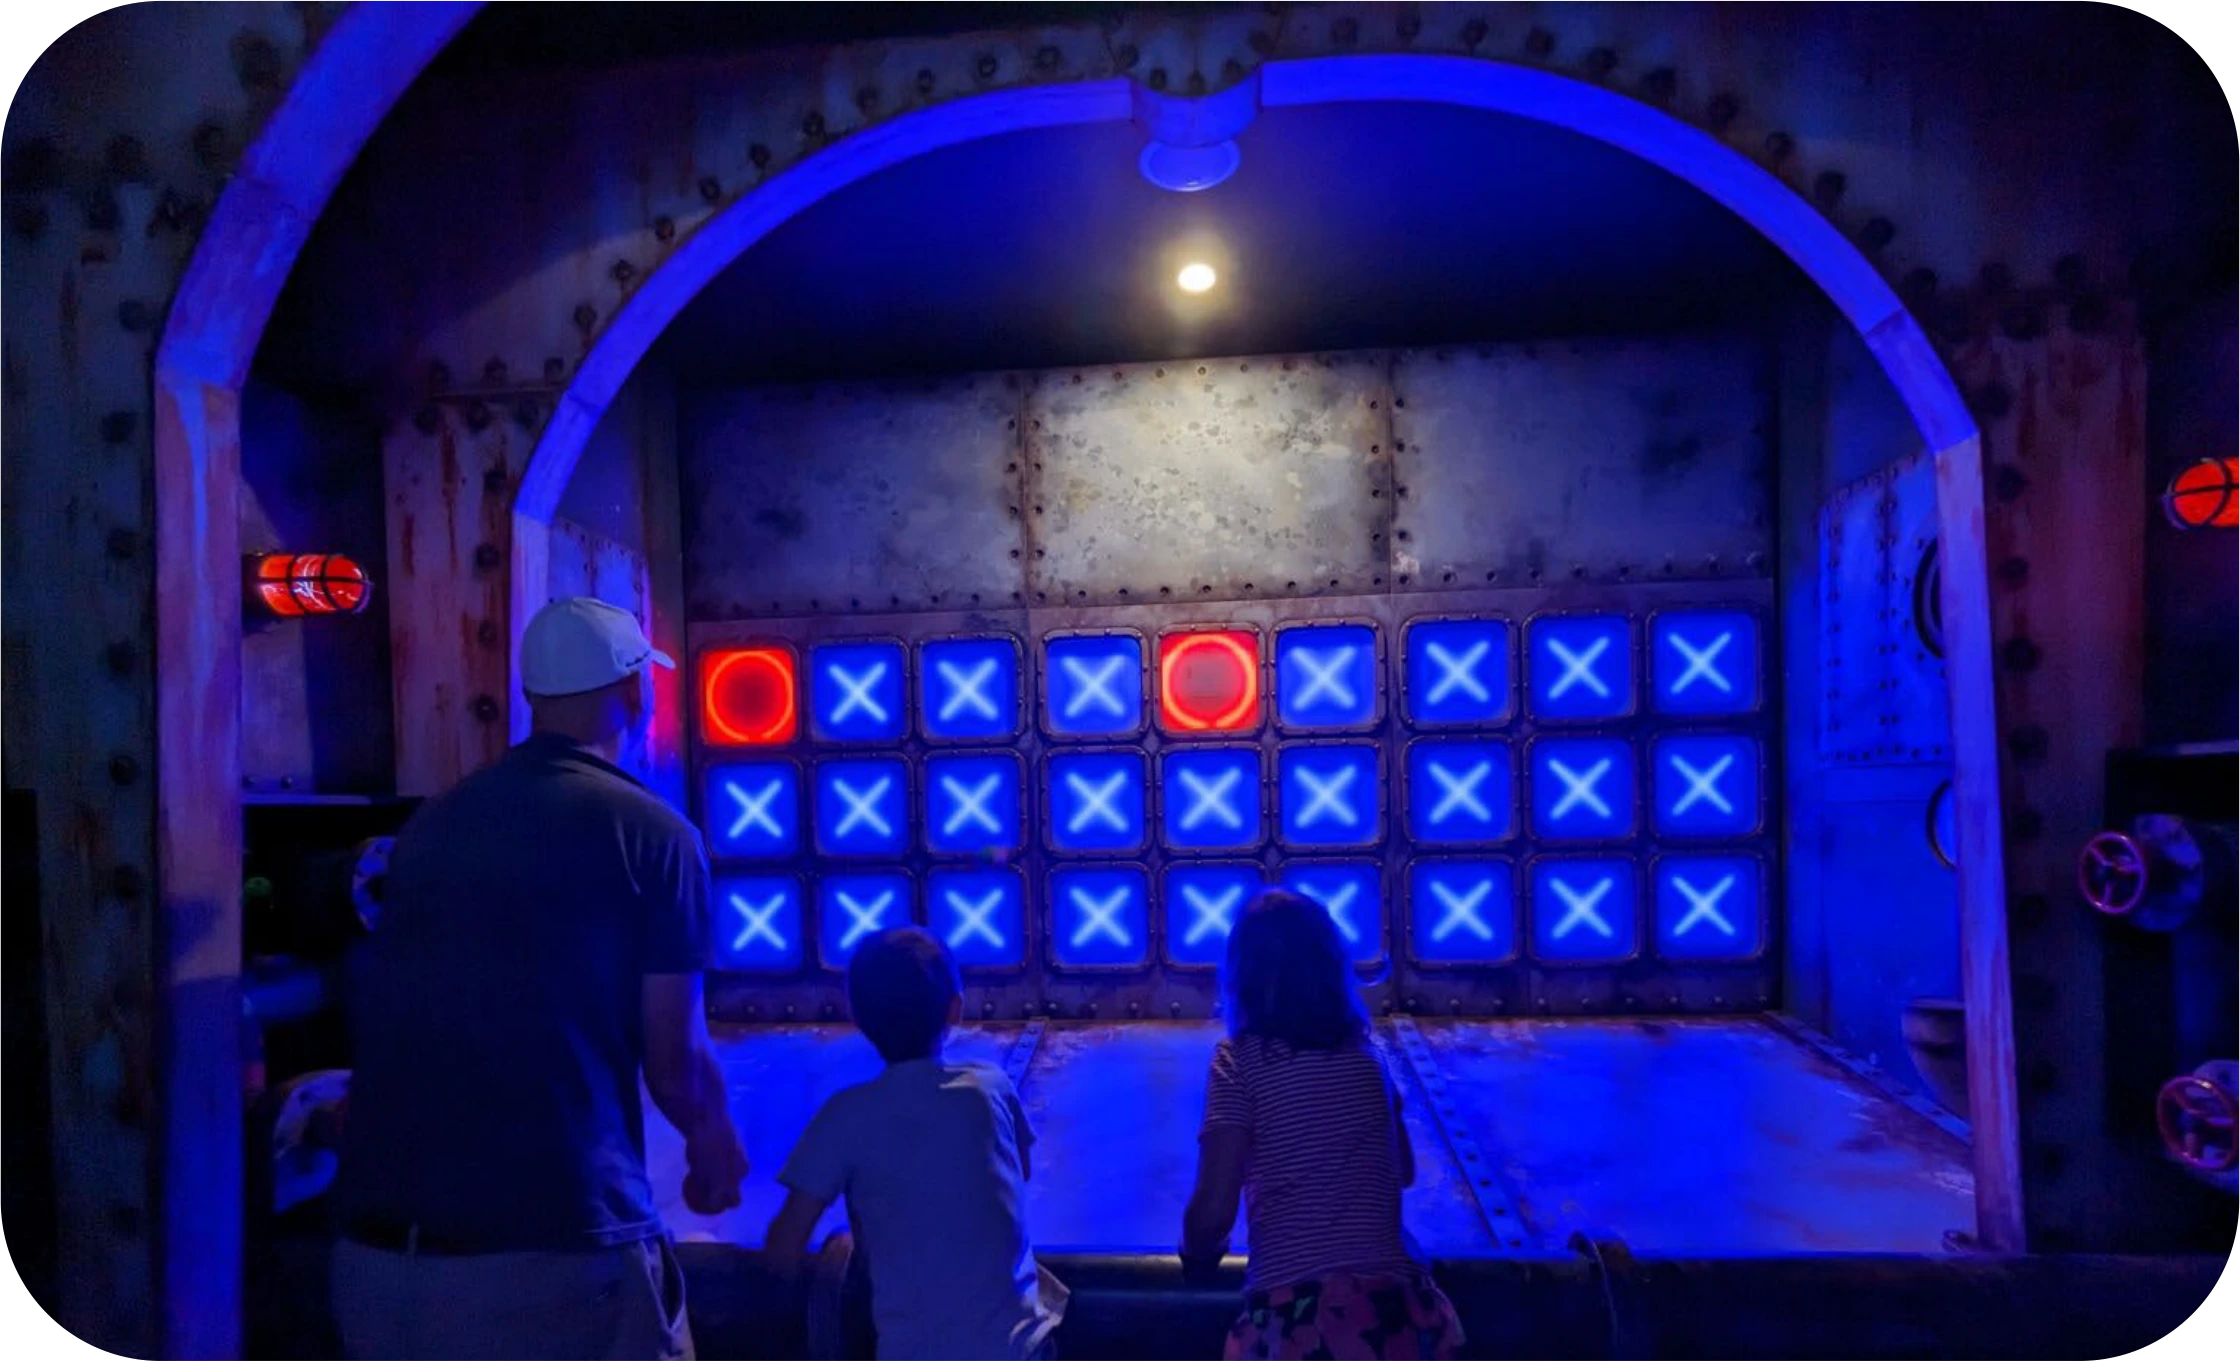
Submarine

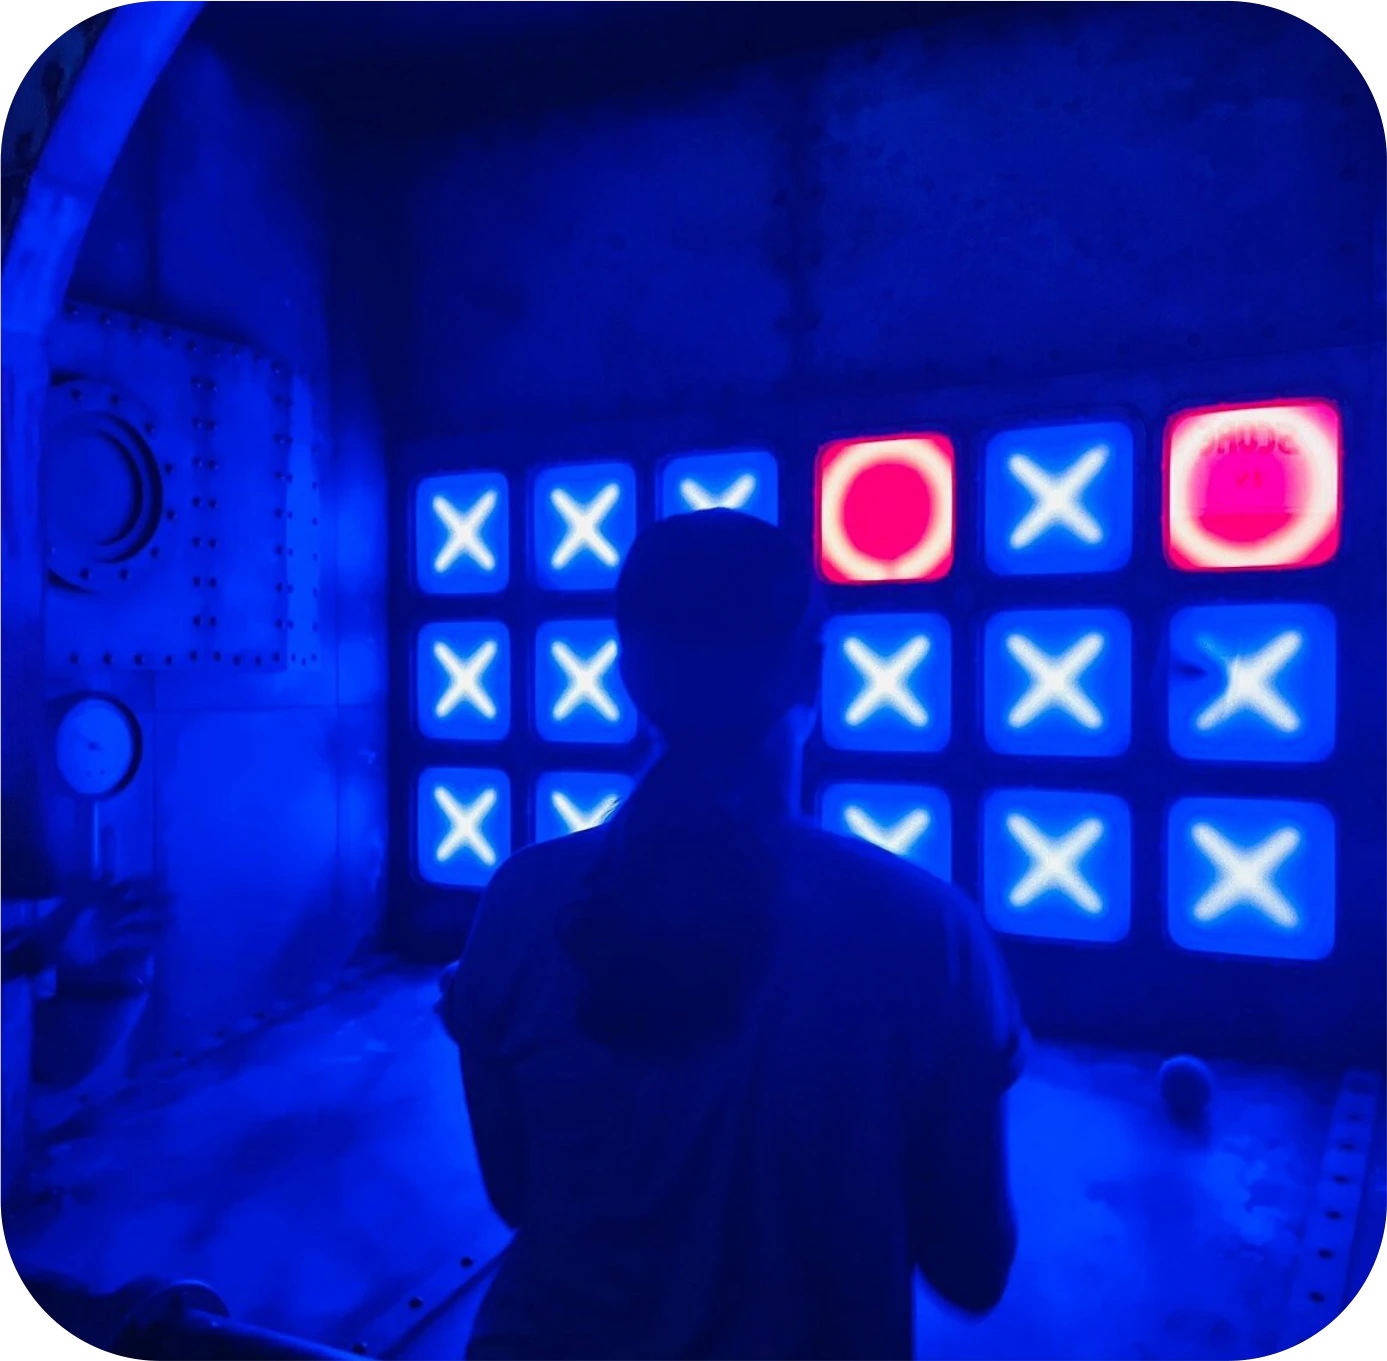
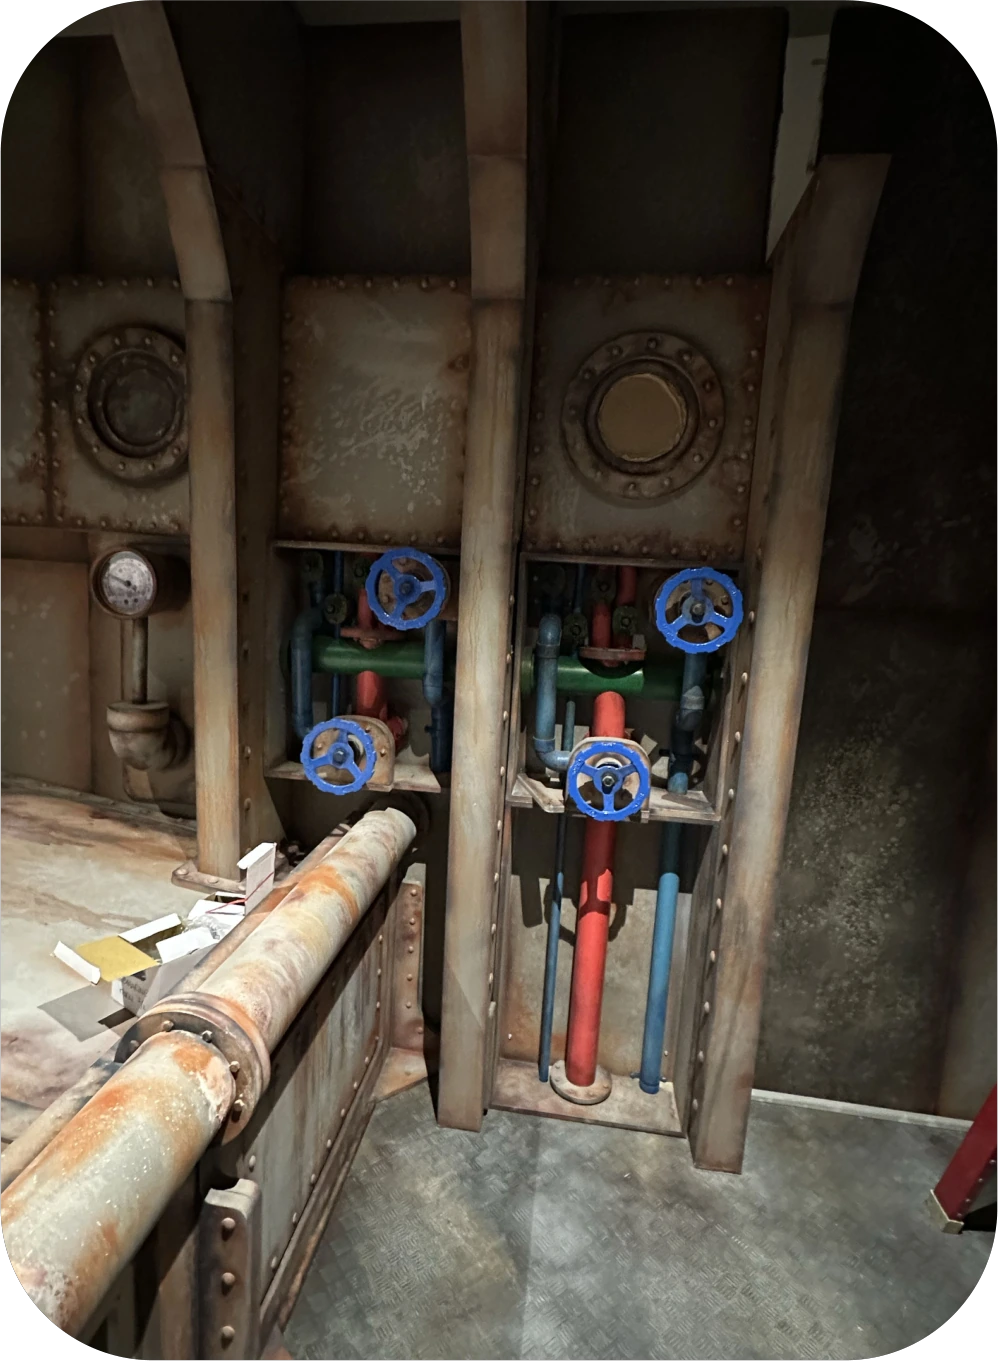
Designed to have six players inhabit the room. This is a re-skin of a Noughts and Crosses game. The players, in pairs, play by throwing a ball at a window, turning it from a blue X to a red O. This room first appeared in Chadstone Hijinx Hotel.

Submarine room detail
Submarine game wall
Submarine room detail
Submarine set detail
Players in the Submarine room
Submarine room in play

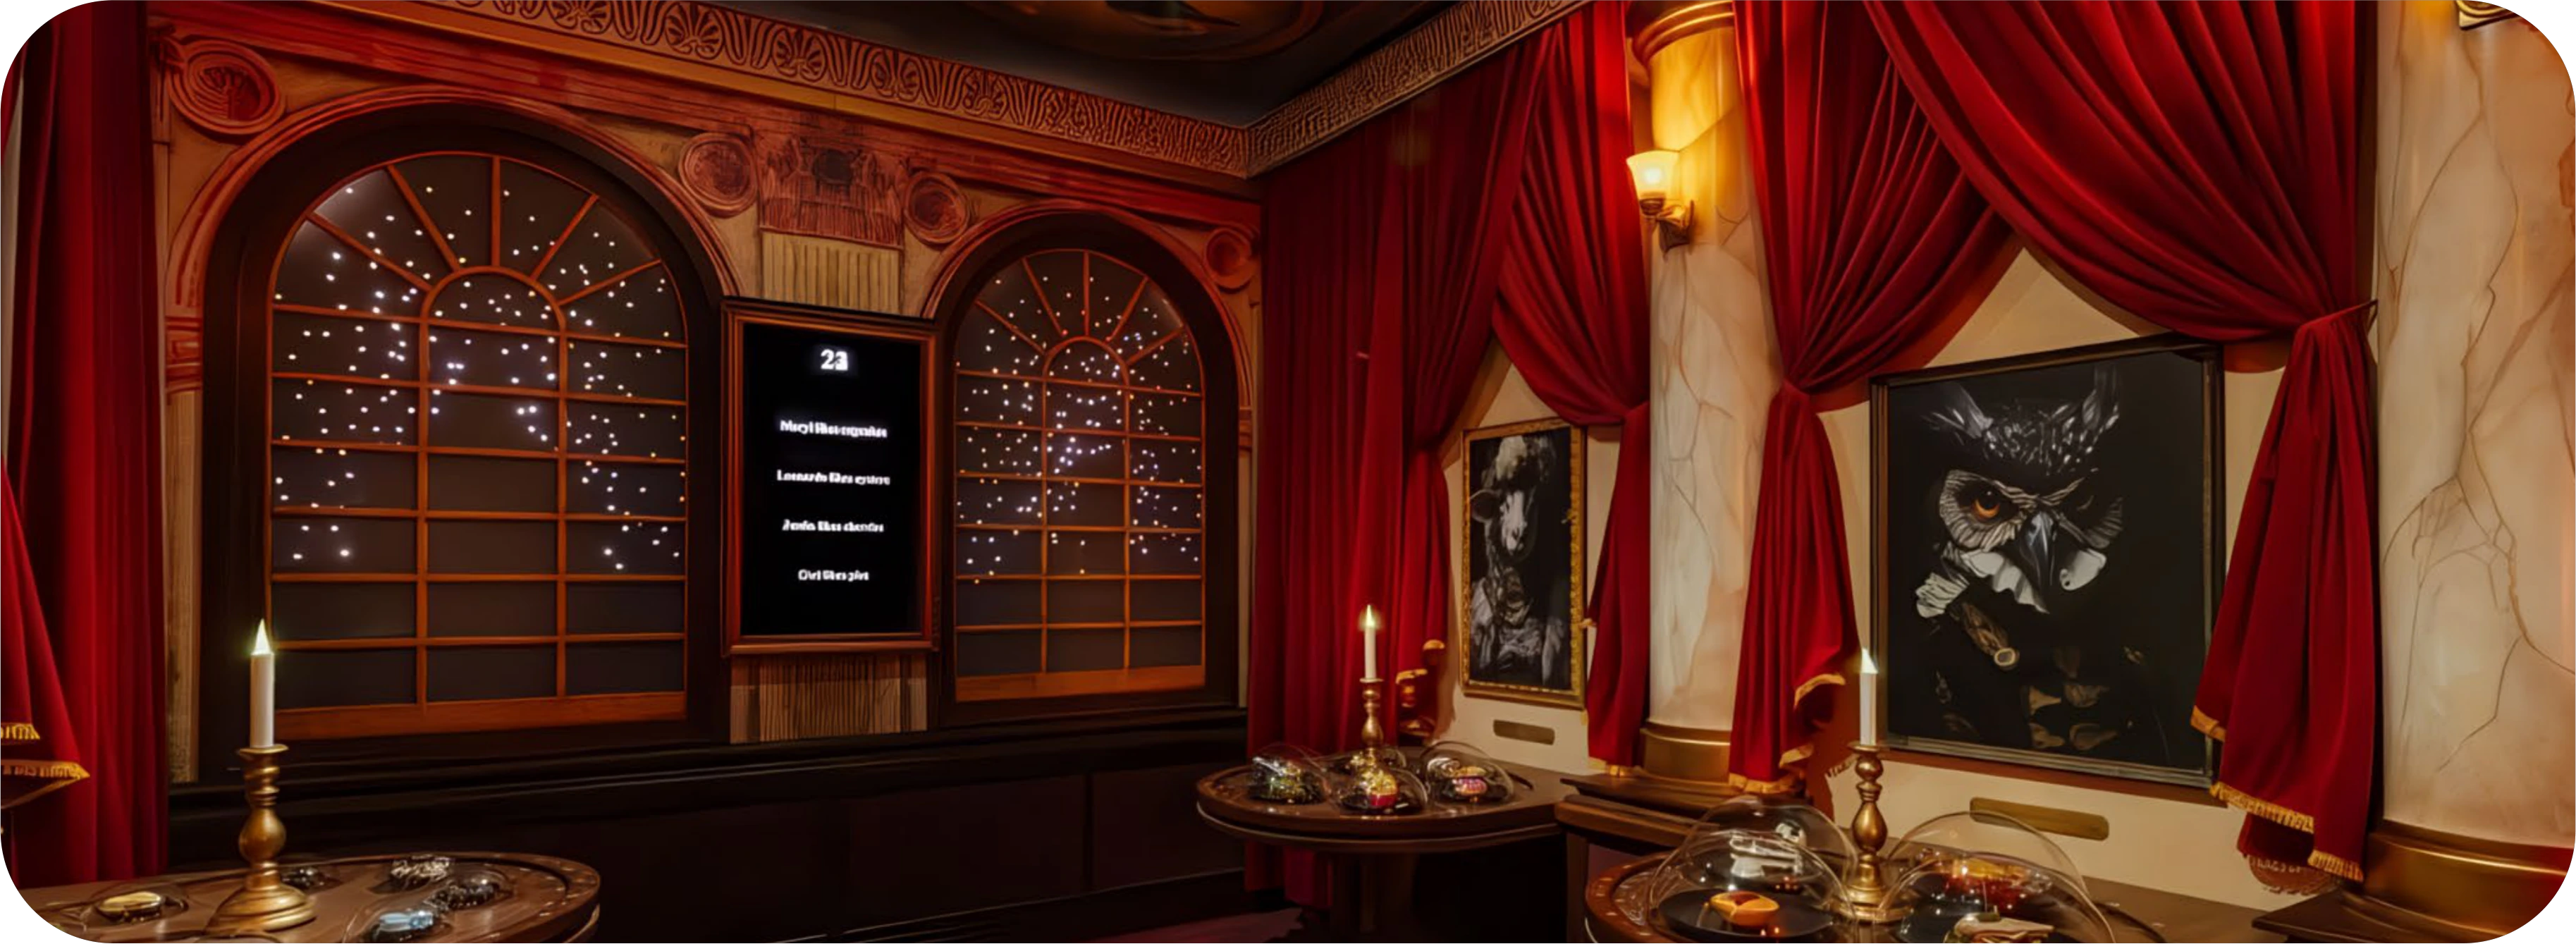
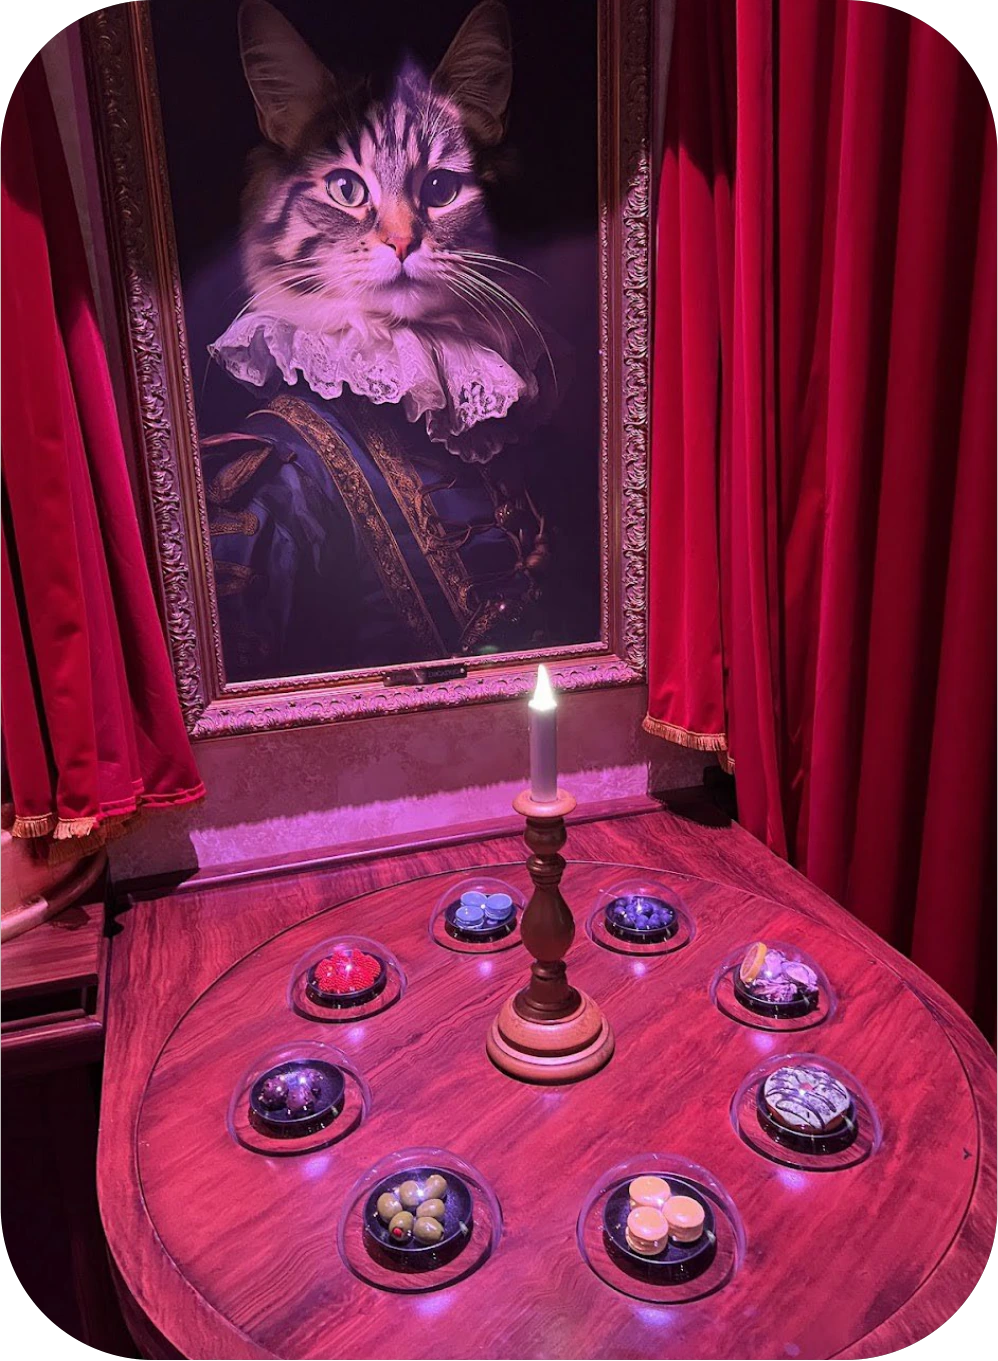
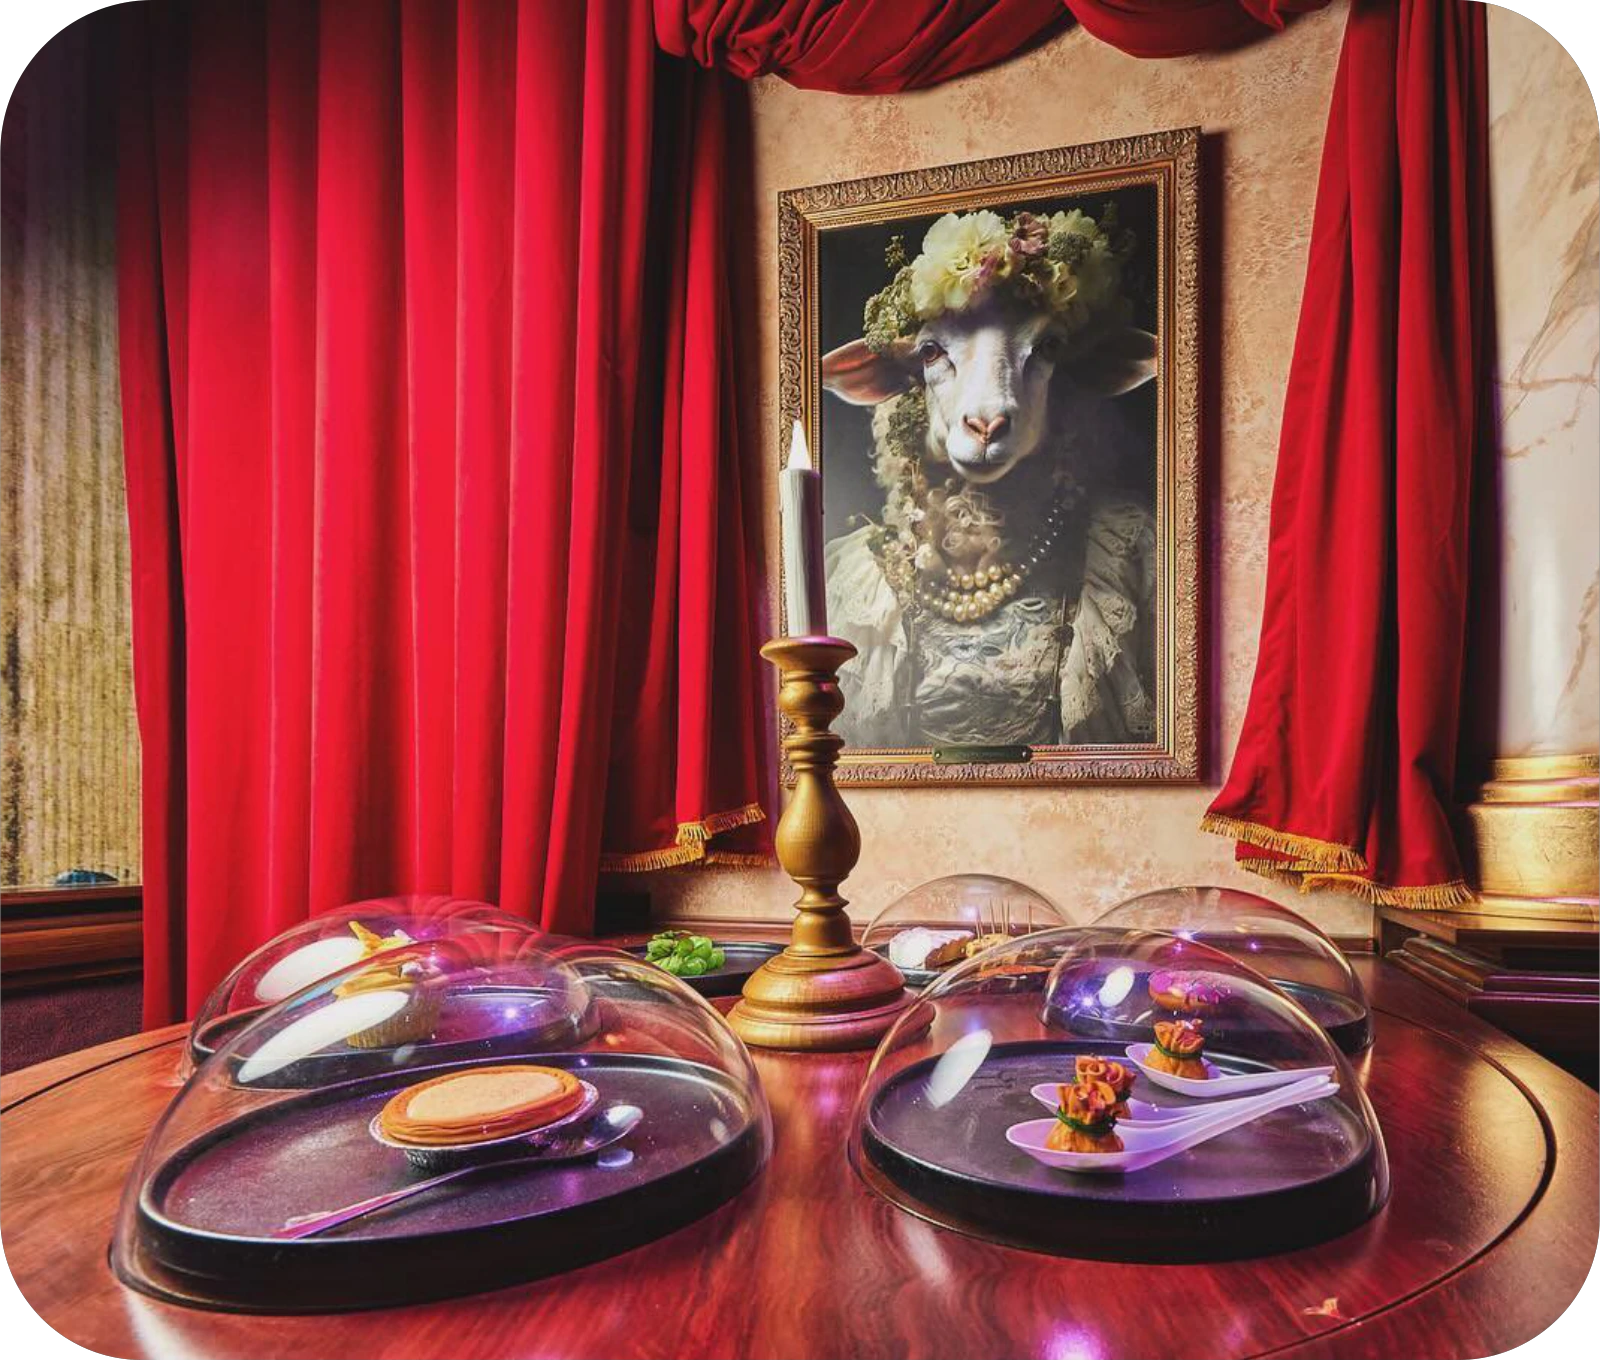
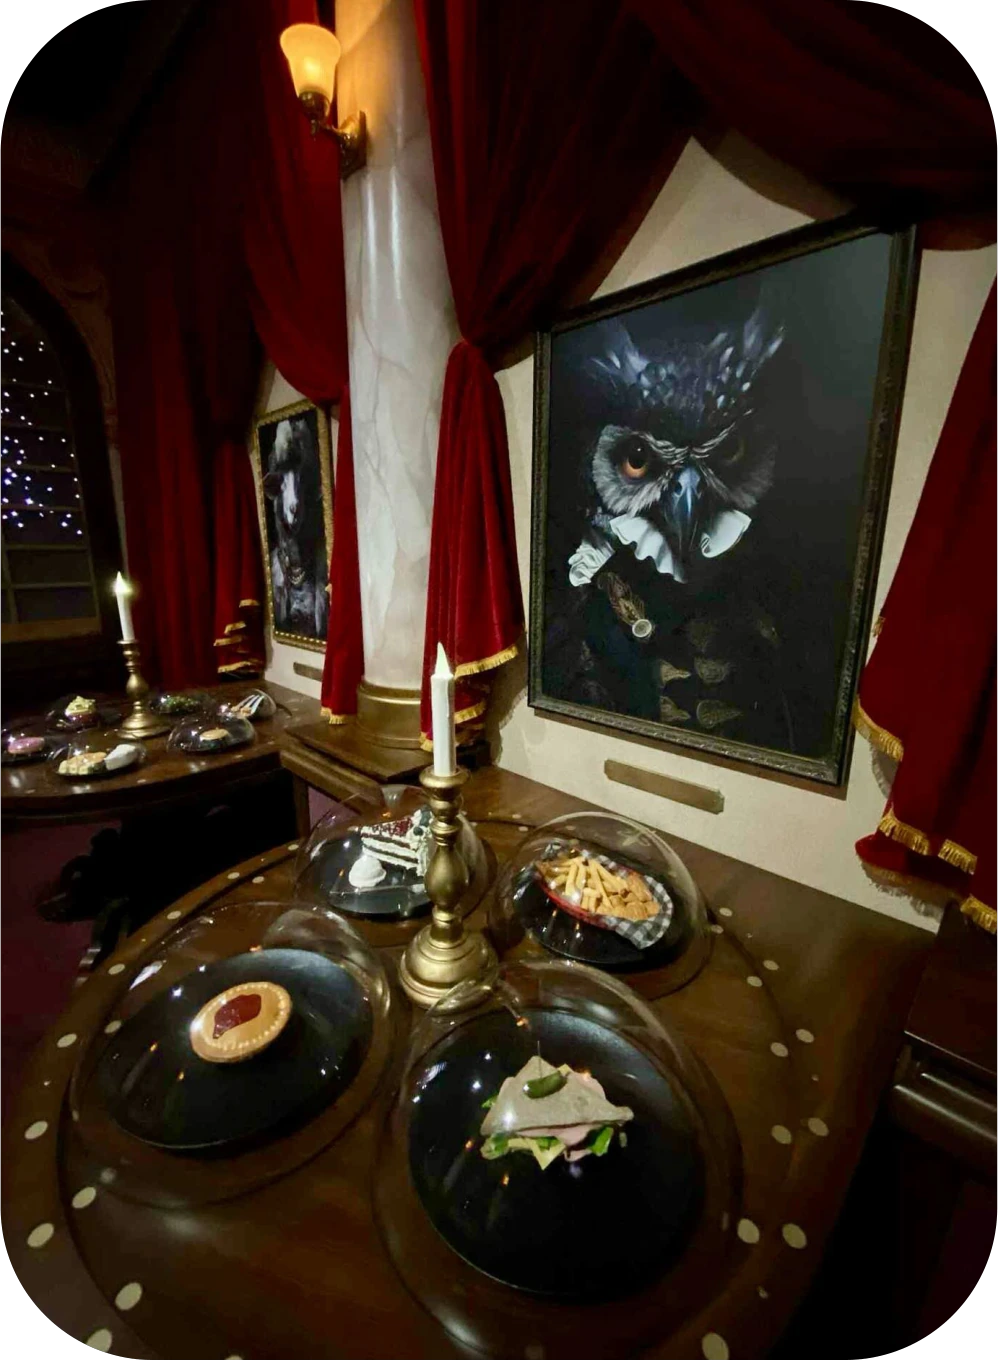
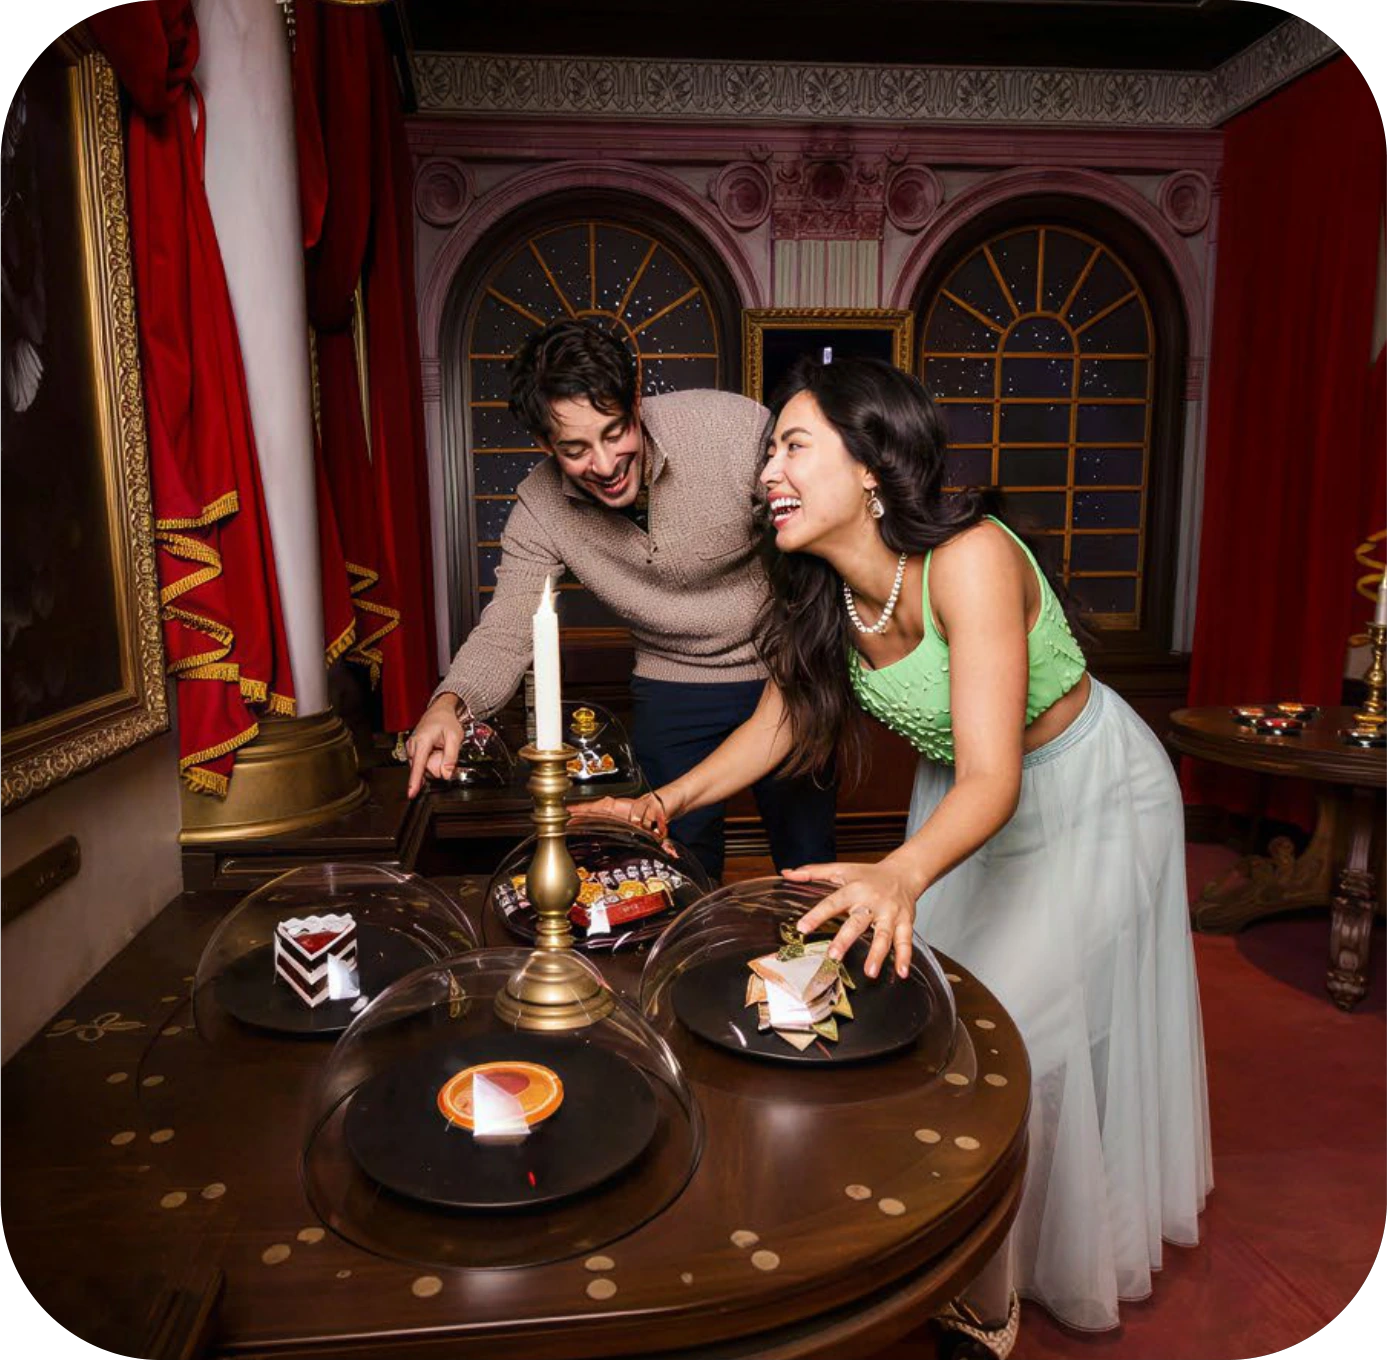
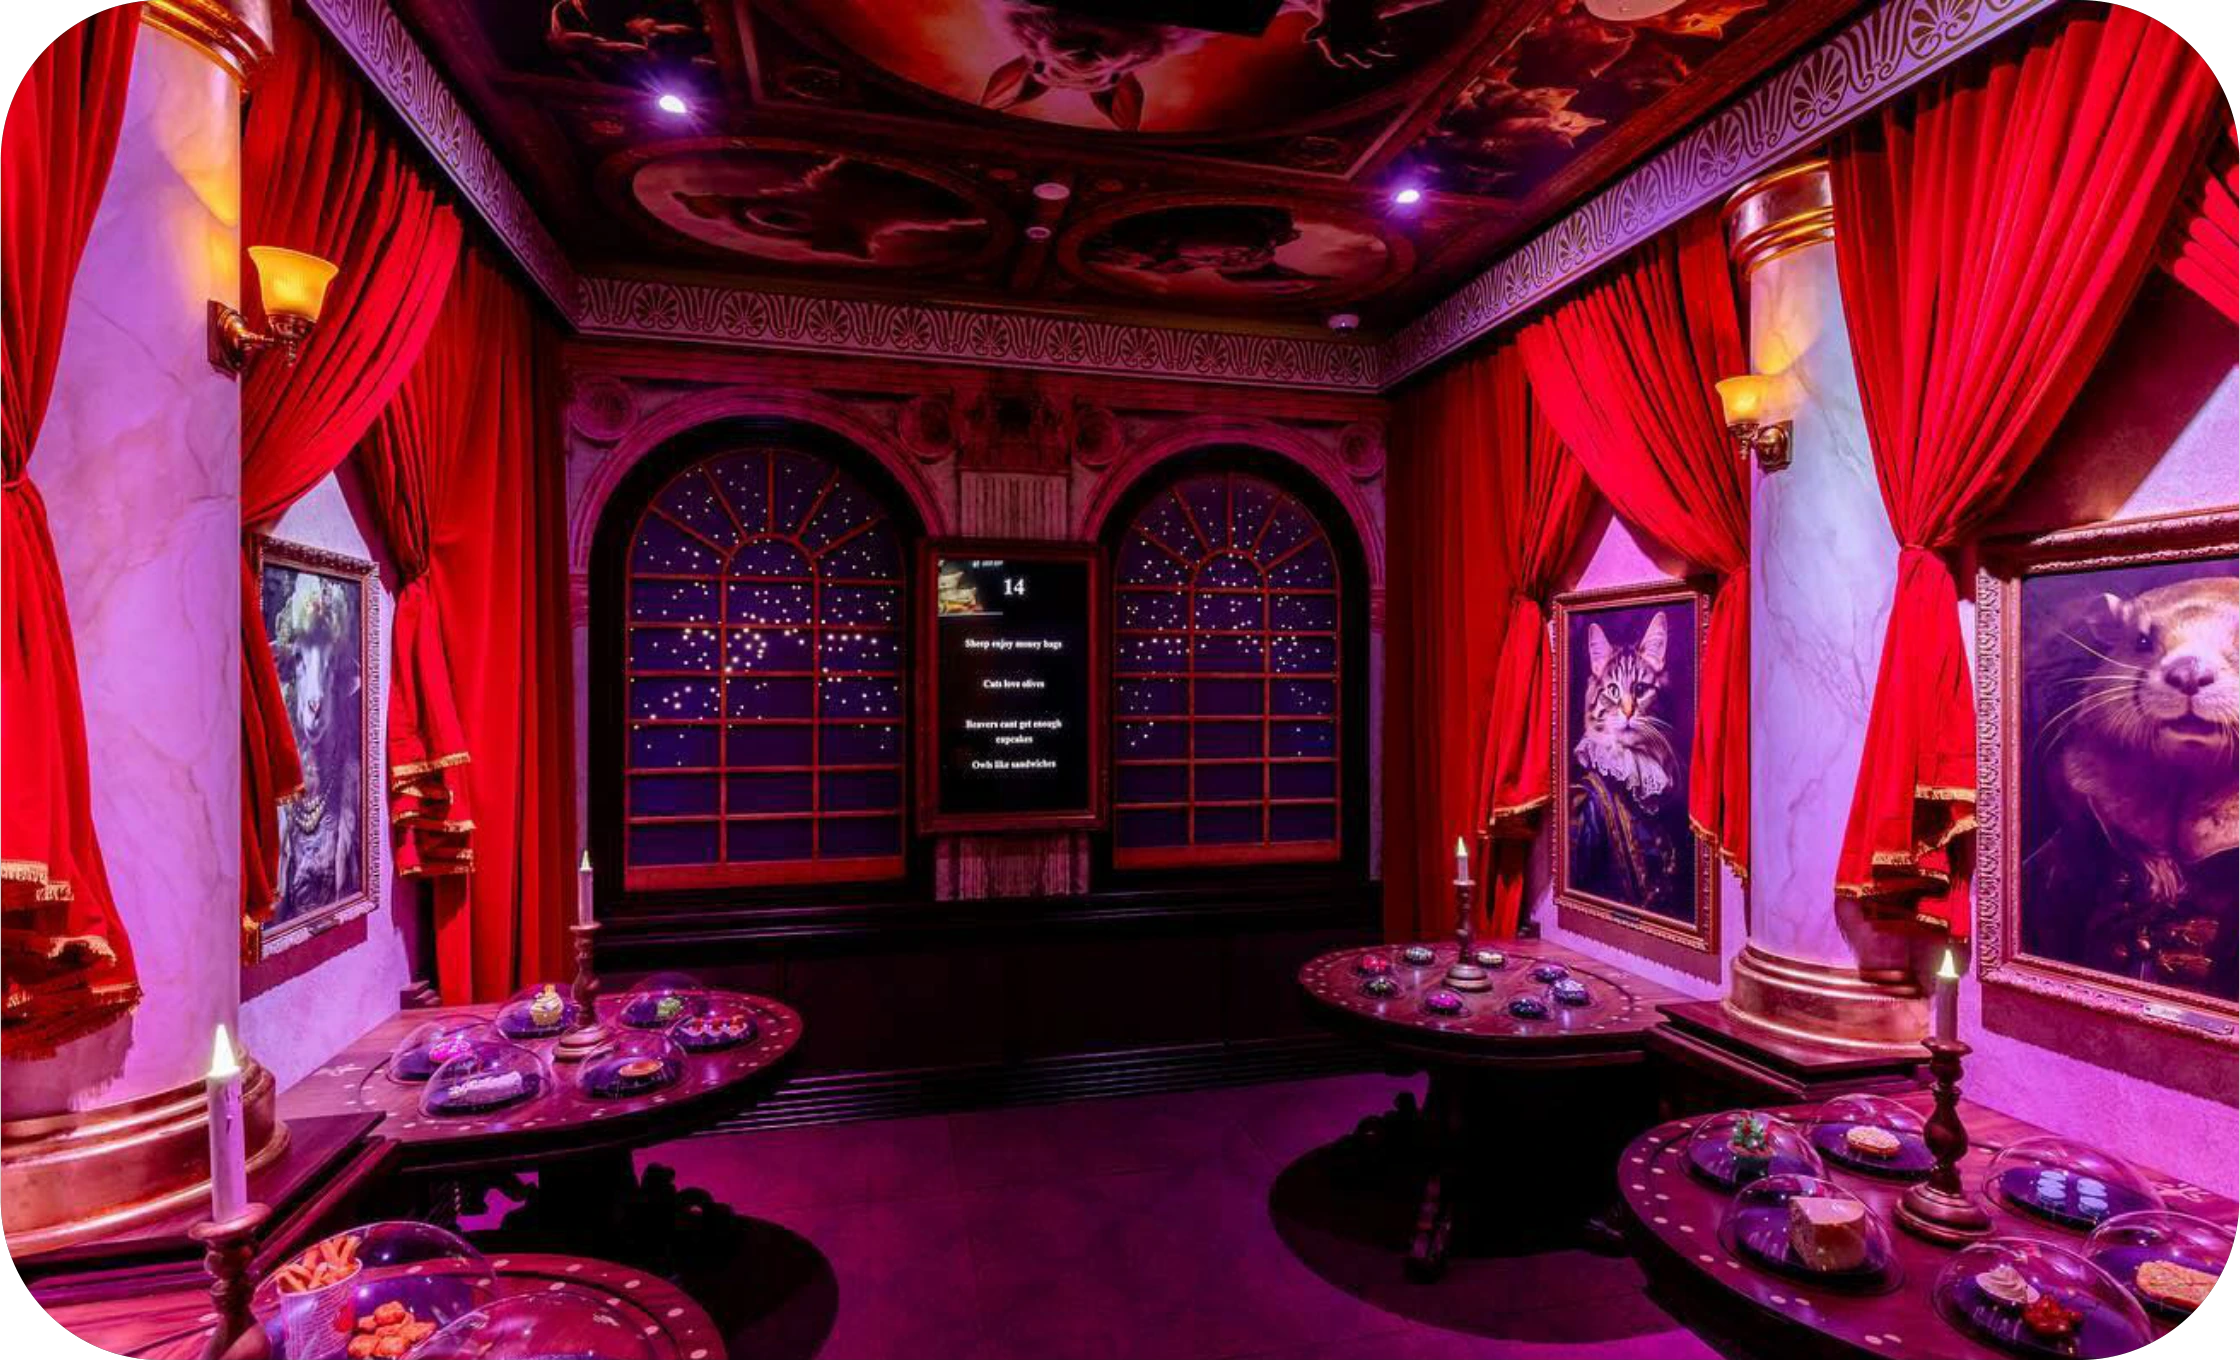
Restaurant

This Hijinx Hotel room is built around serving a demanding cast of animal aristocrats in a gauche neoclassical setting. Guests engage in a timed challenge in which players rotate dishes into position to satisfy each character’s order.

Restaurant room overview
Restaurant game detail
Restaurant dining-table detail
Restaurant game controls
Players in the Restaurant room
Restaurant room interior

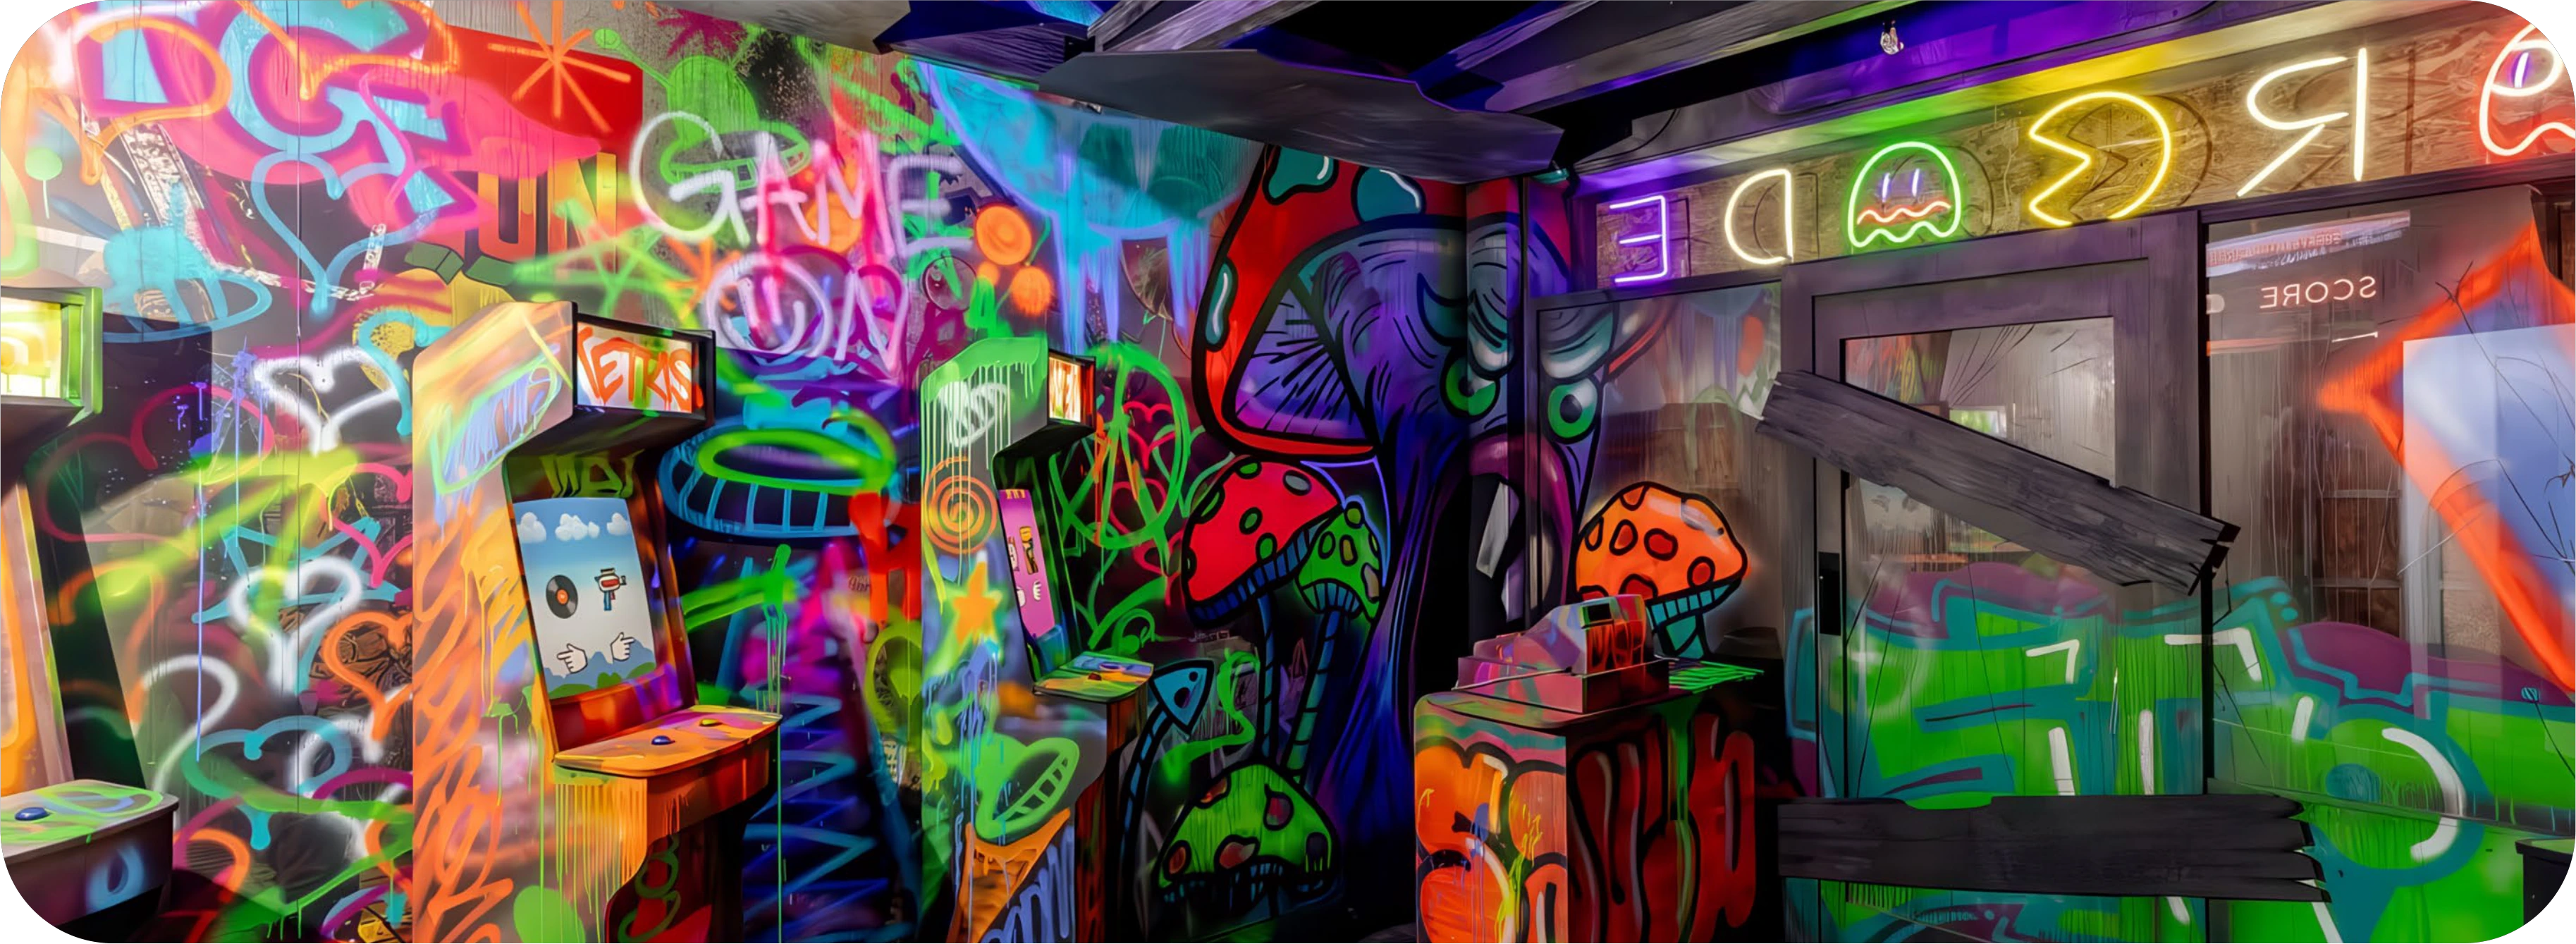
Abandoned Arcade

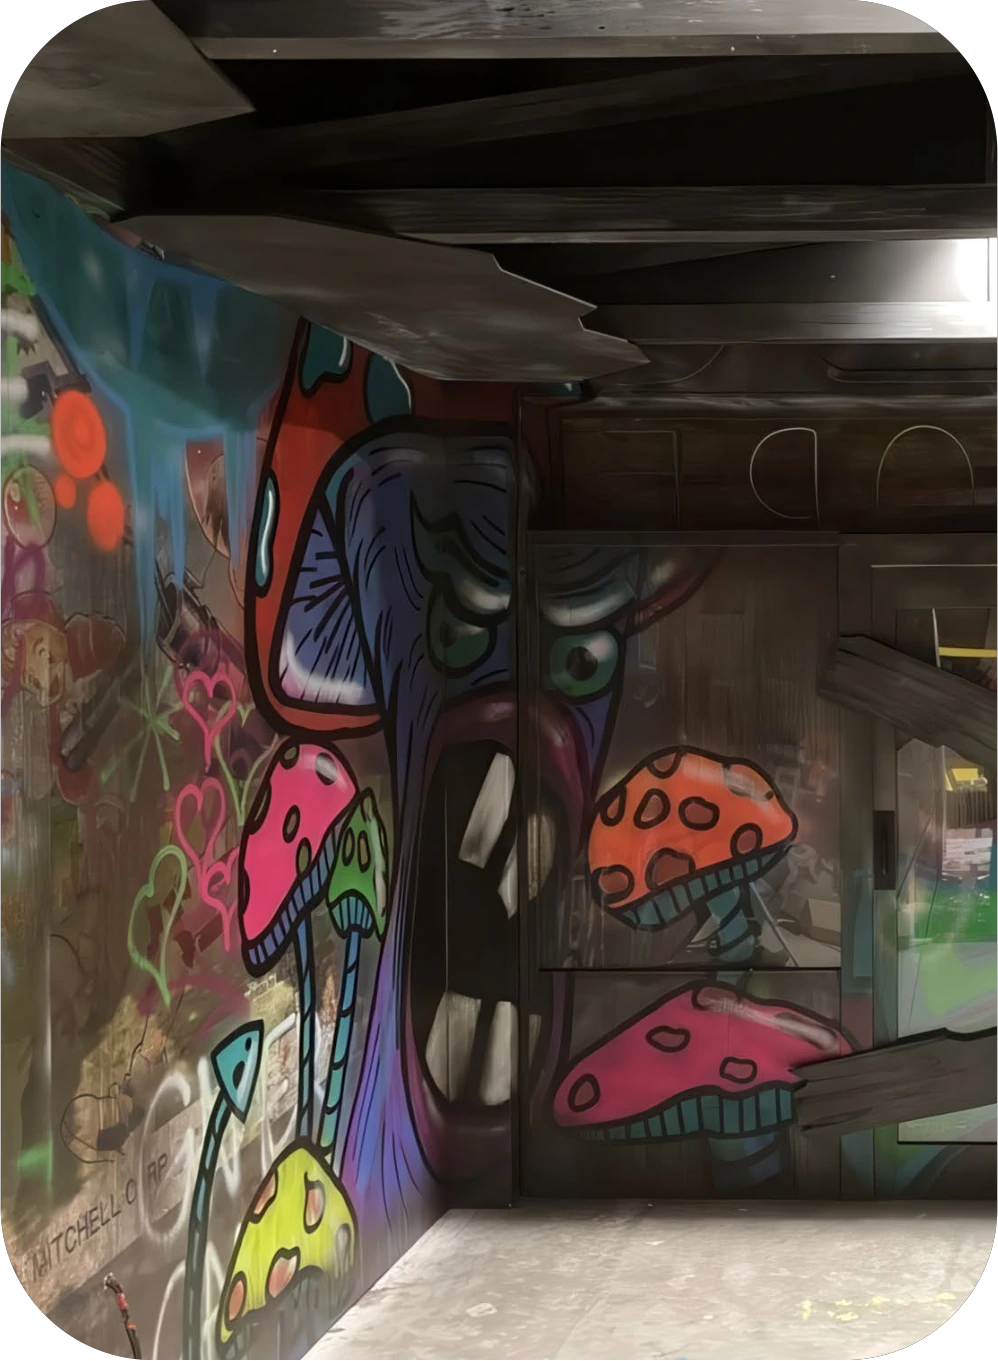
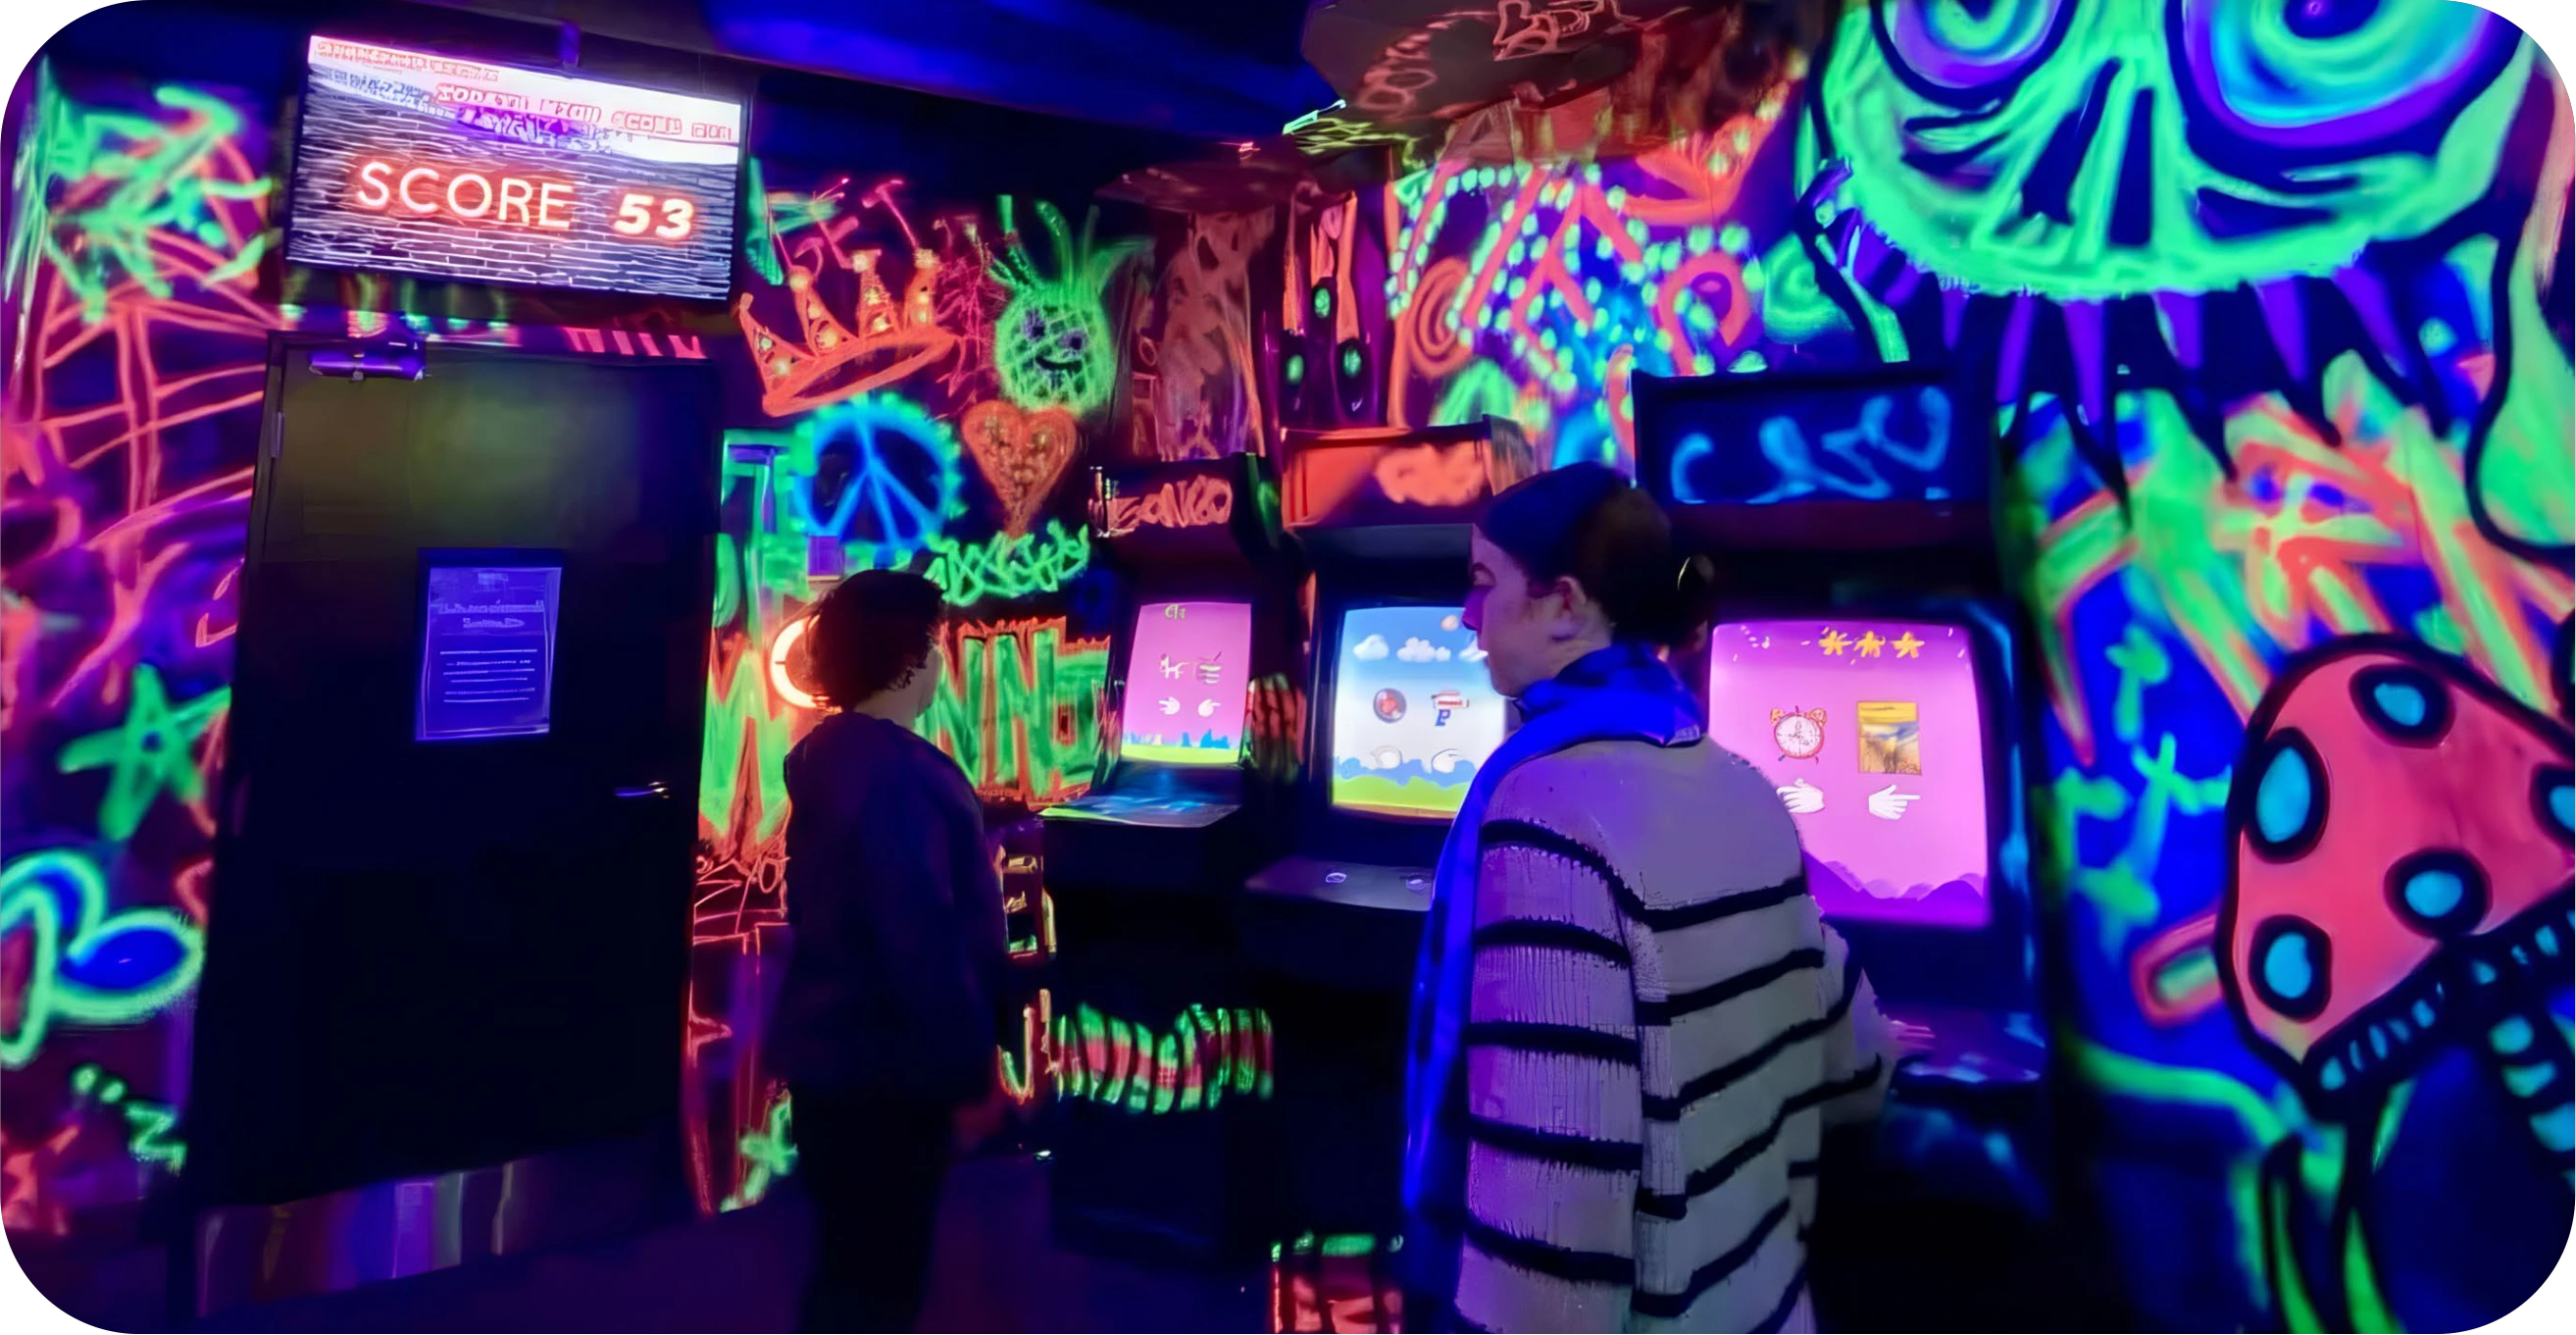
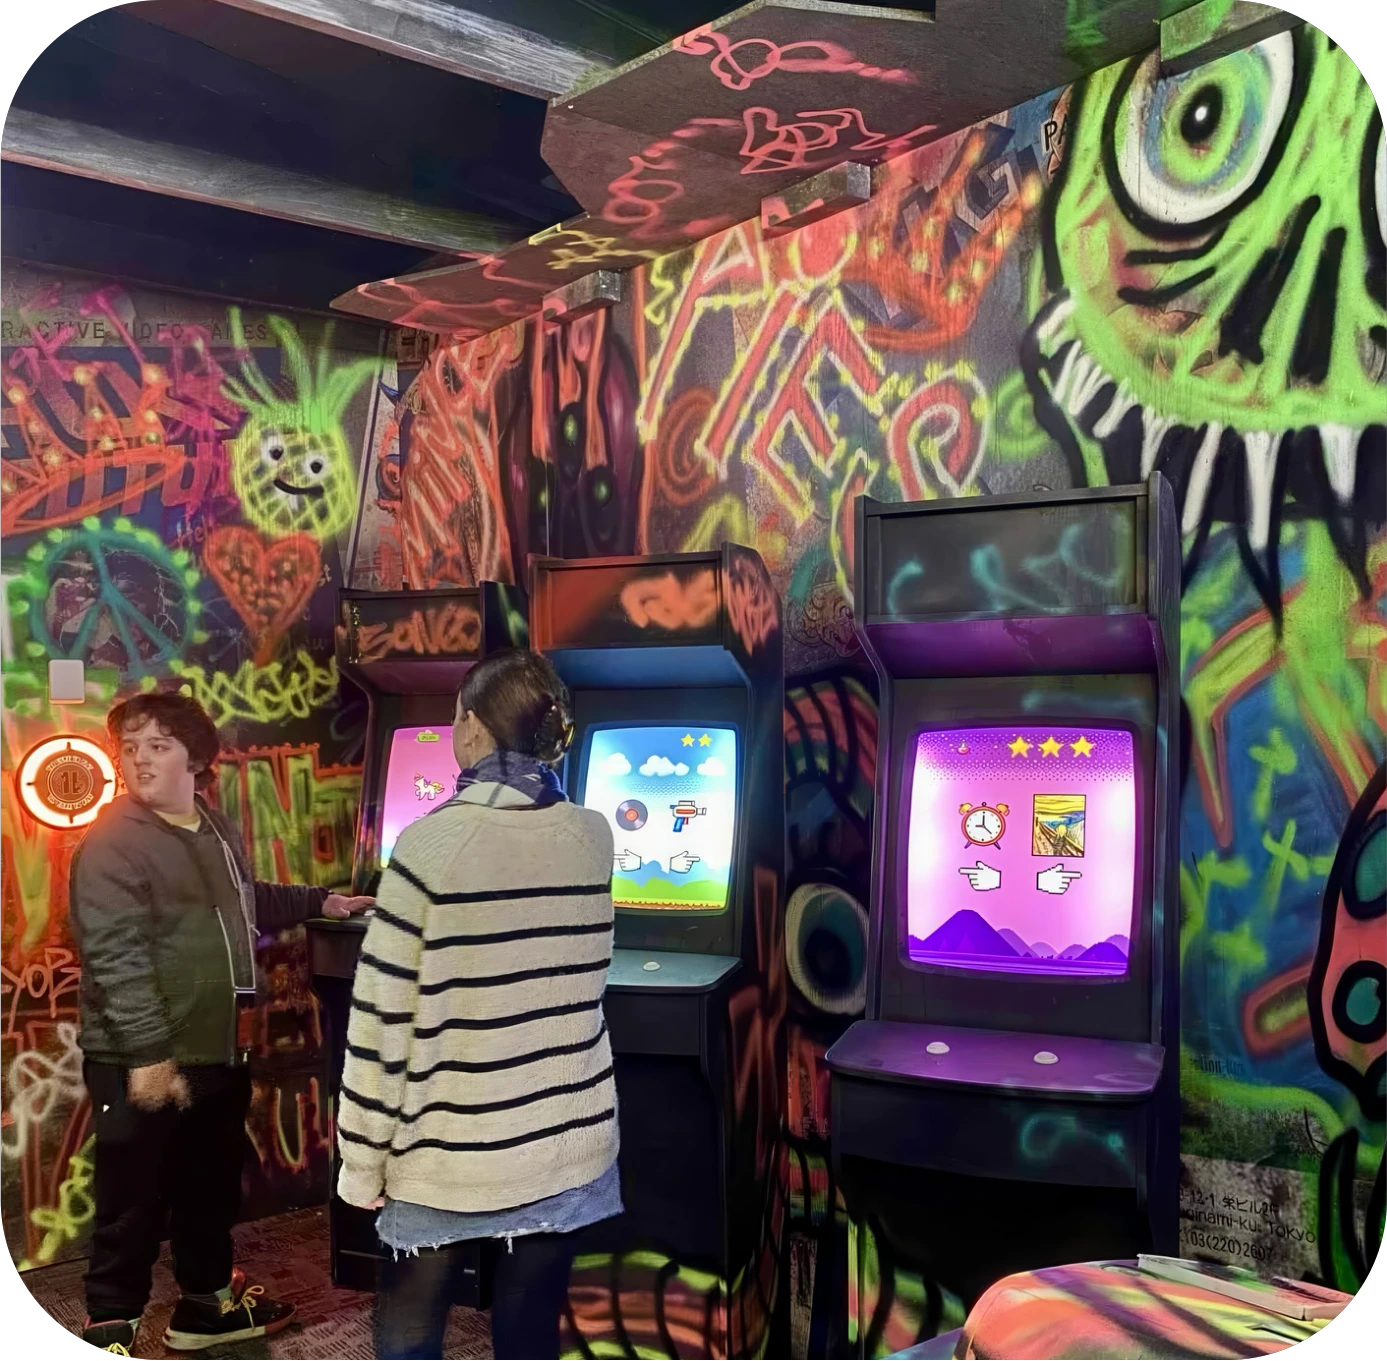
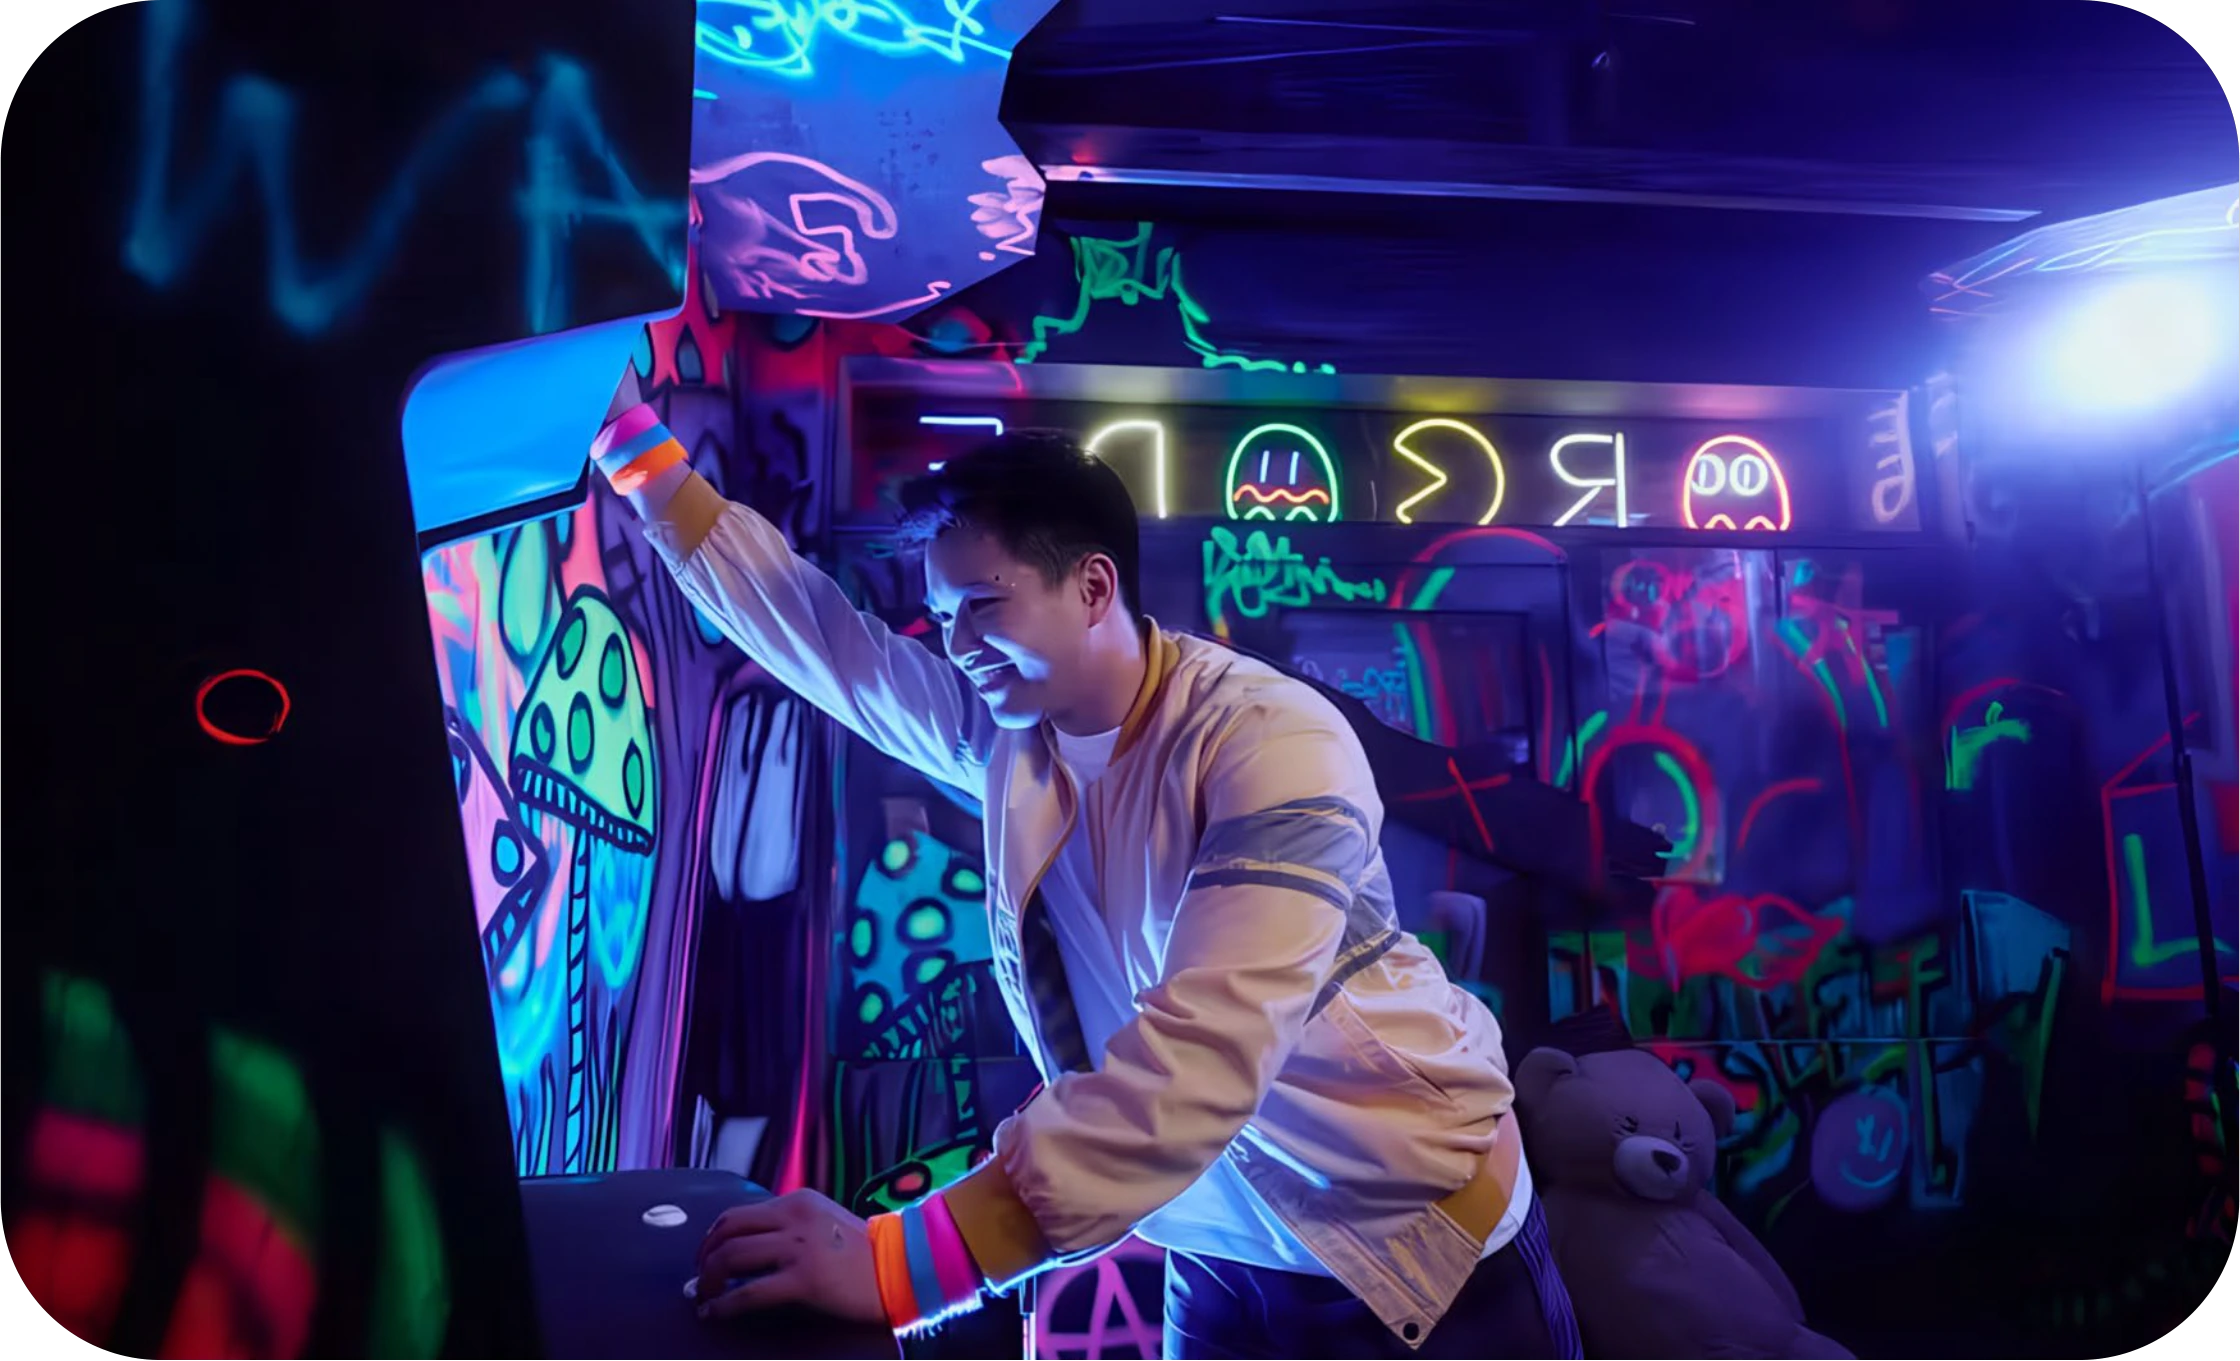
I designed this Hijinx Hotel room as an abandoned arcade with glowing graffiti. The design combines the faded atmosphere of urban decay with vivid colour and light. The arcade setting provides a backdrop for the room’s sound-based reaction game.

Abandoned Arcade room overview
Abandoned Arcade room detail
Players in the Abandoned Arcade
Abandoned Arcade game cabinets
Abandoned Arcade player

Ball Toss – Sports

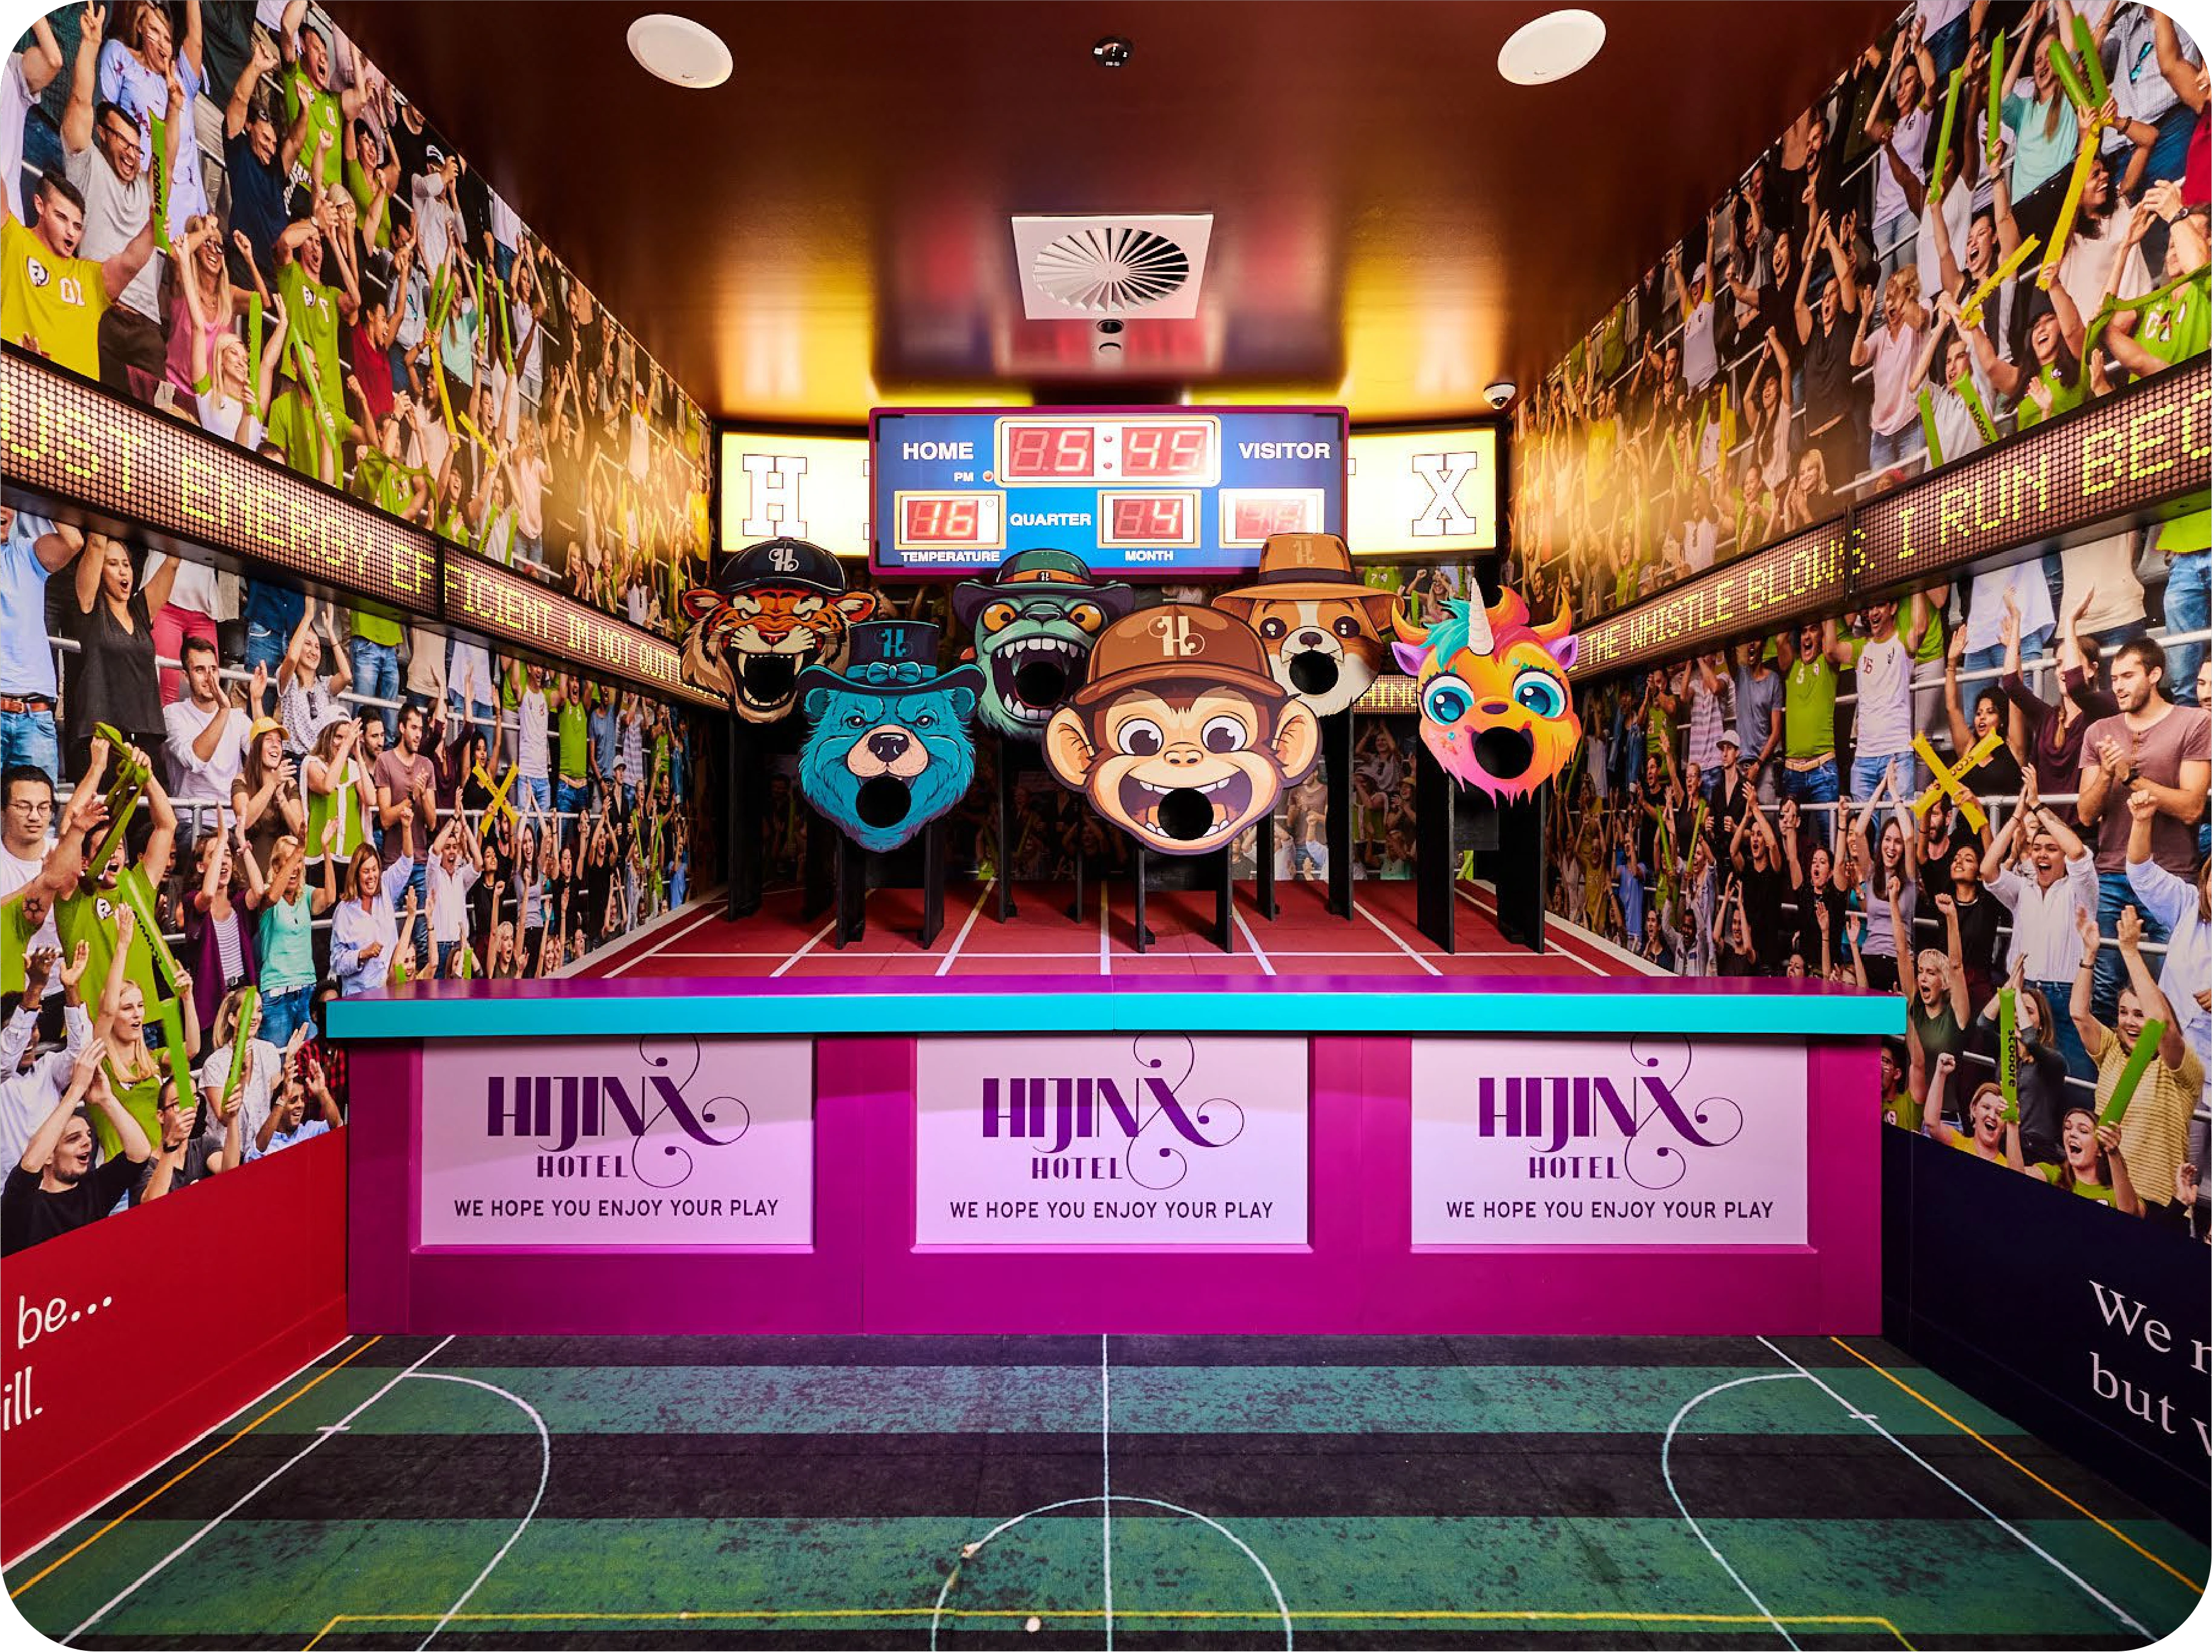
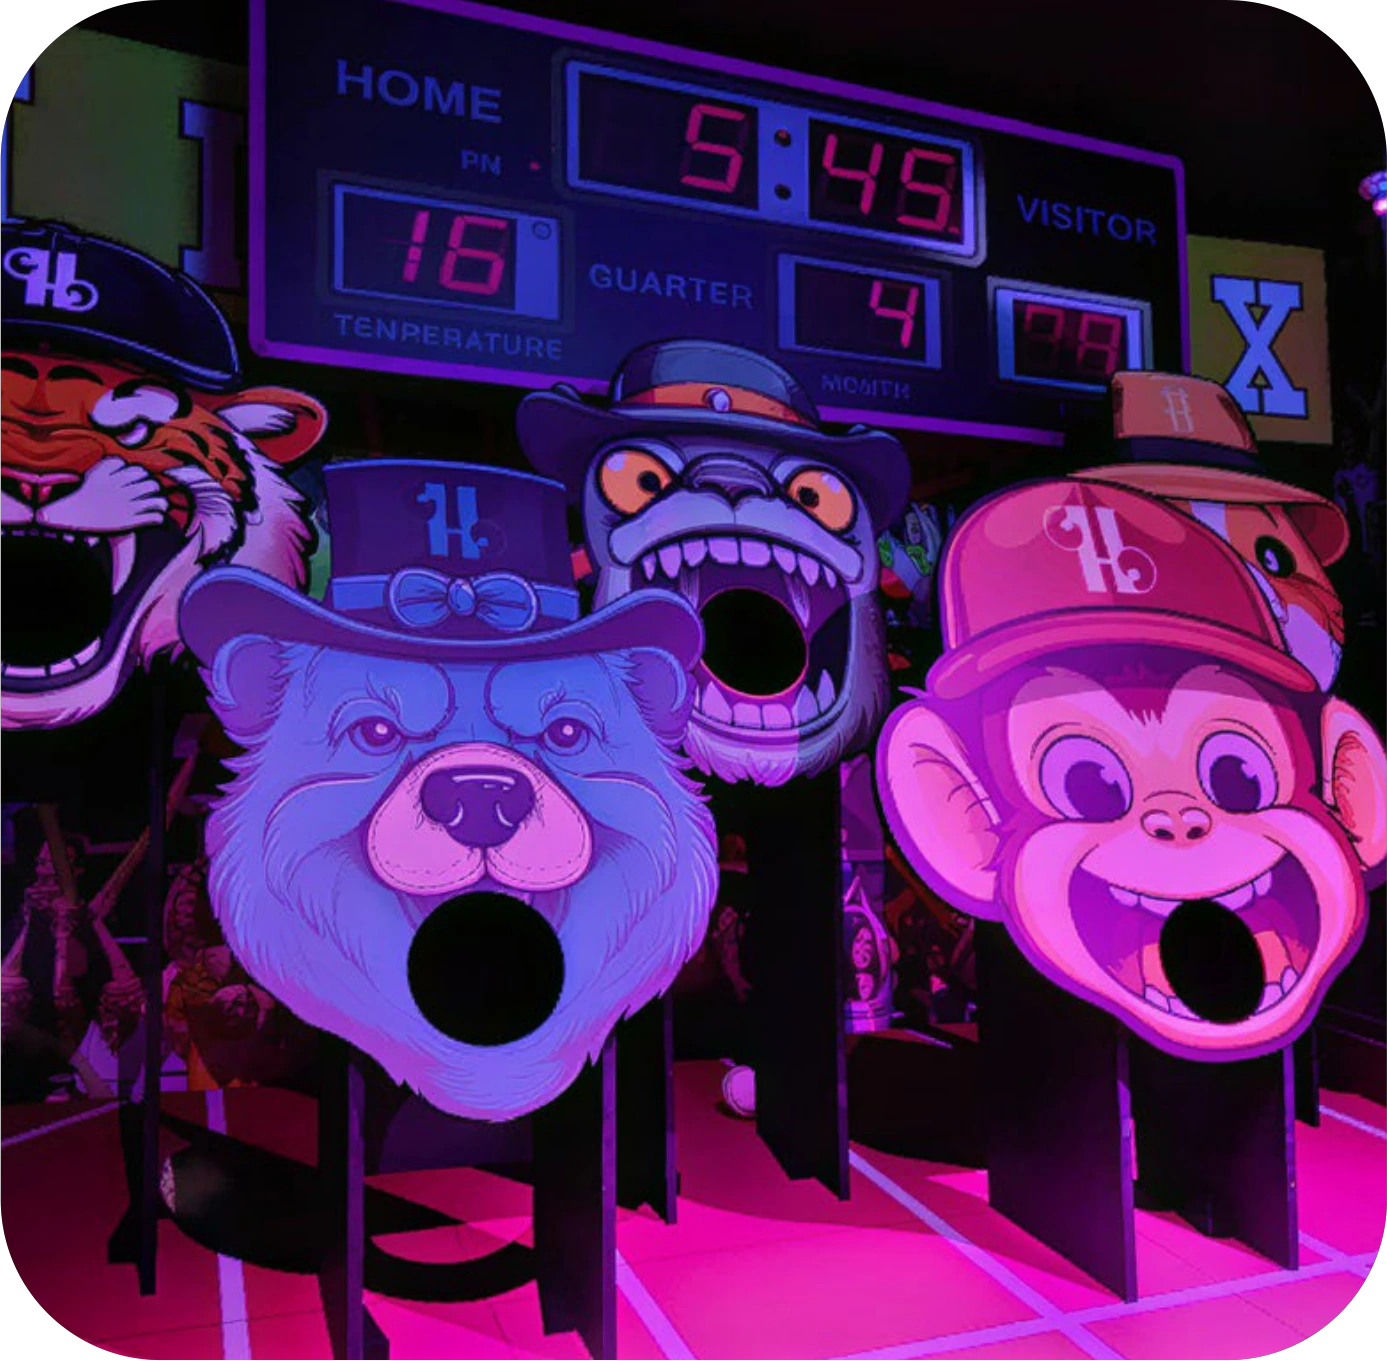
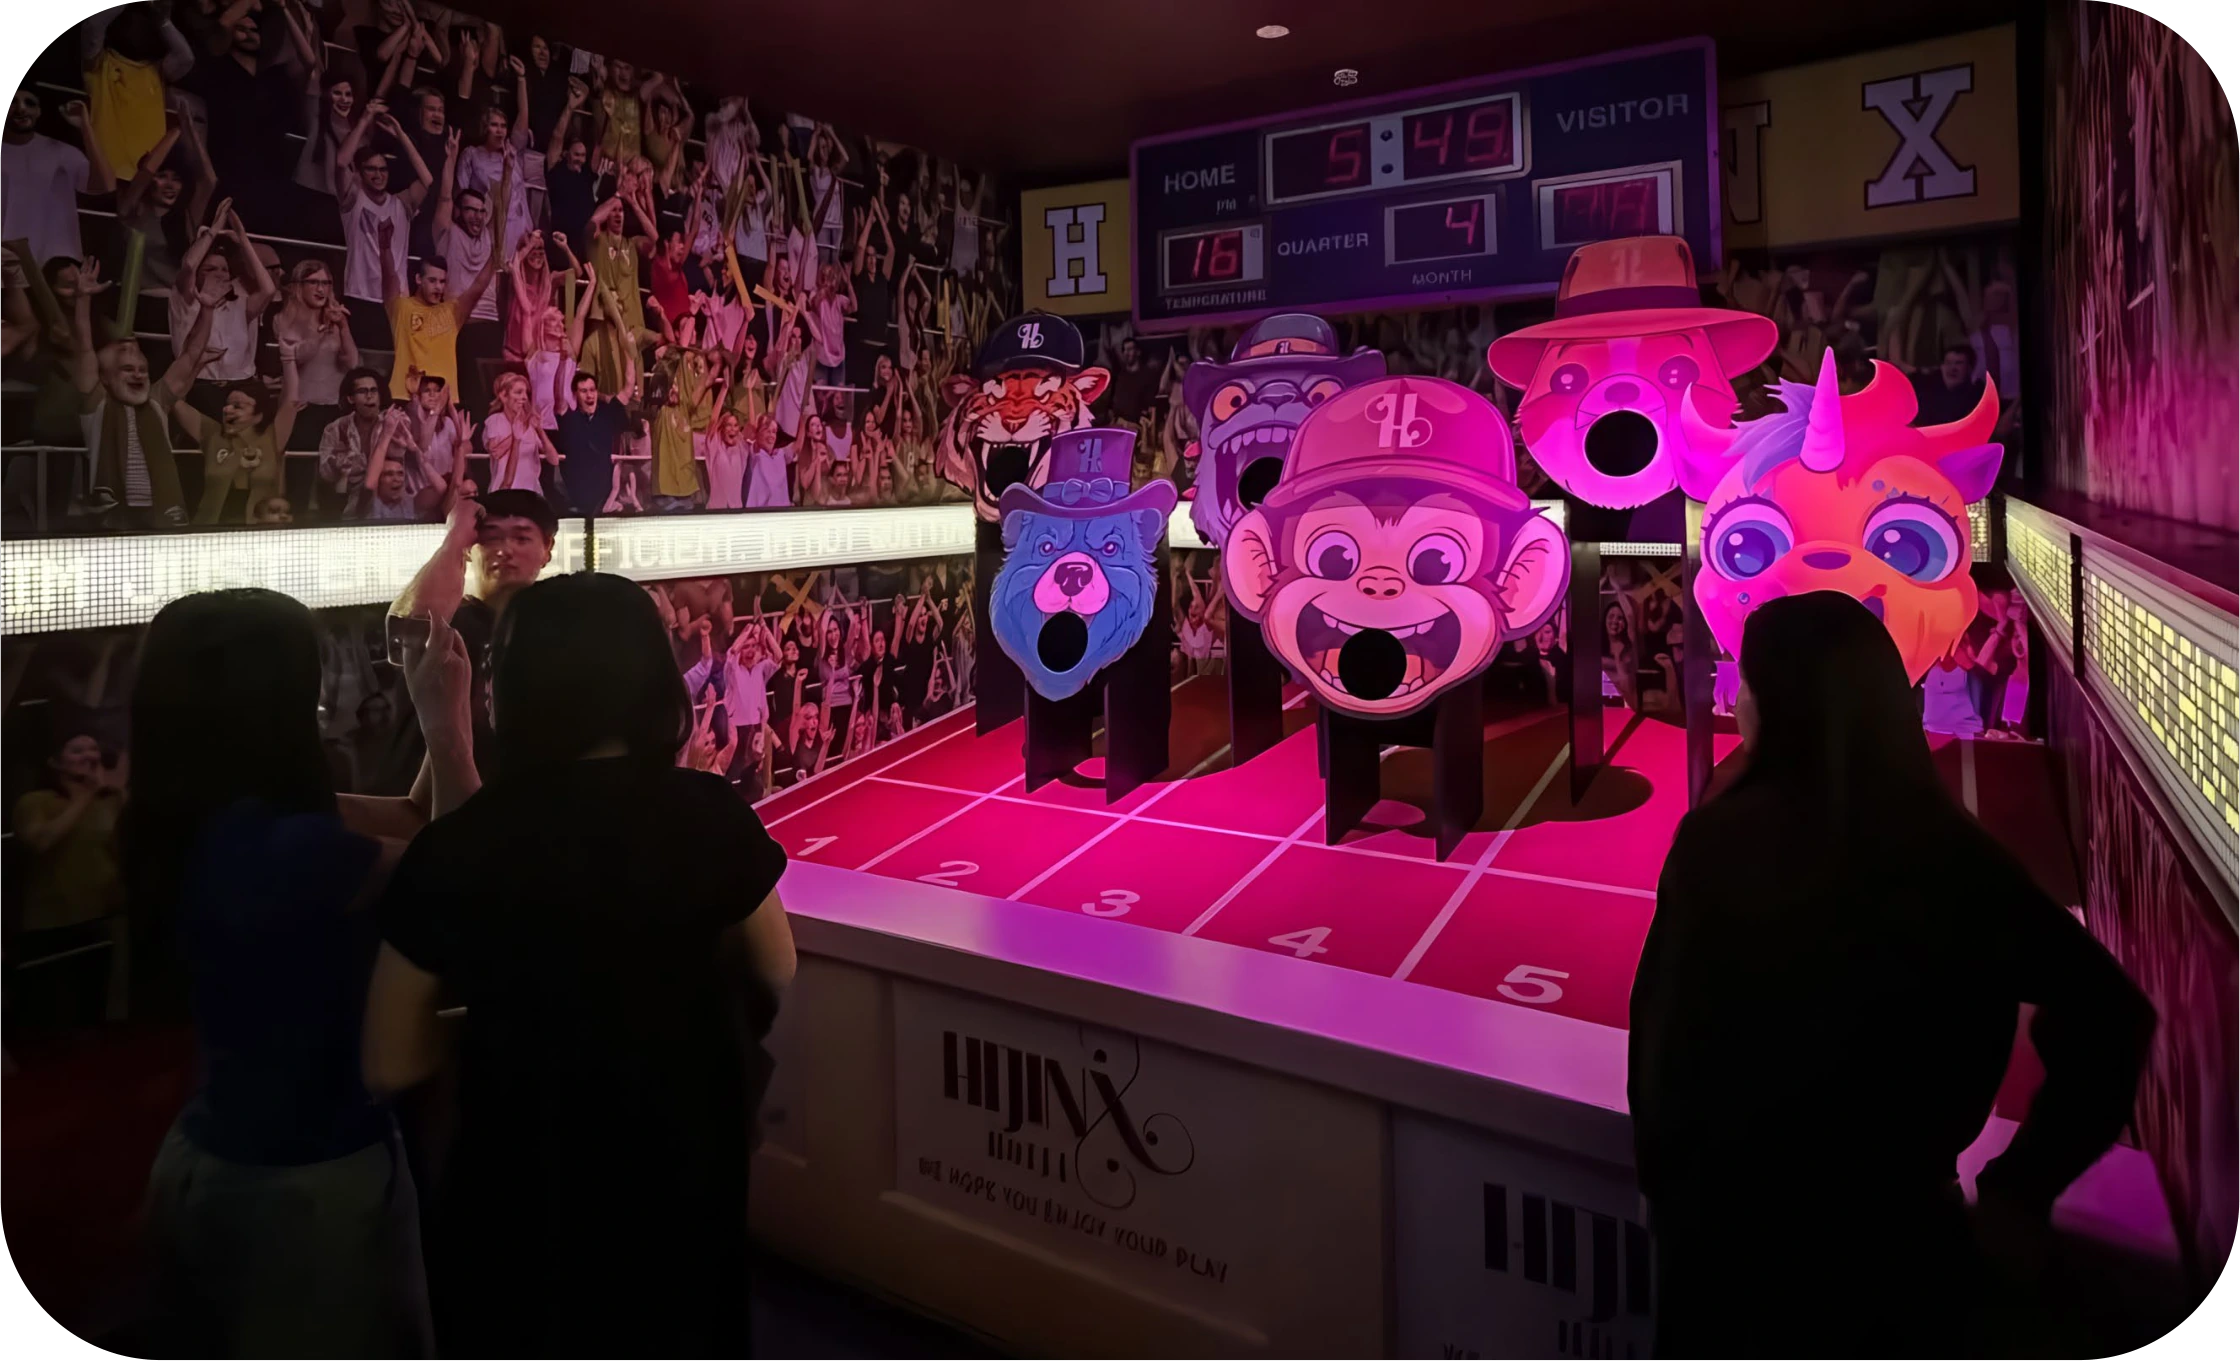
I designed this sports-themed challenge room for Hijinx Hotel as an attempt to capture the atmosphere of a packed stadium in a compact space. From behind the barrier, players attempt to shoot balls into the mouths of the animal mascots.

Ball Toss sports room
Ball Toss animal targets
Players in the Ball Toss room

2020 to 2022. HIJINX HOTEL by FUNLAB. I designed a handful of the Hijinx Hotel games rooms for FUNLAB between 2020 and 2022. Hijinx Hotel is an IP now in most Australian cities and several sites in the USA. The assets were constructed by ONSET Arts, Brunswick. I worked on all of the Hijinx Hotel rooms at one time or another, but below are a few I designed from scratch.

Holey Moley Funhouse entrance

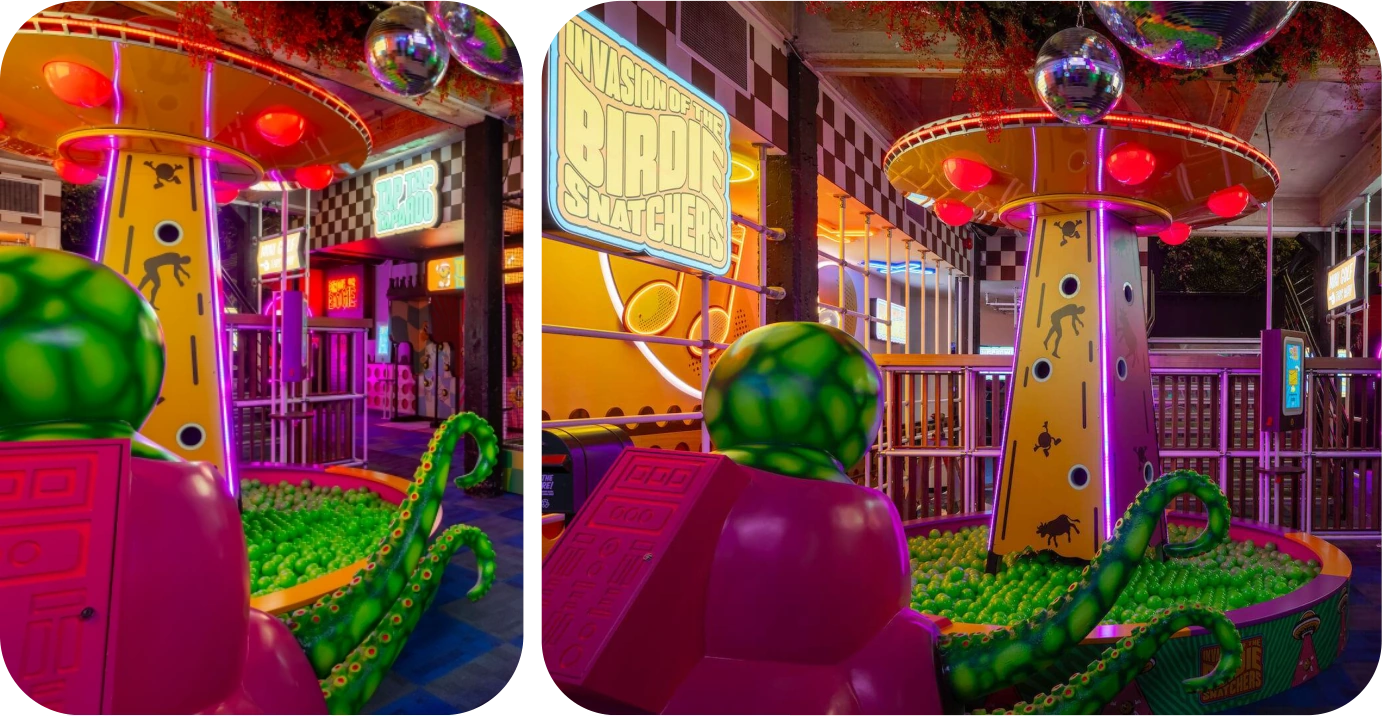
Invasion of the Birdie Snatchers

Four players stand in a ball pit and attempt to insert as many alien eggs into the UFO’s tractor beam as they can within a timed period.
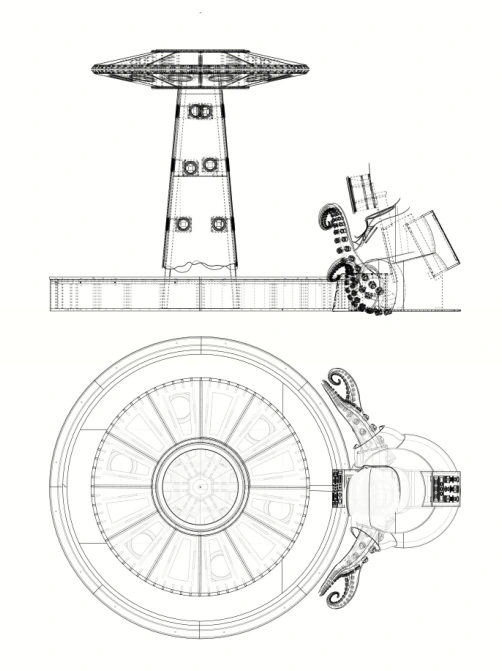
Invasion of the Birdie Snatchers installation
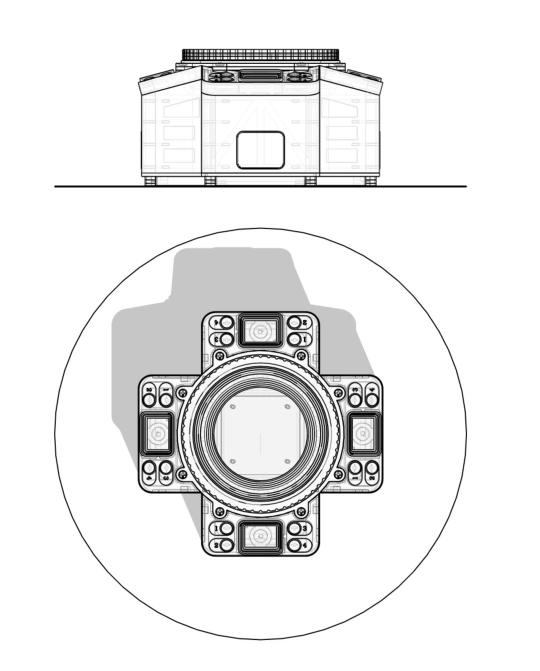
Birdie Snatchers technical drawings

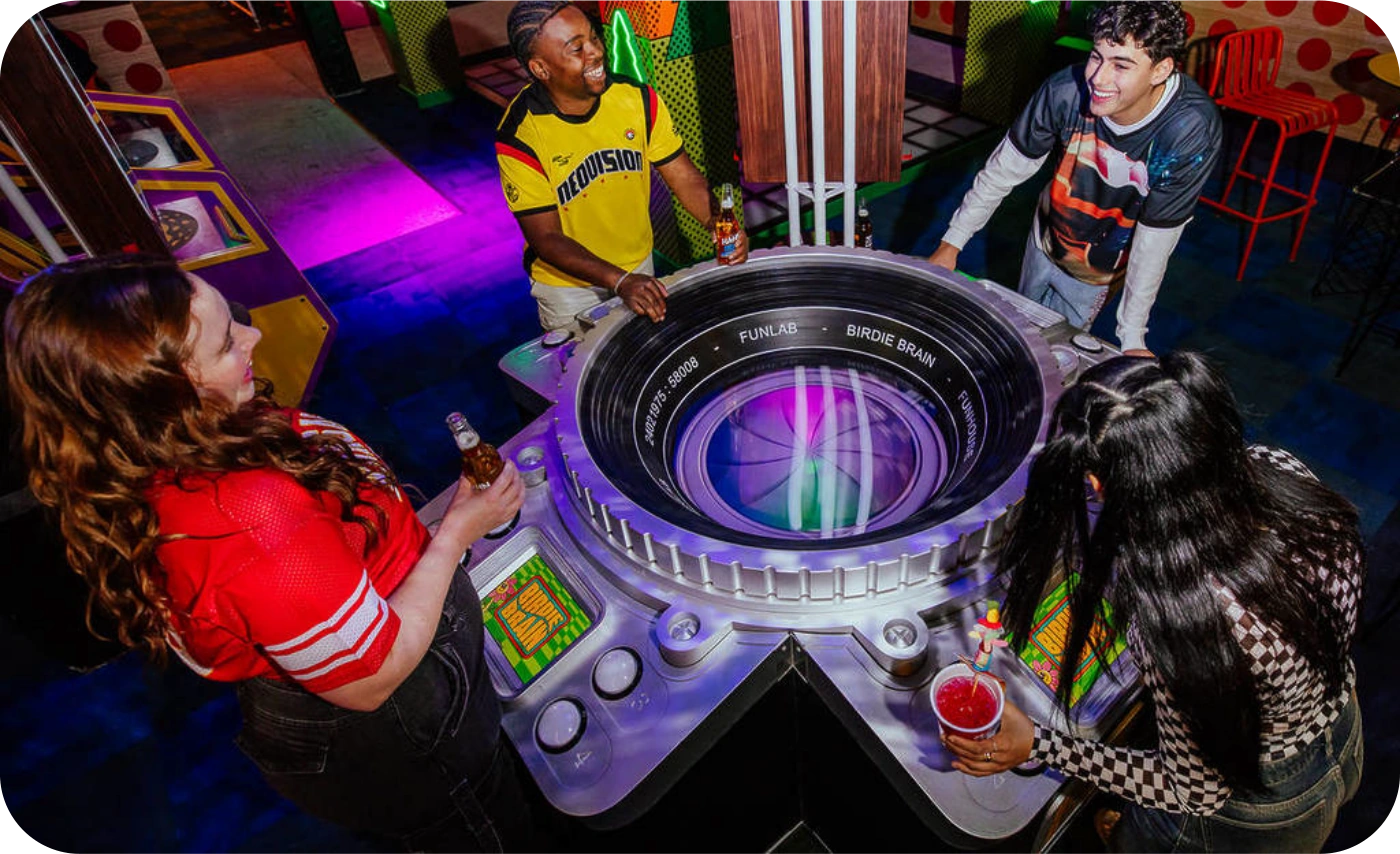
Birdie Brain

Four players stand around a cabinet that apes the appearance of an old SLR camera. The aperture in the camera’s lens opens and displays an image for 30 seconds, then closes. The users respond to questions about the image, and have to rely on their memory.

Birdie Brain installation
Birdie Brain technical drawings

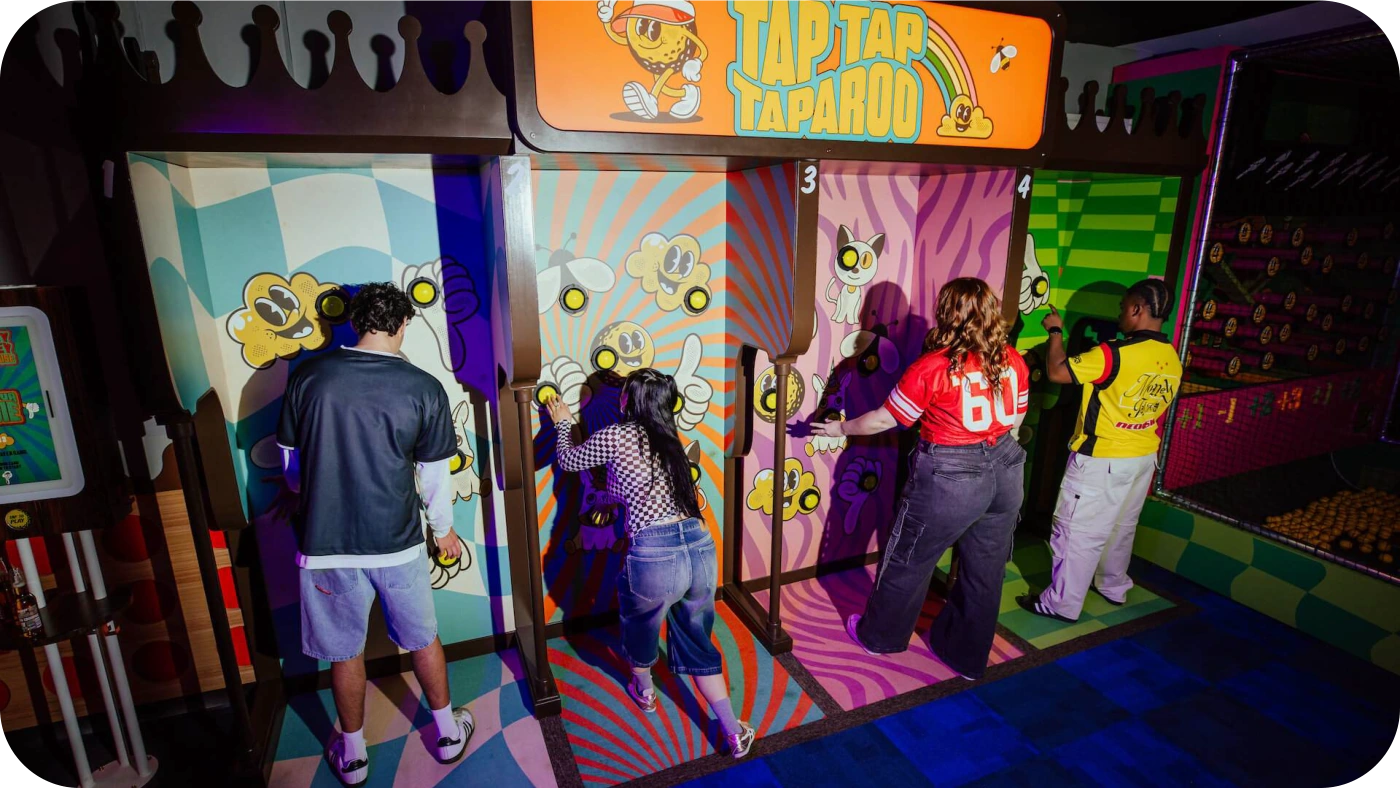
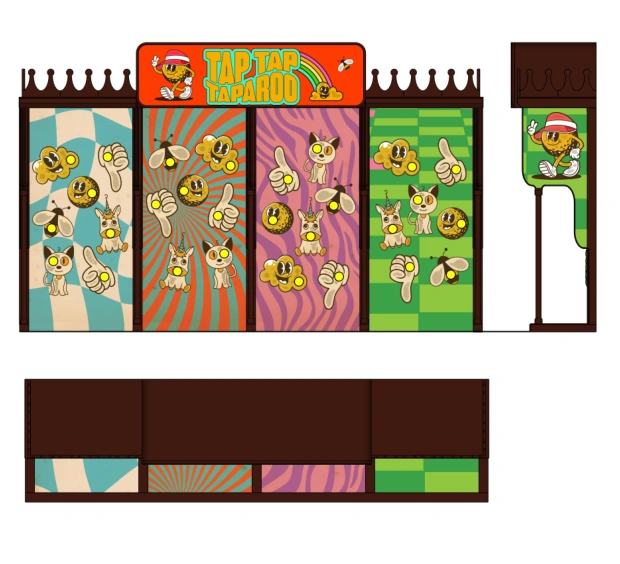
Tap Tap Taparoo

Four players stand in a stall and are confronted with buttons that light up in a sequence of lights and sounds. It’s a simple memory game. Each player is to remember and replay the sequence. Each round becomes more and more complex.

Tap Tap Taparoo installation
Tap Tap Taparoo elevation drawings
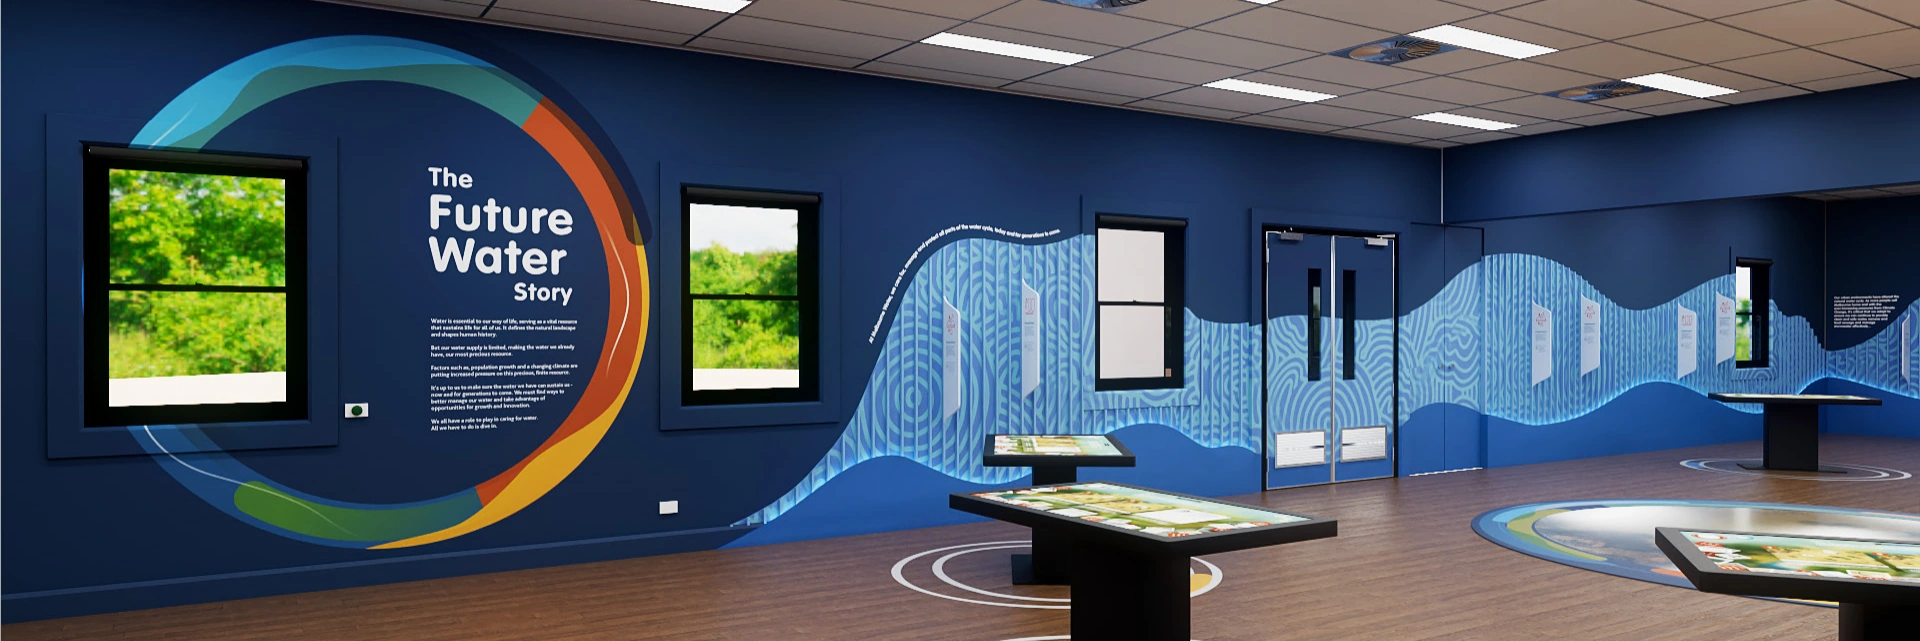
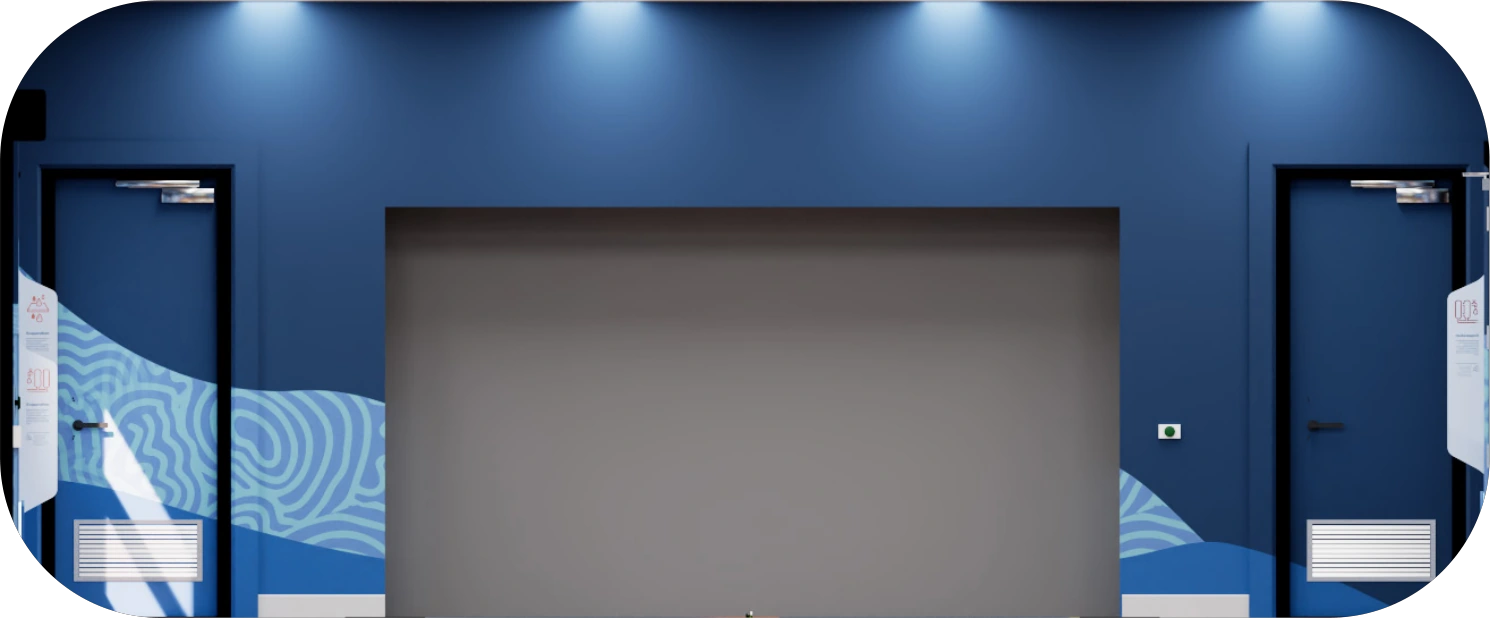
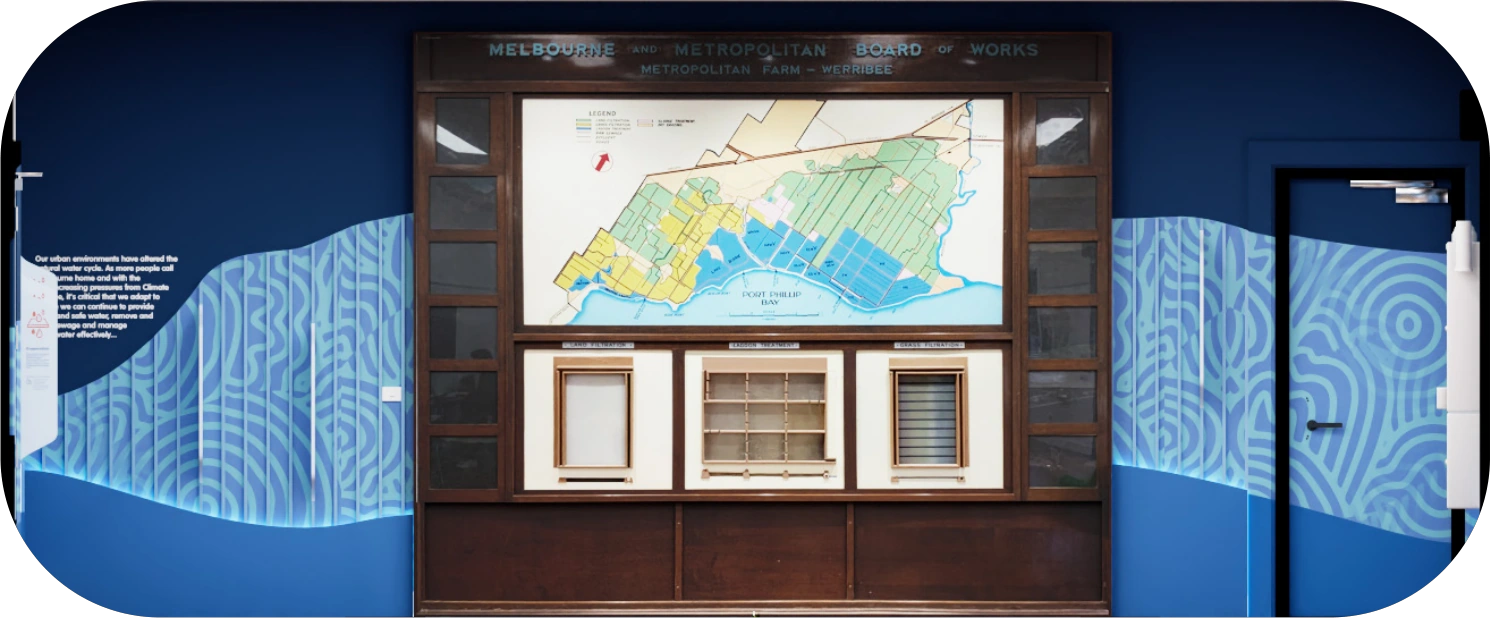
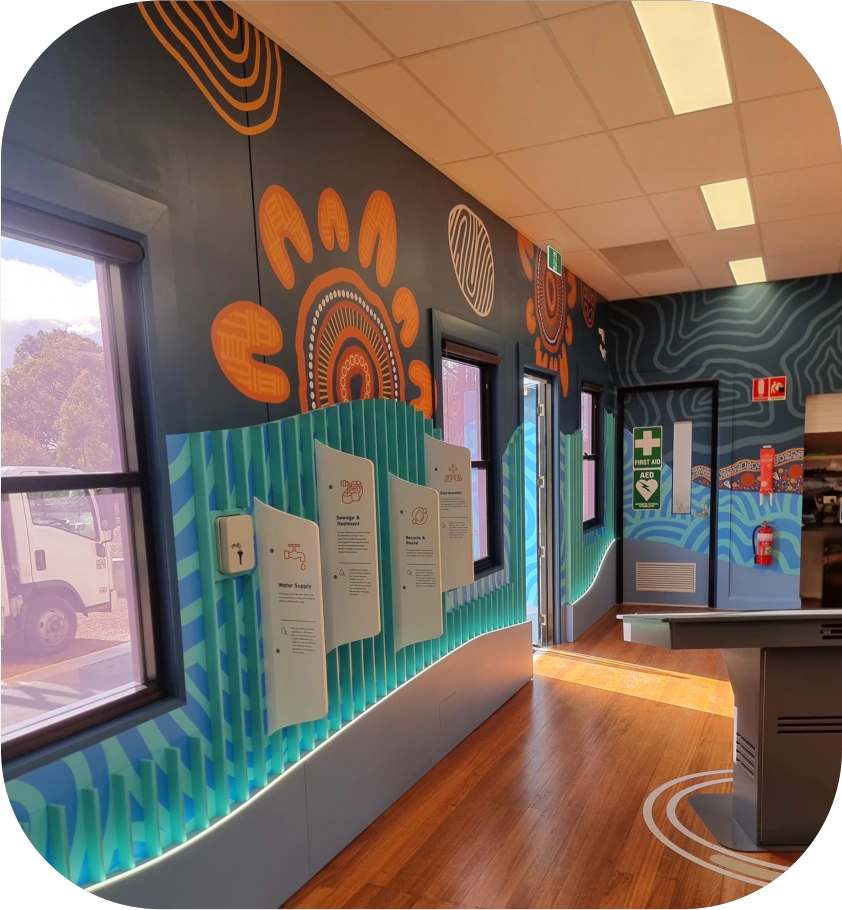
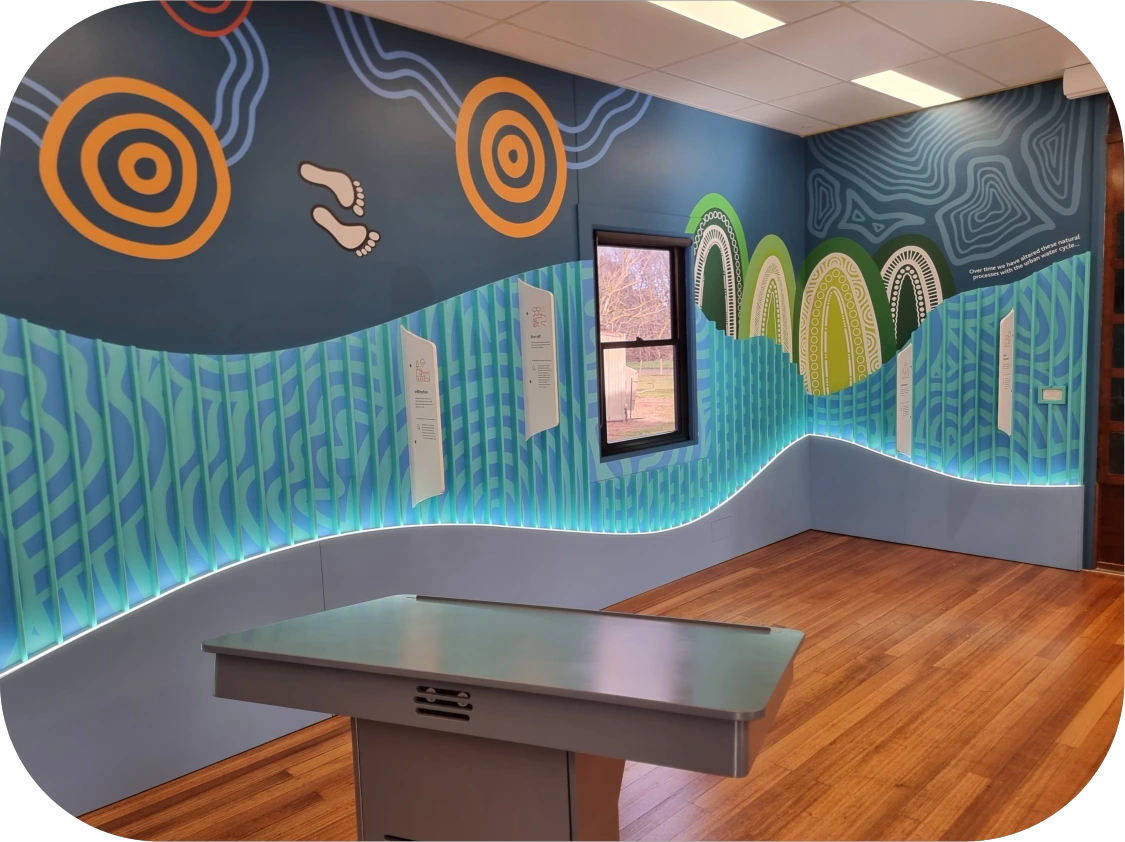
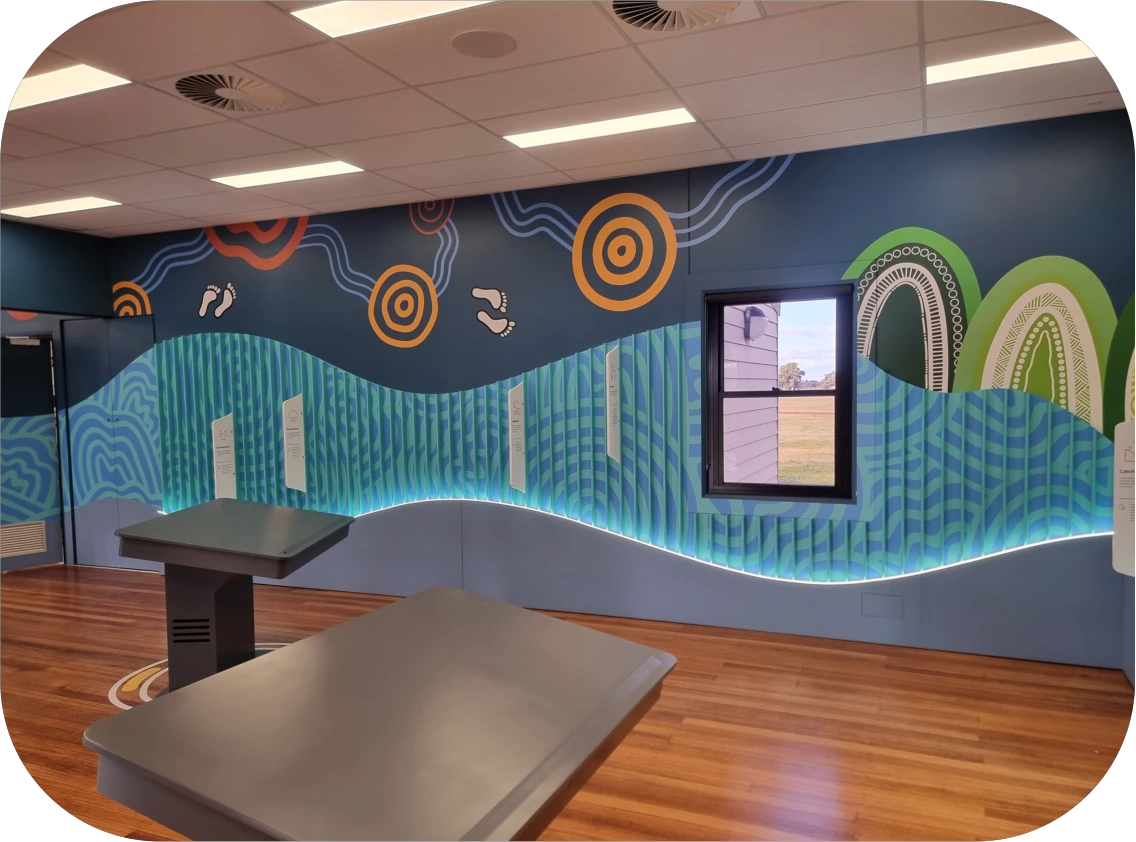
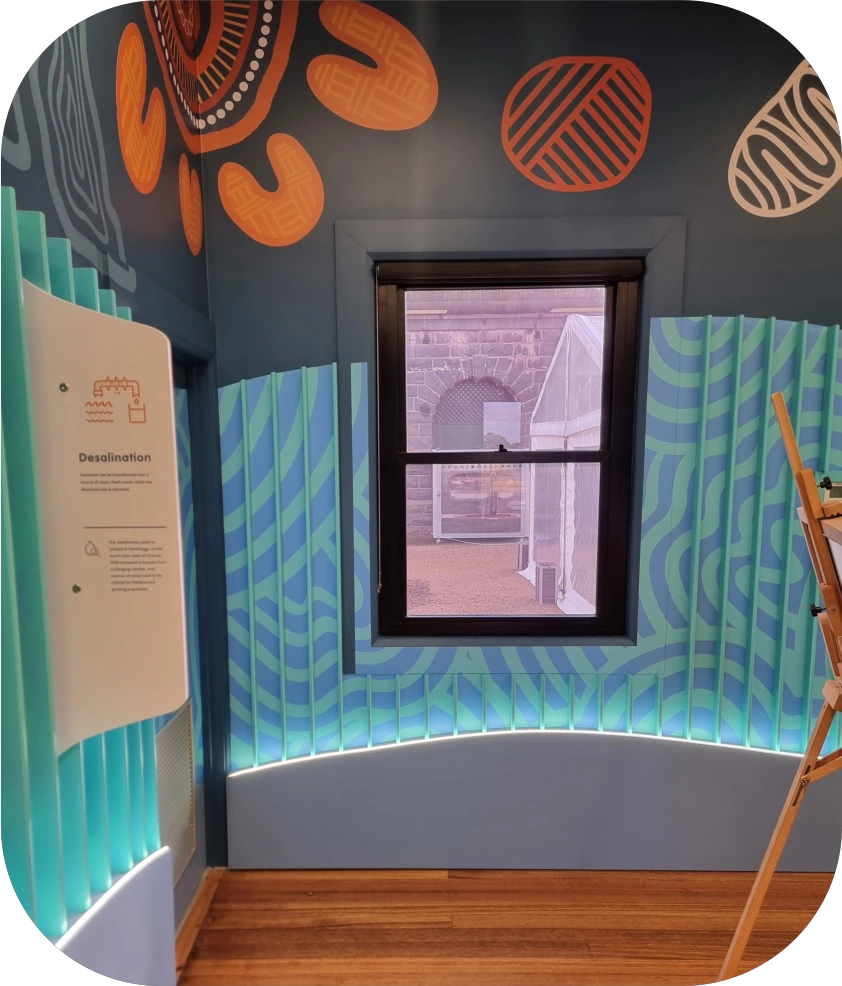
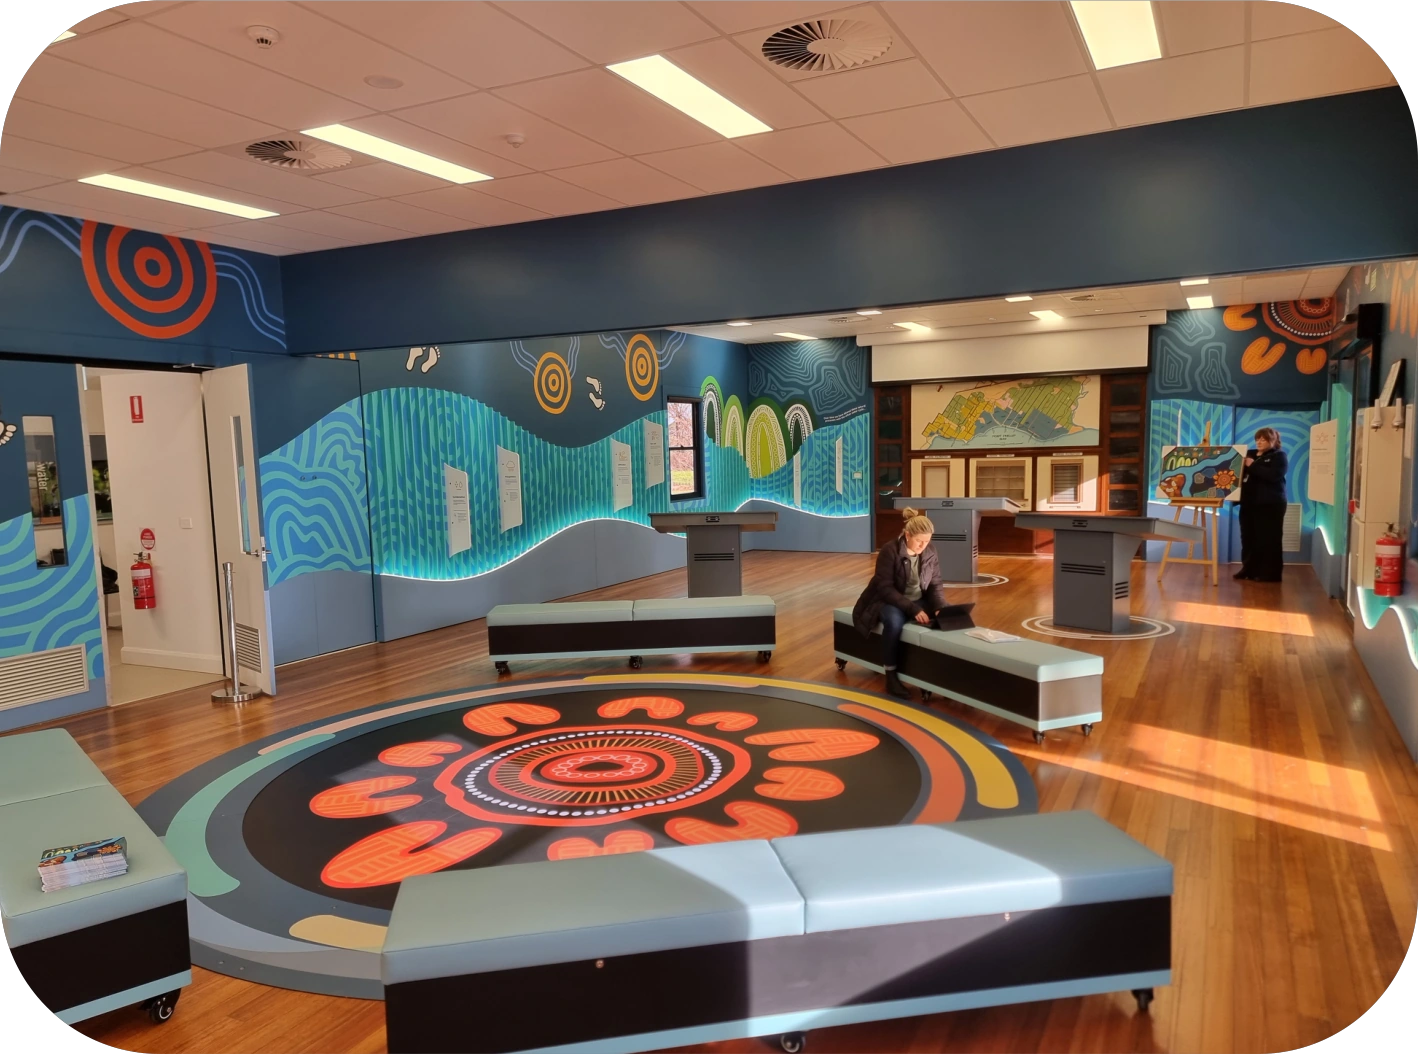
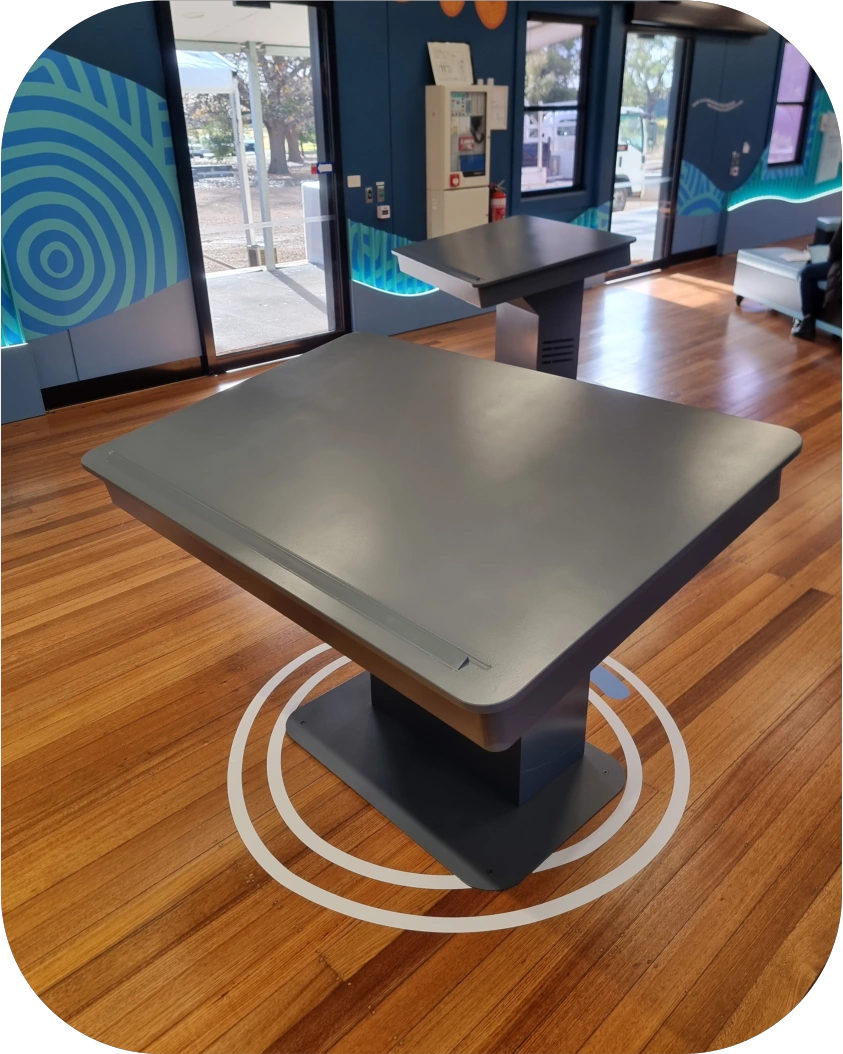
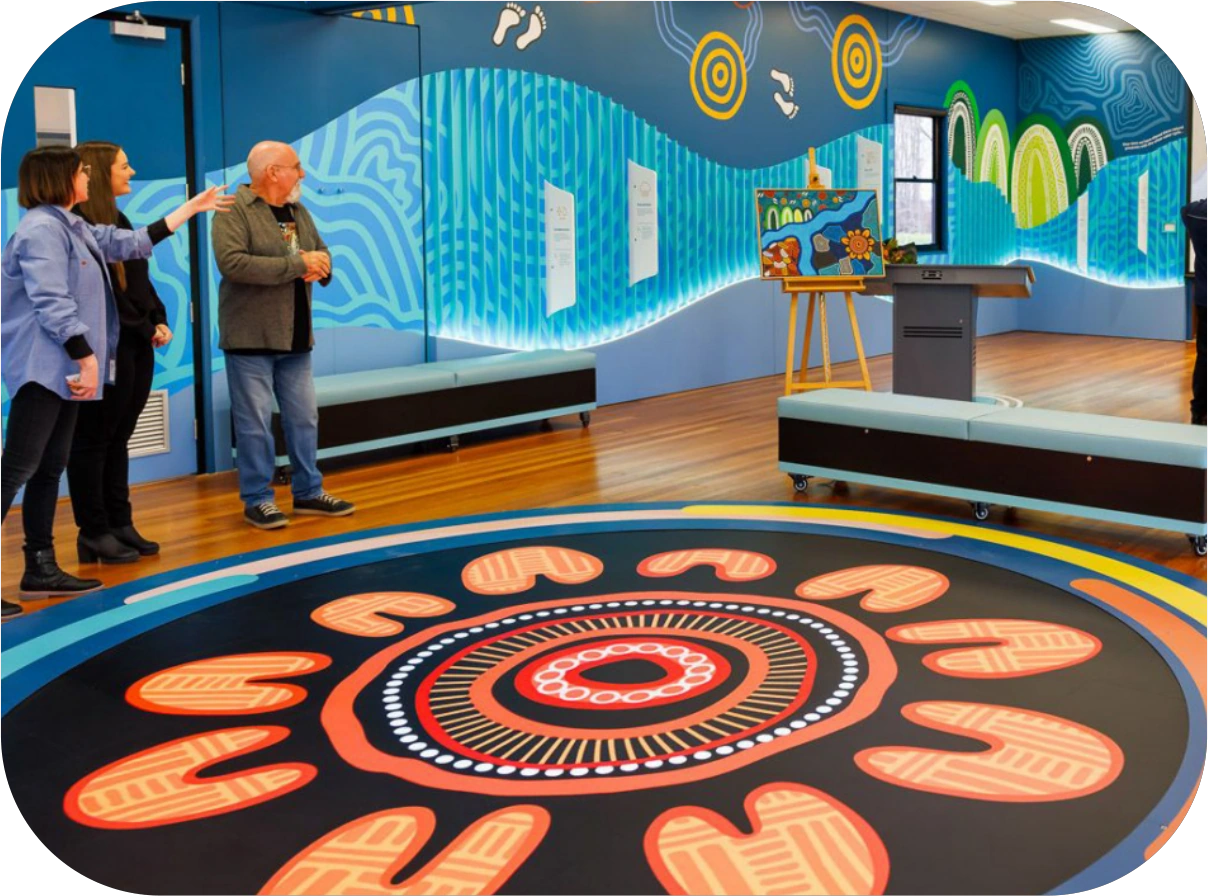
The Future Water Story exhibition at Melbourne Water's Western Treatment Plant

The Future Water Story by Melbourne Water

2022.

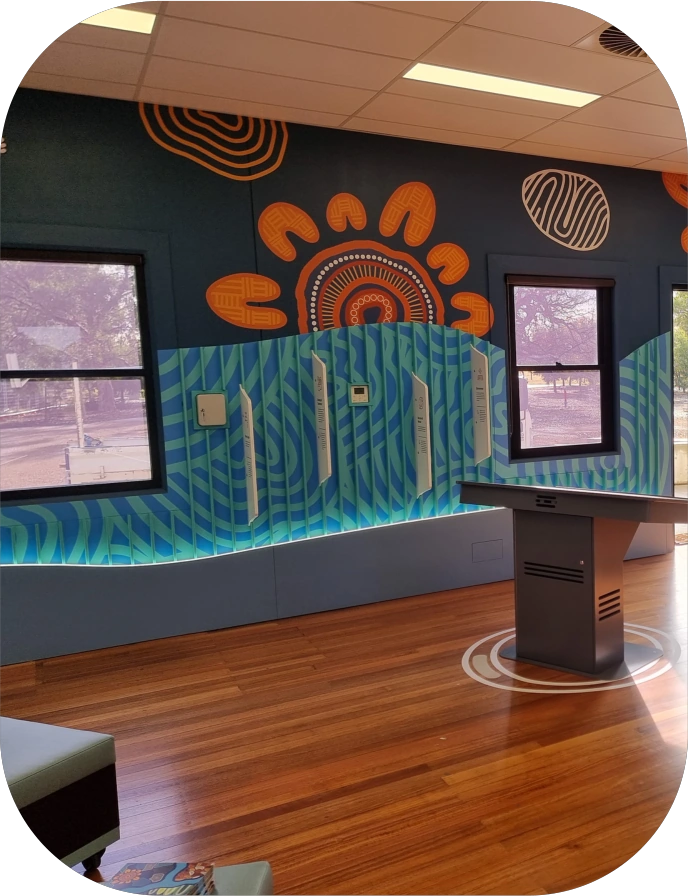
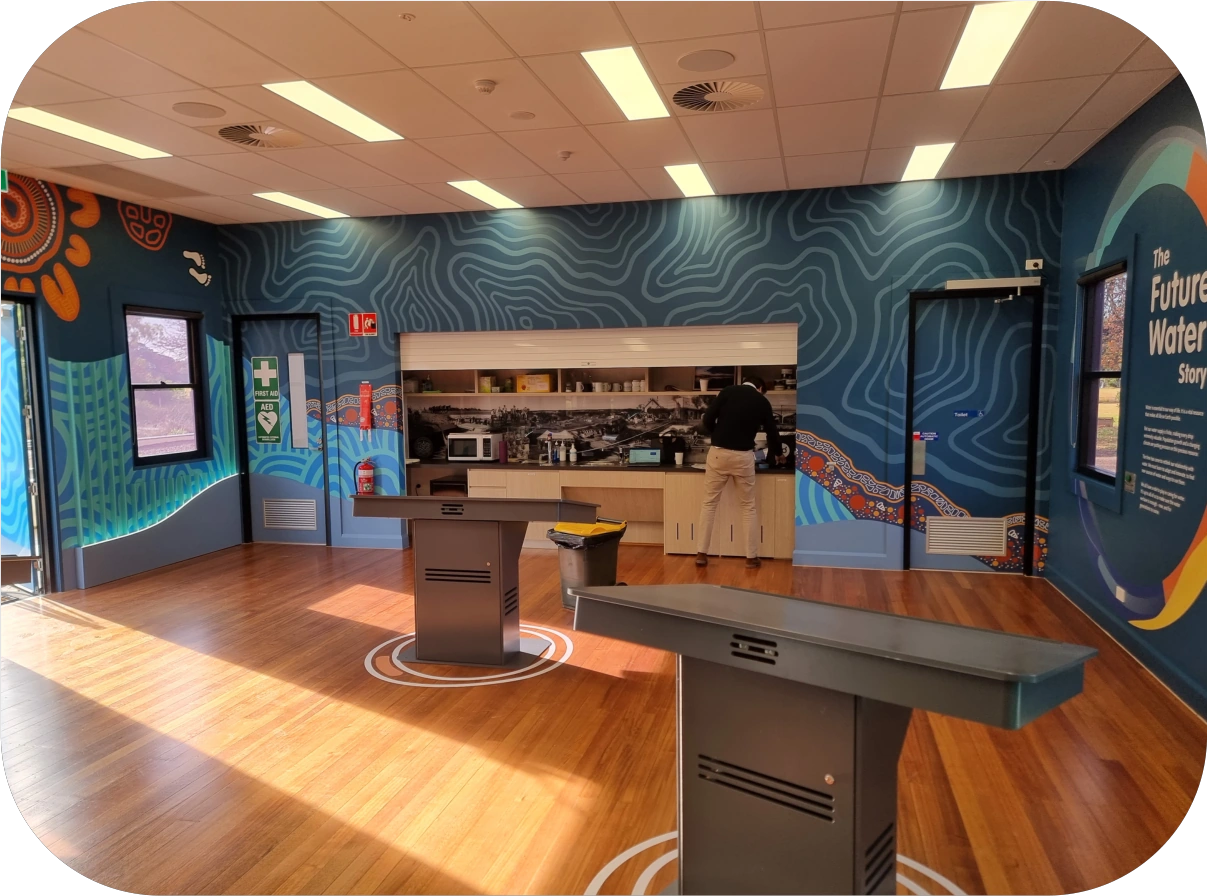
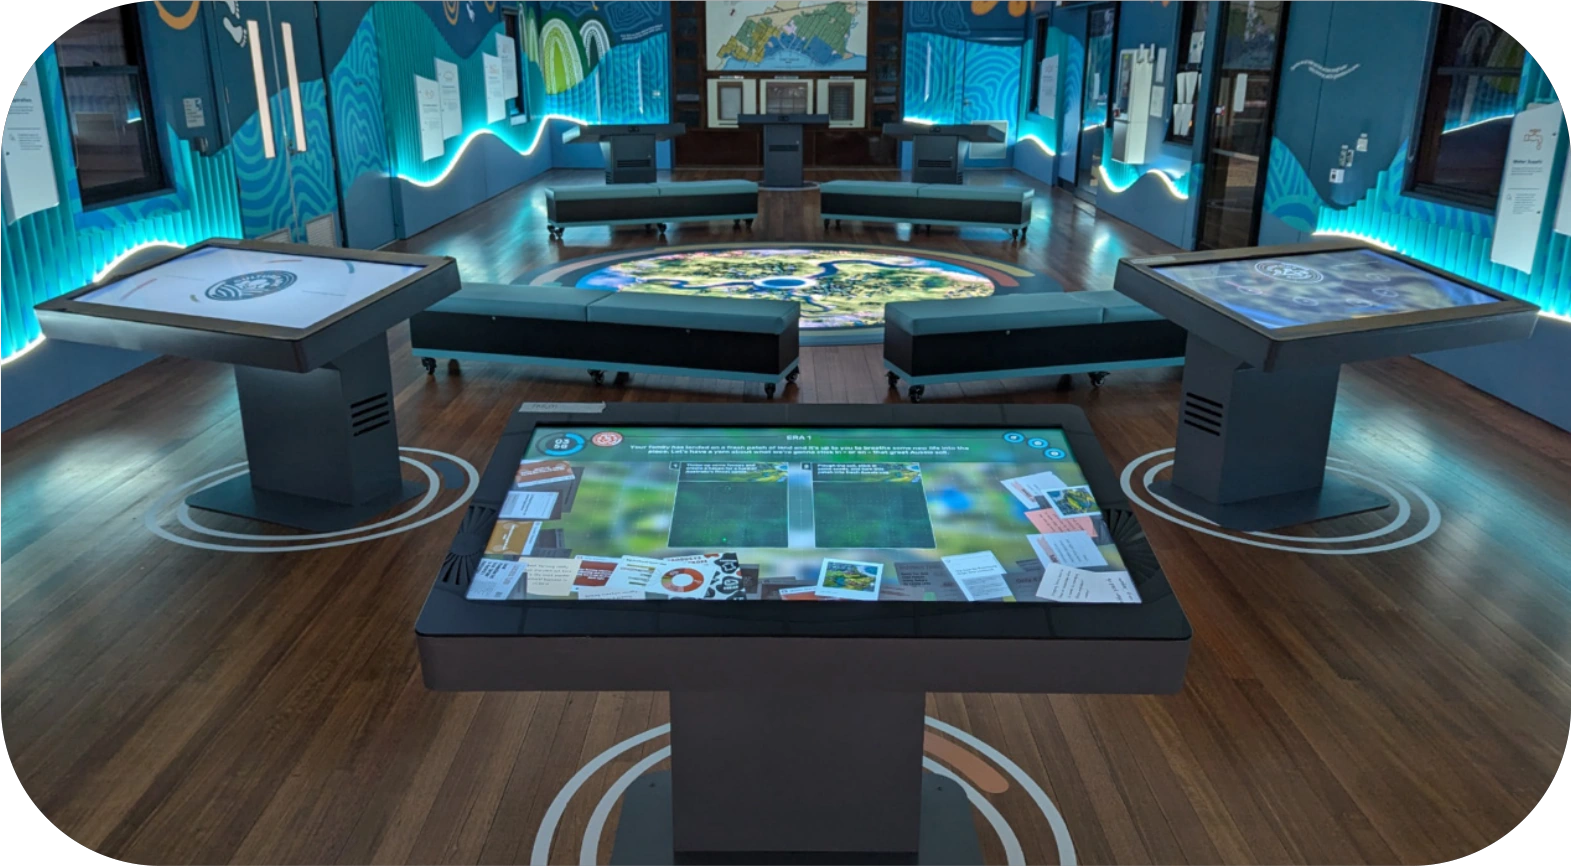
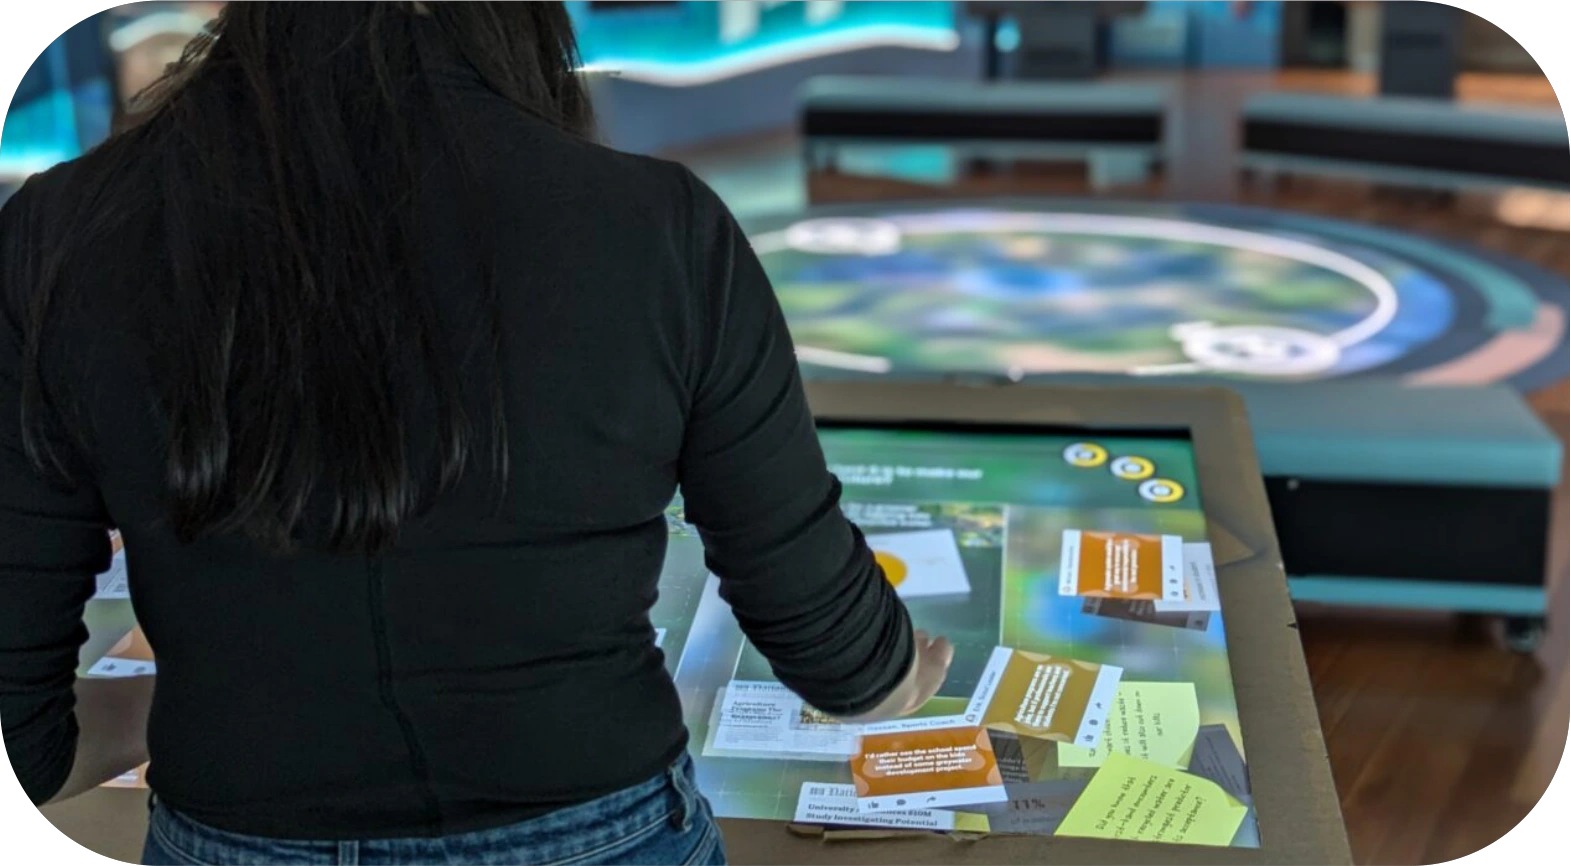
I worked with S1T2 on the spatial design of The Future Water Story, an interactive exhibition at Melbourne Water's Western Treatment Plant, at Point Cook. Installed within a century-old building where nothing was level or plumb, the project required careful adaptation to the irregularities of the existing architecture. My role was to bring the exhibition together as a coherent physical space, accommodating its interactive experiences within the historic interior.

Future Water Story wall elevation
Future Water Story room elevation
Future Water Story second wall elevation
Future Water Story interpretive display elevation
Future Water Story installation detail
Future Water Story gallery interior
Future Water Story wall display
Future Water Story central interactive installation
Future Water Story interactive touch-screen table
Future Water Story gallery and interactive floor
Future Water Story wall graphics
Future Water Story gallery interior
Future Water Story interactive tables
Visitor using a Future Water Story interactive table
Production Design From Years Long Gone

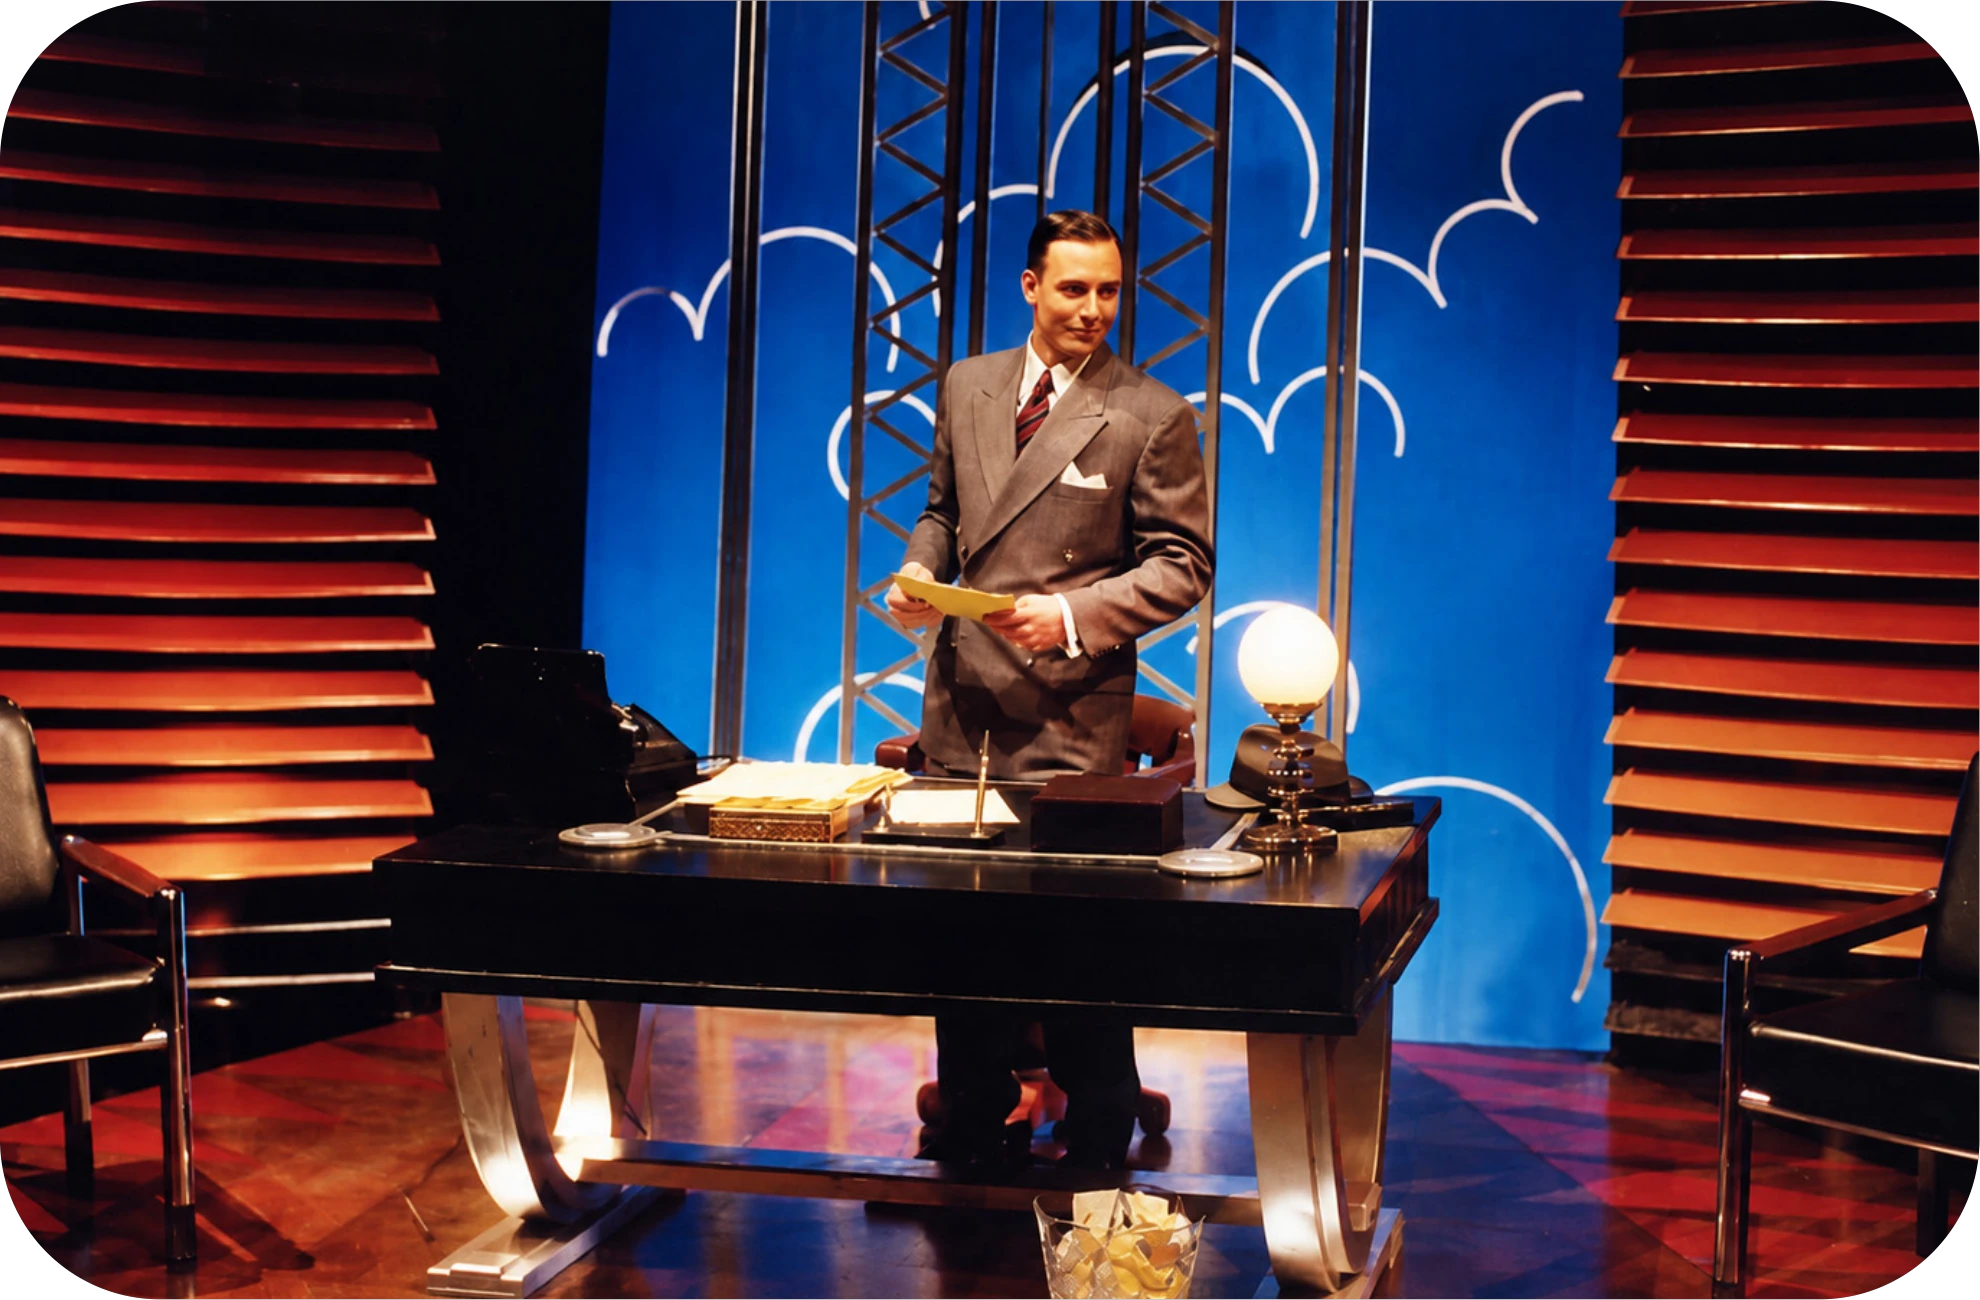
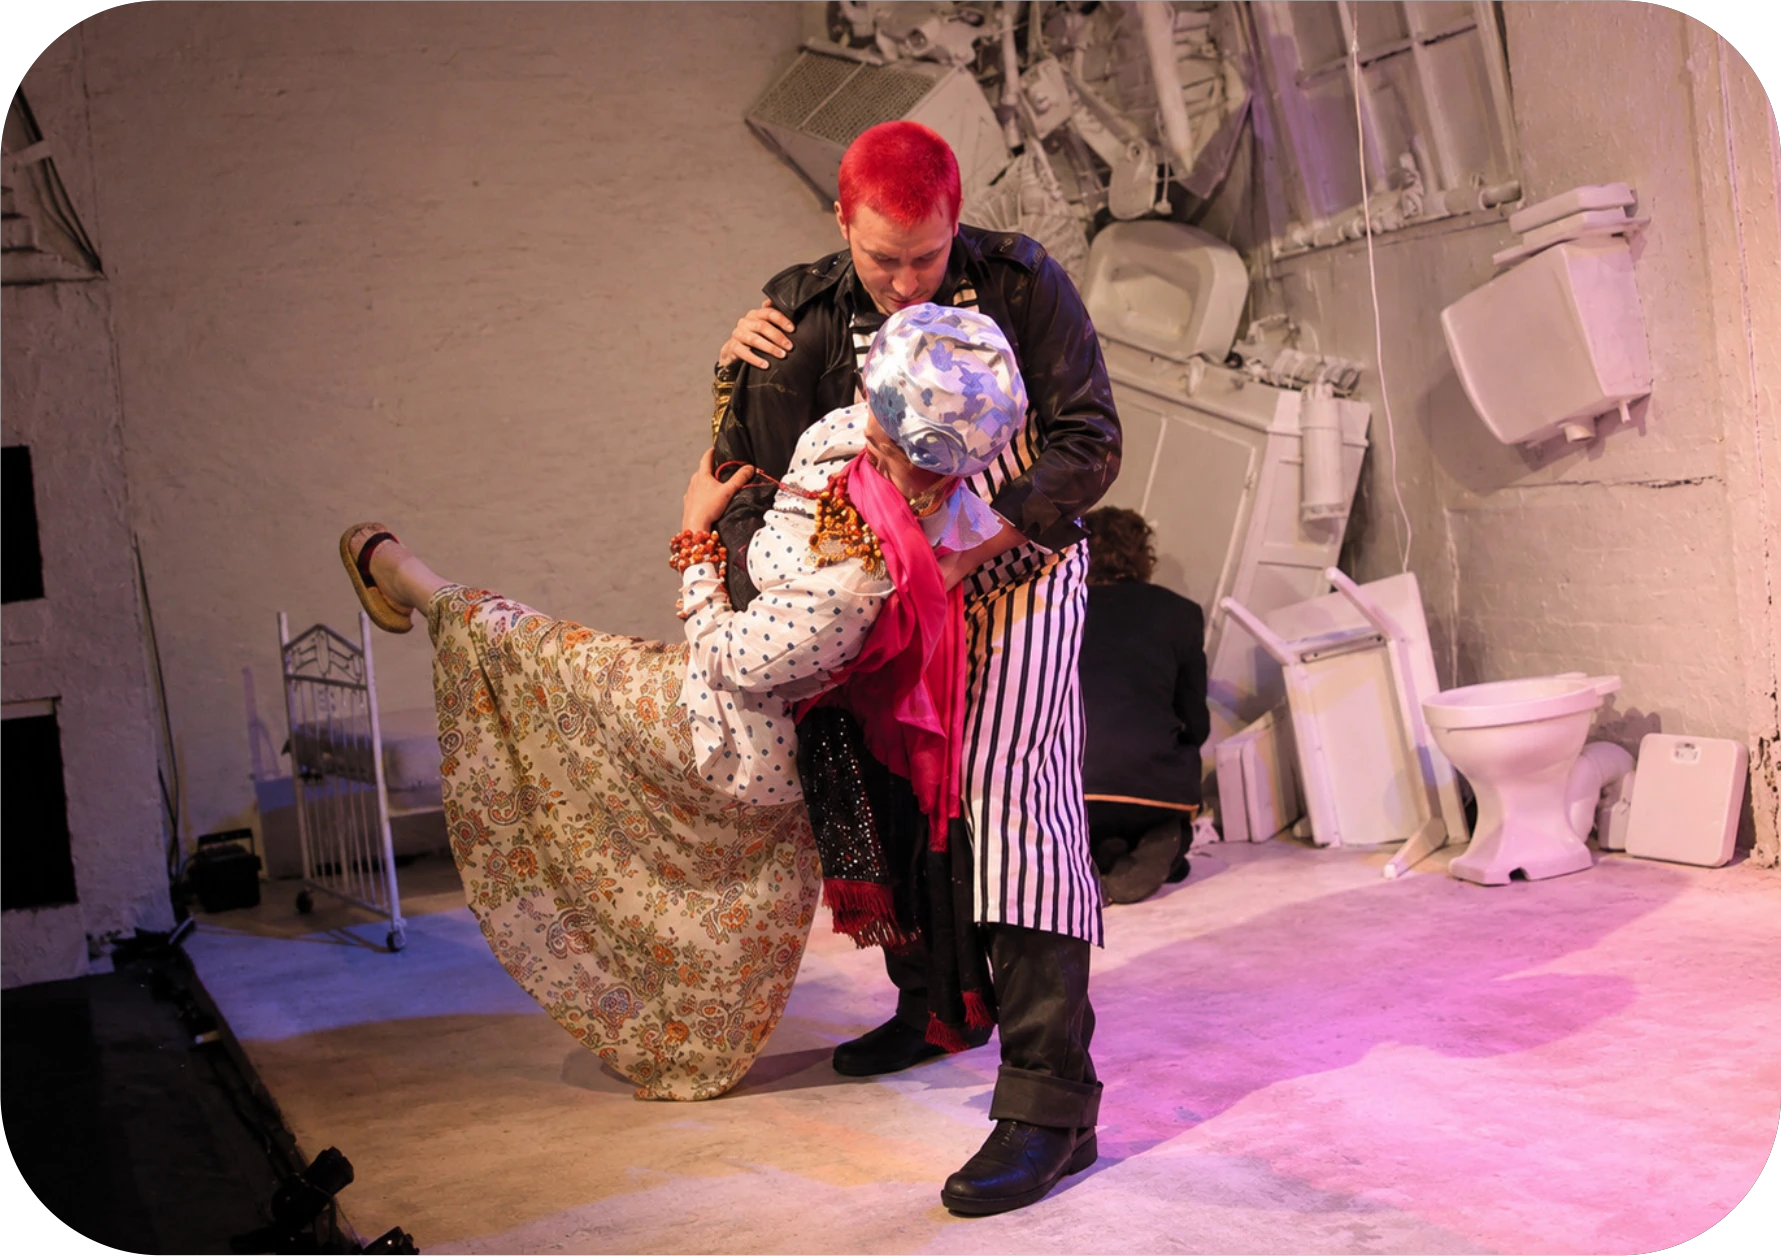
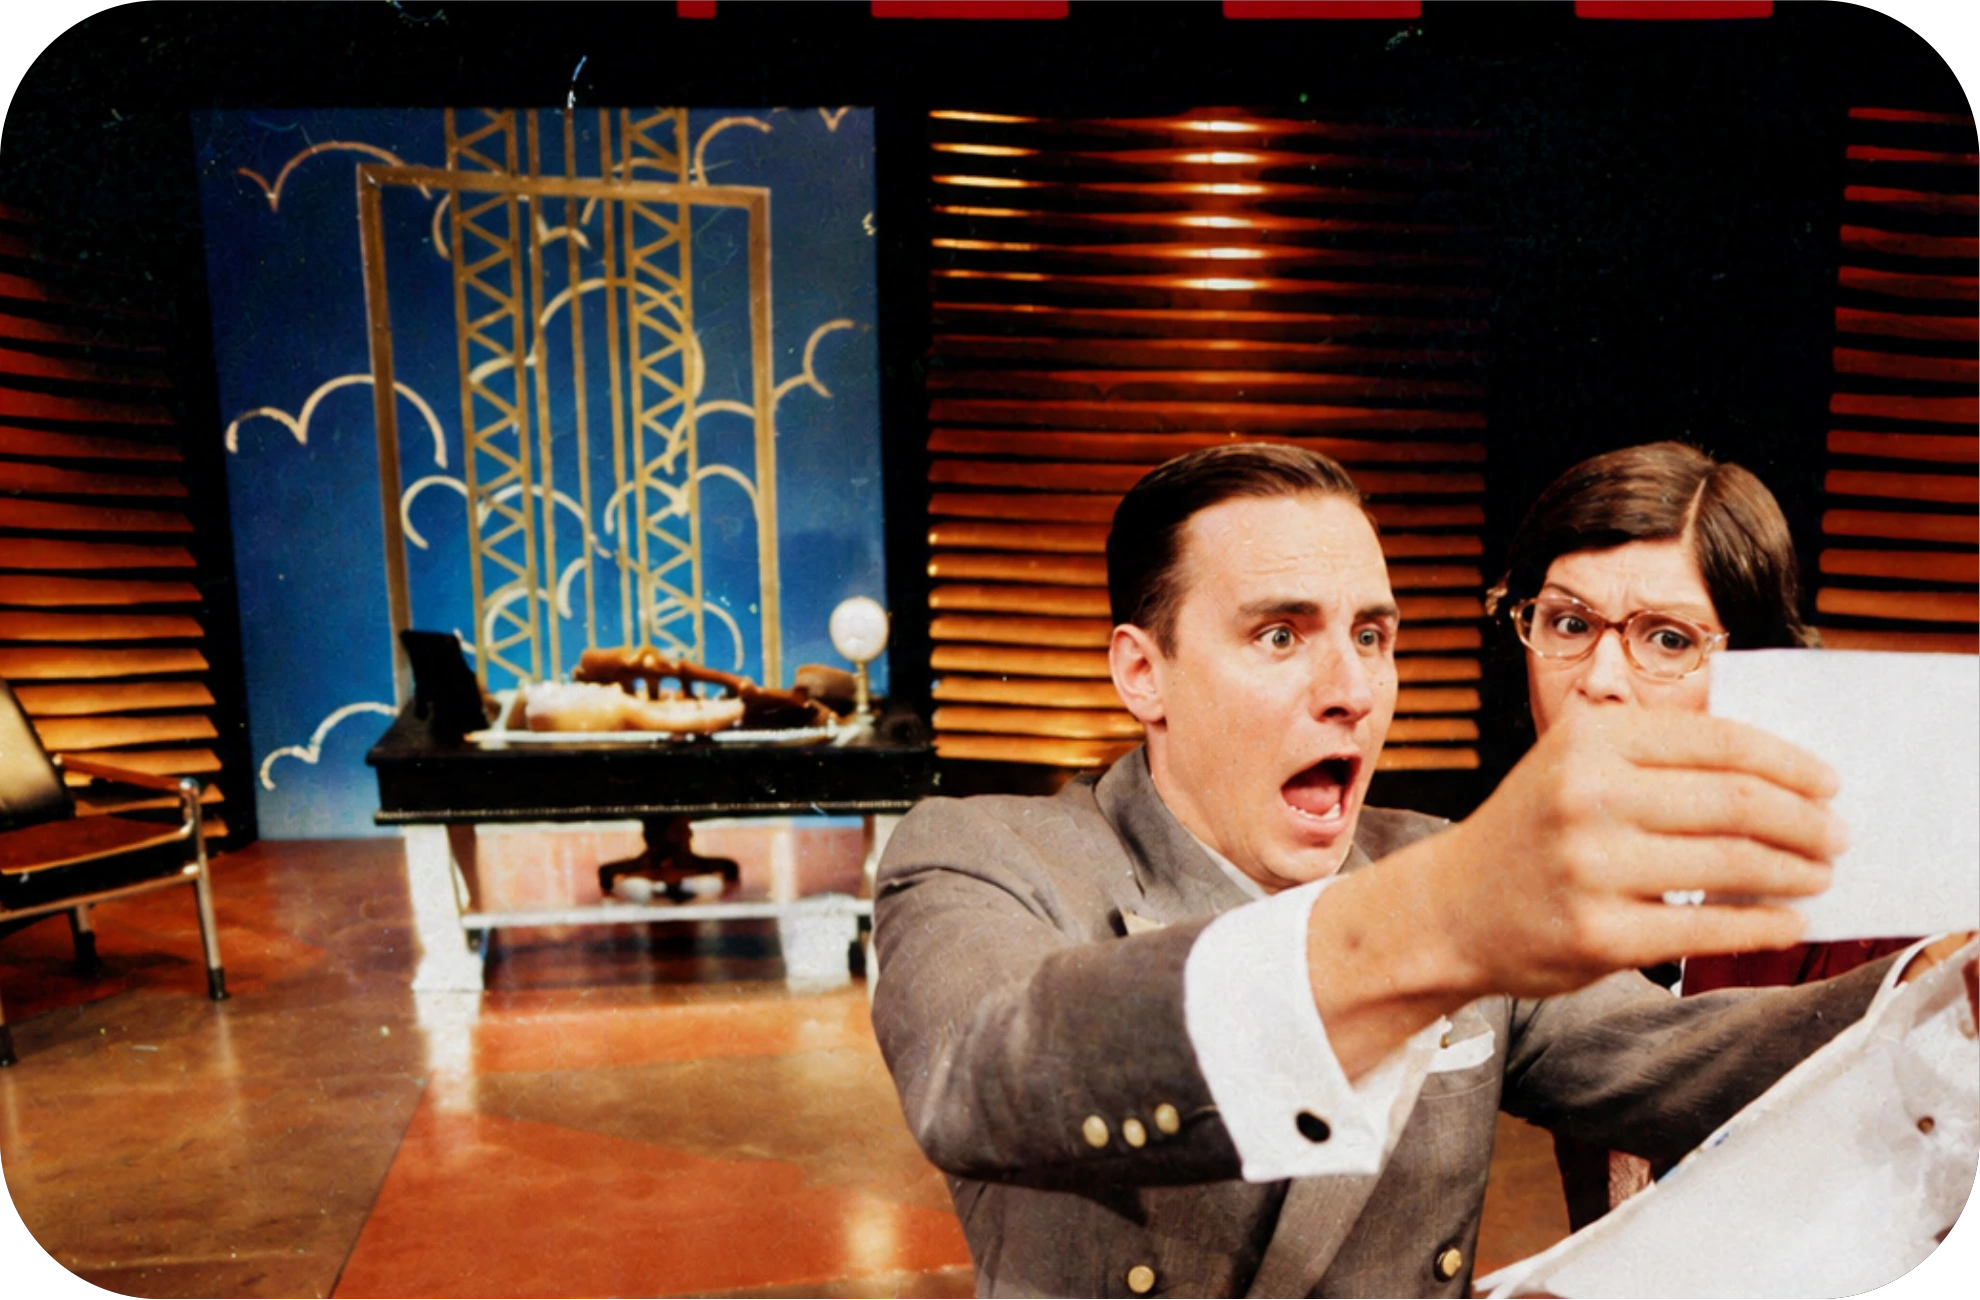
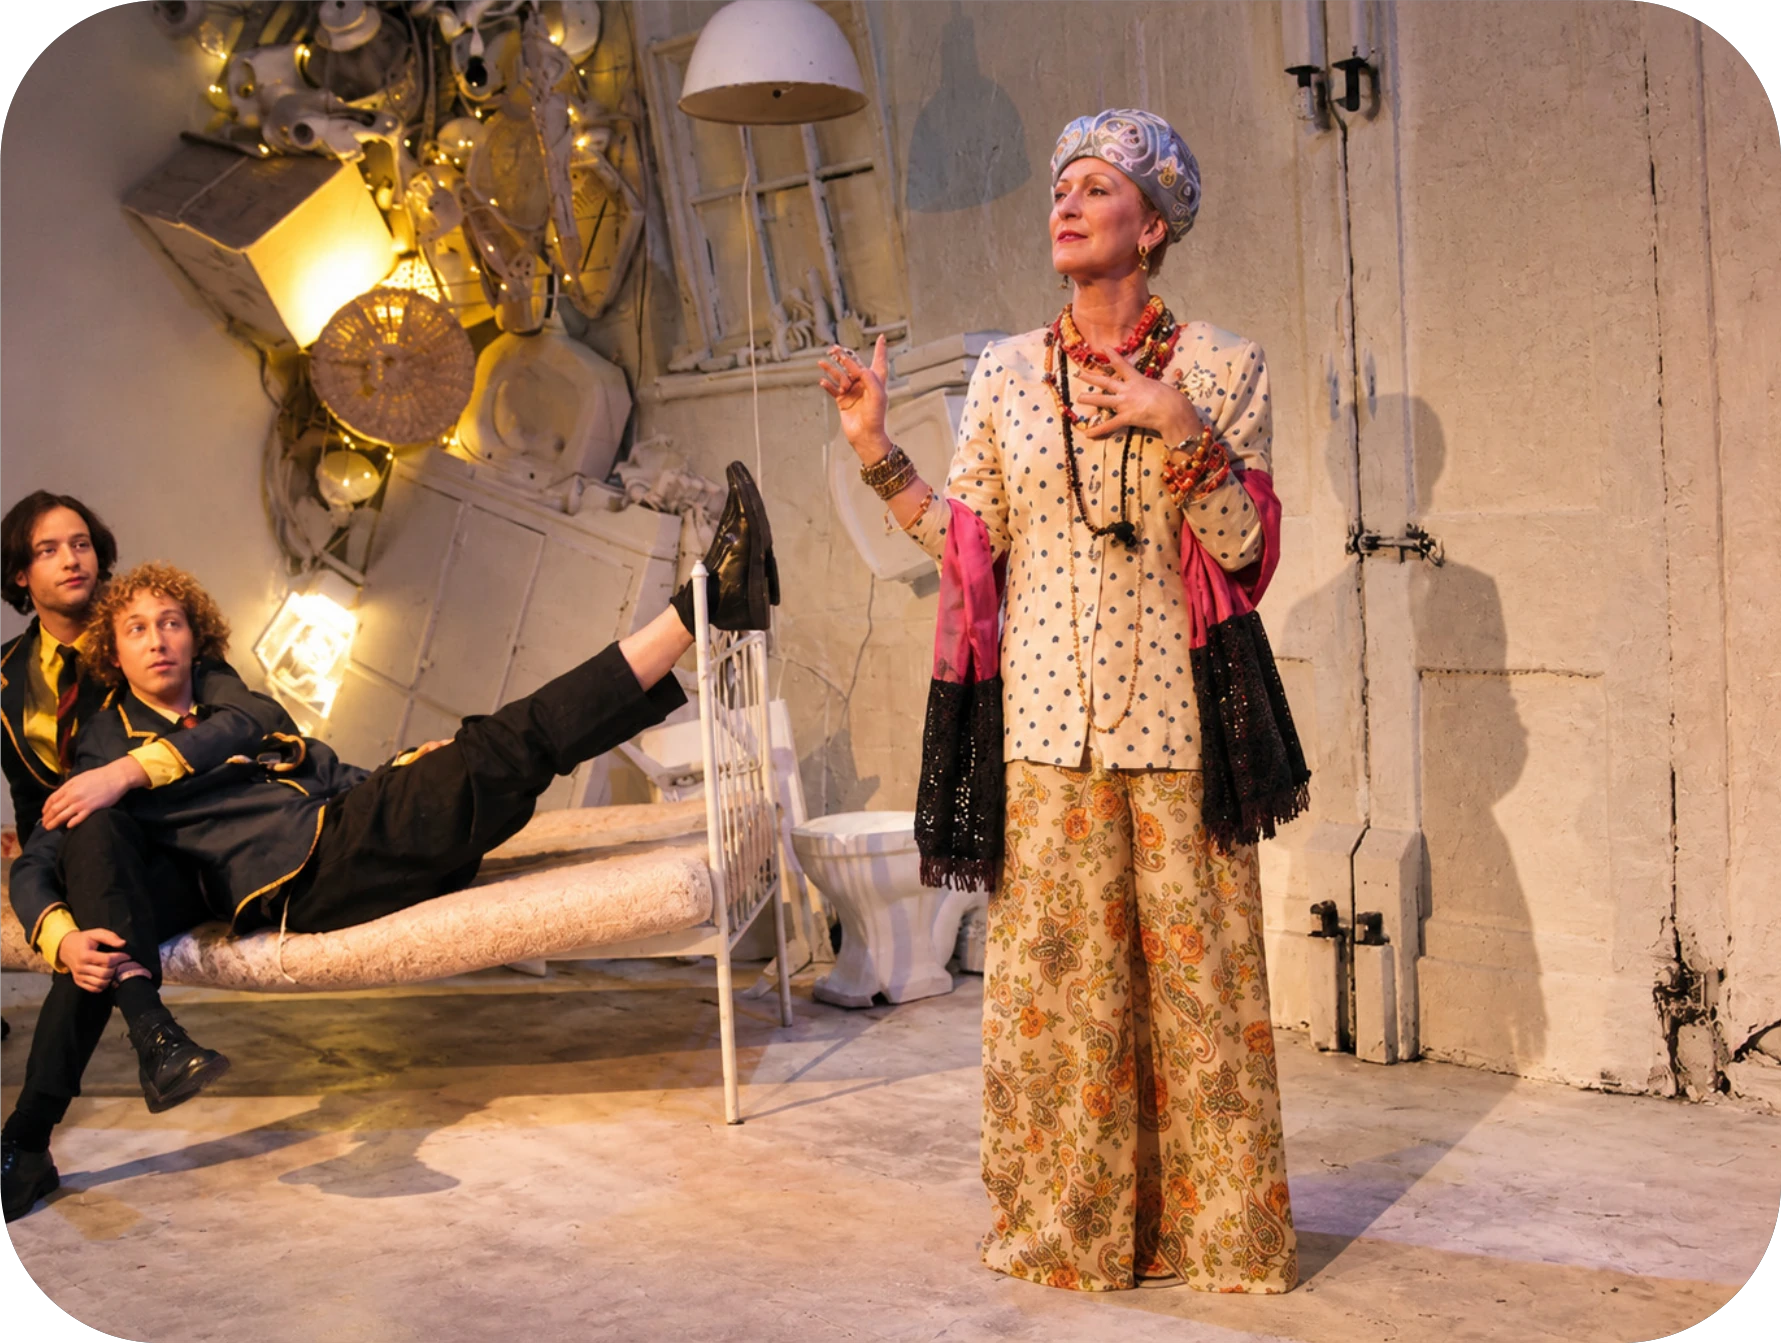
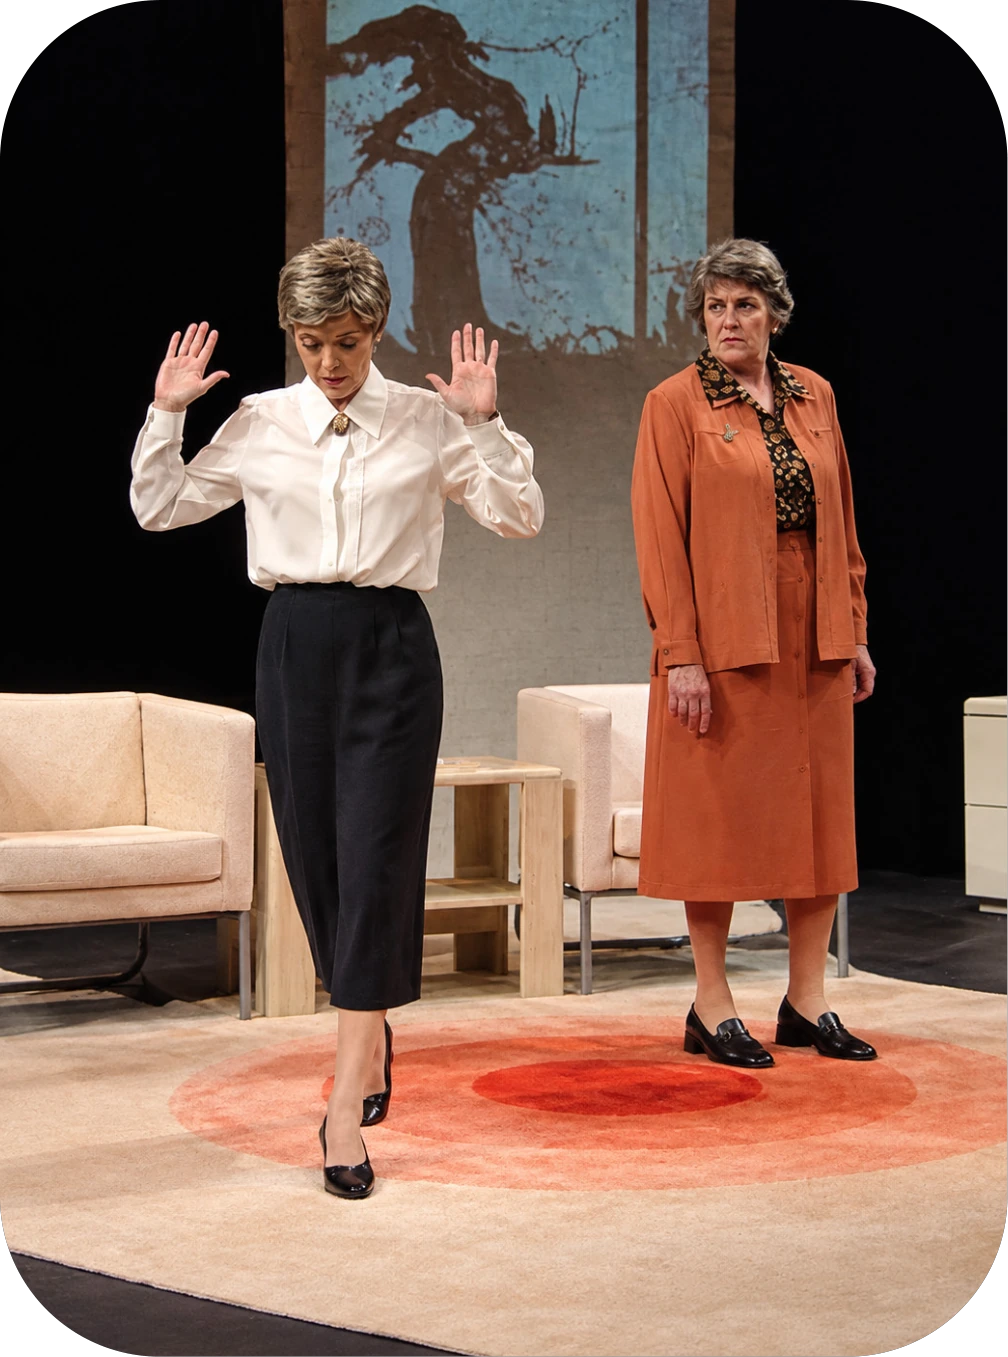
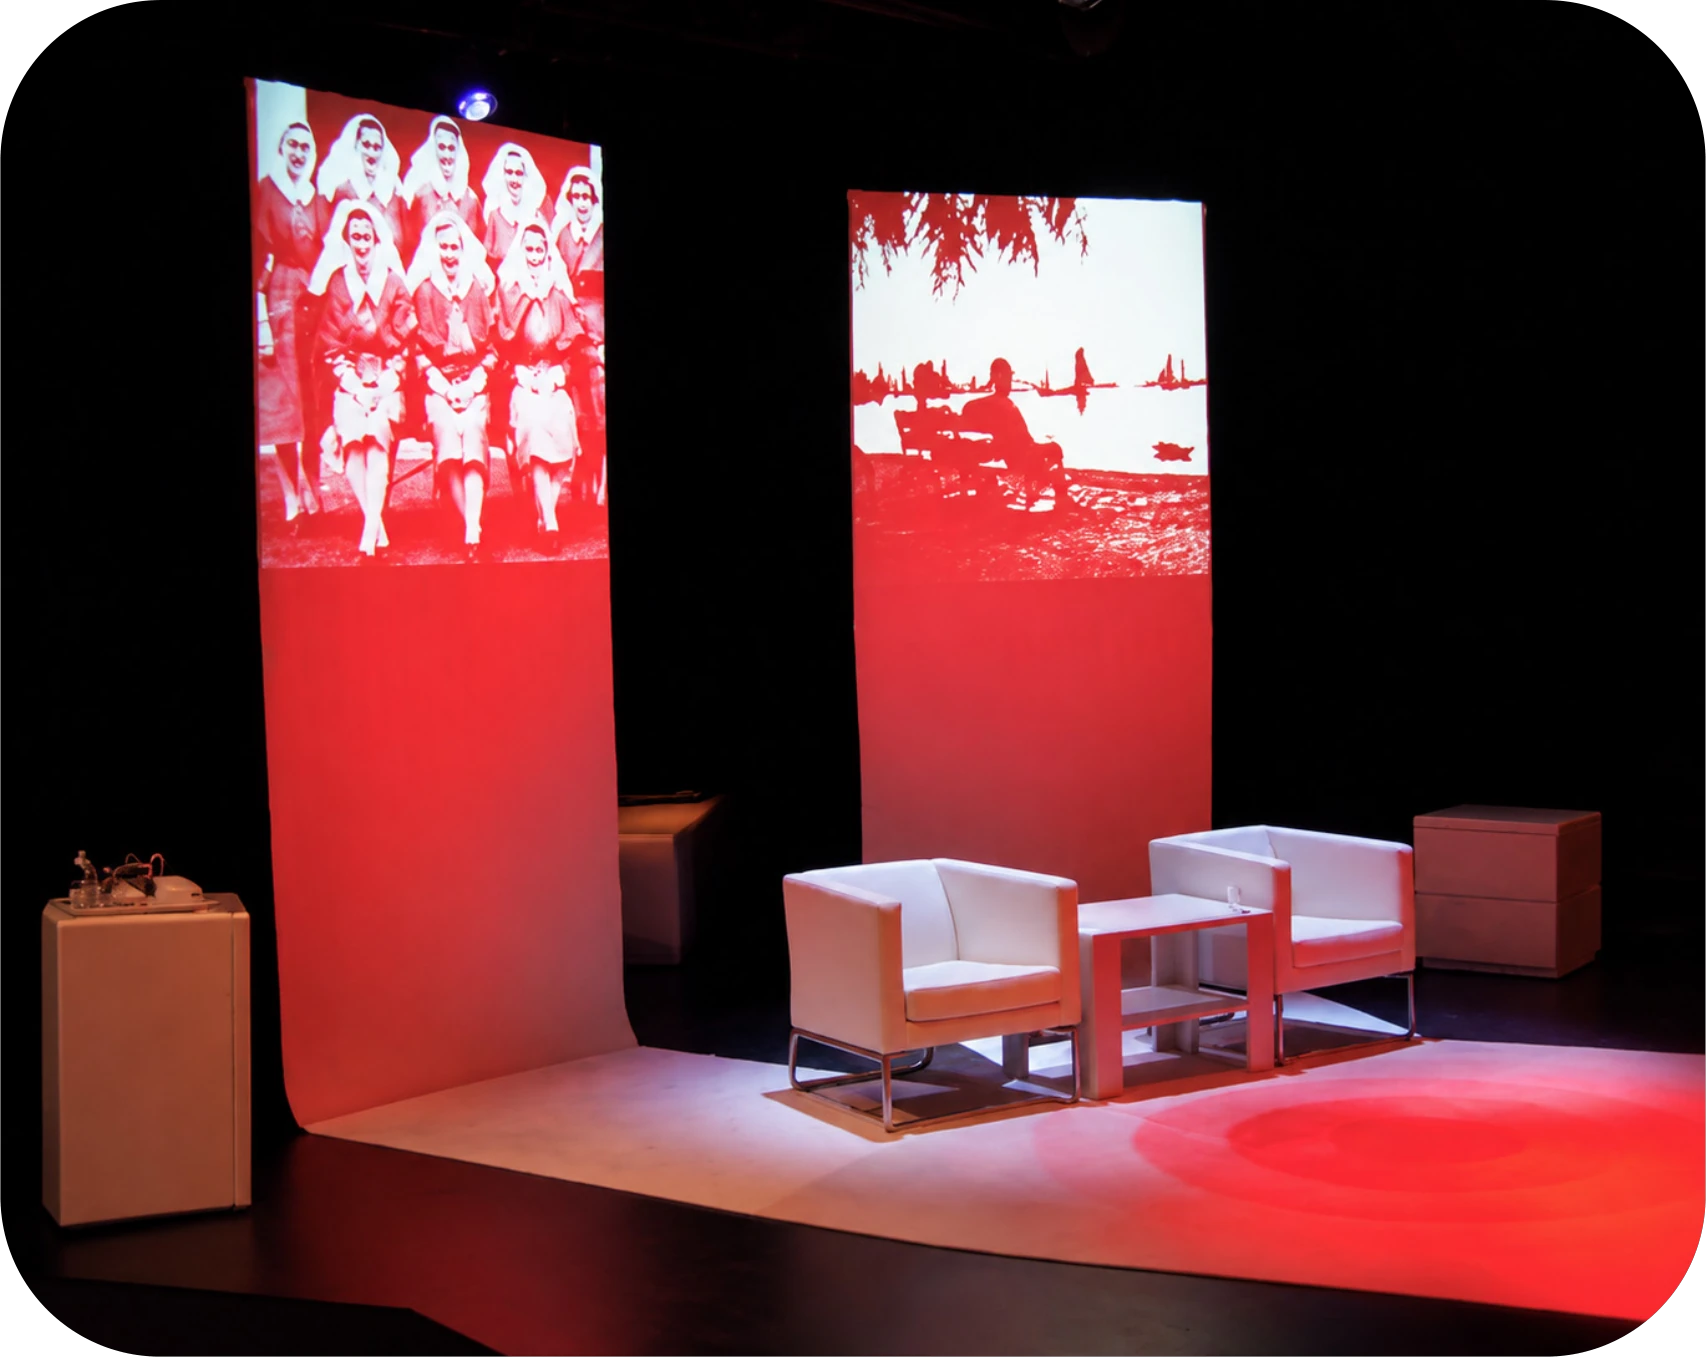
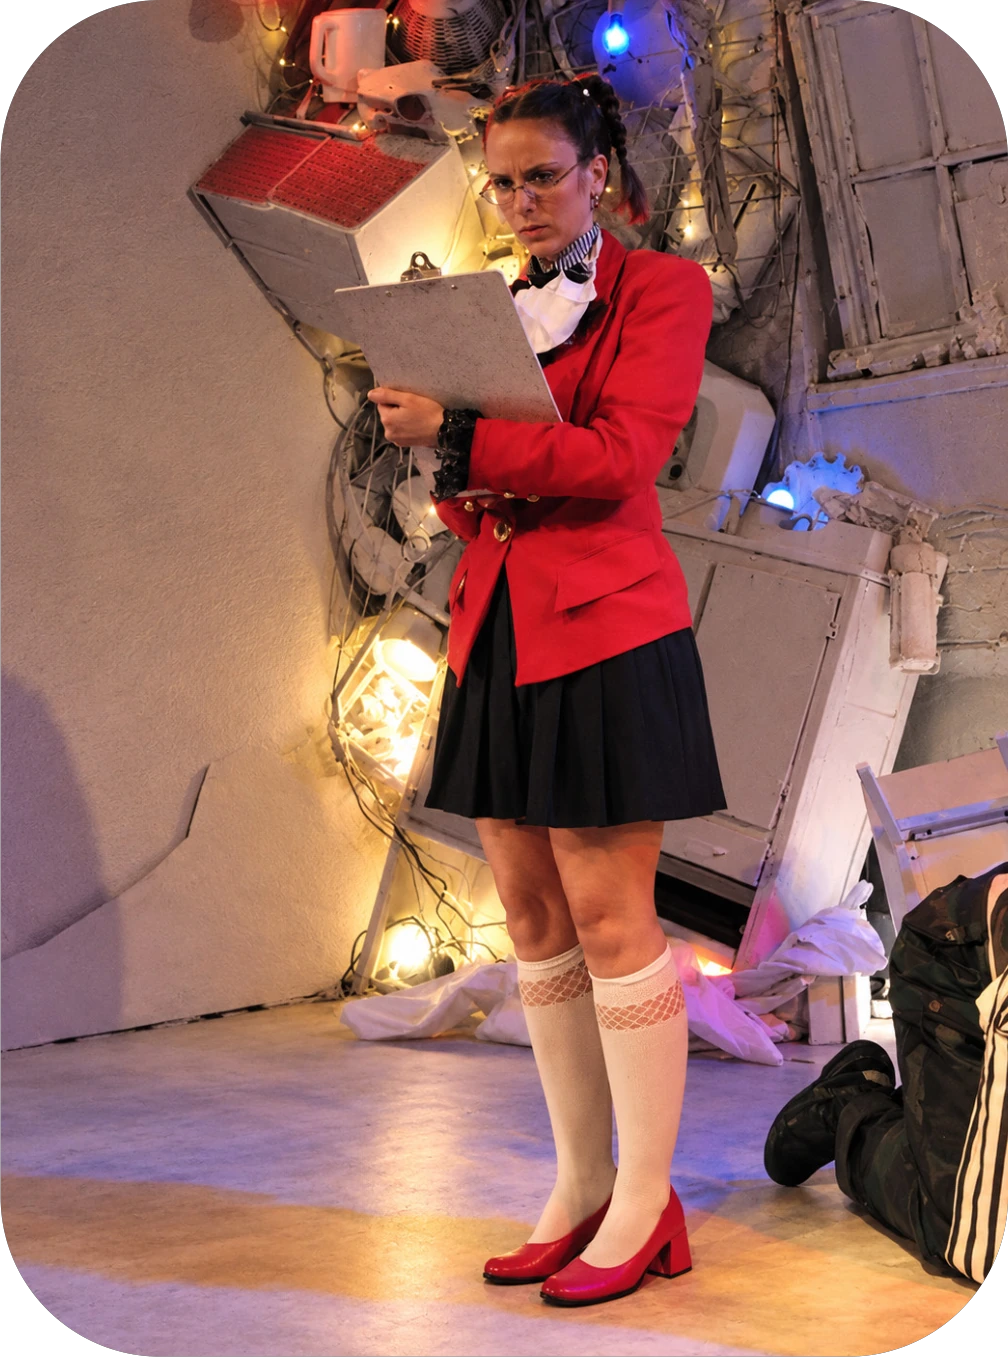
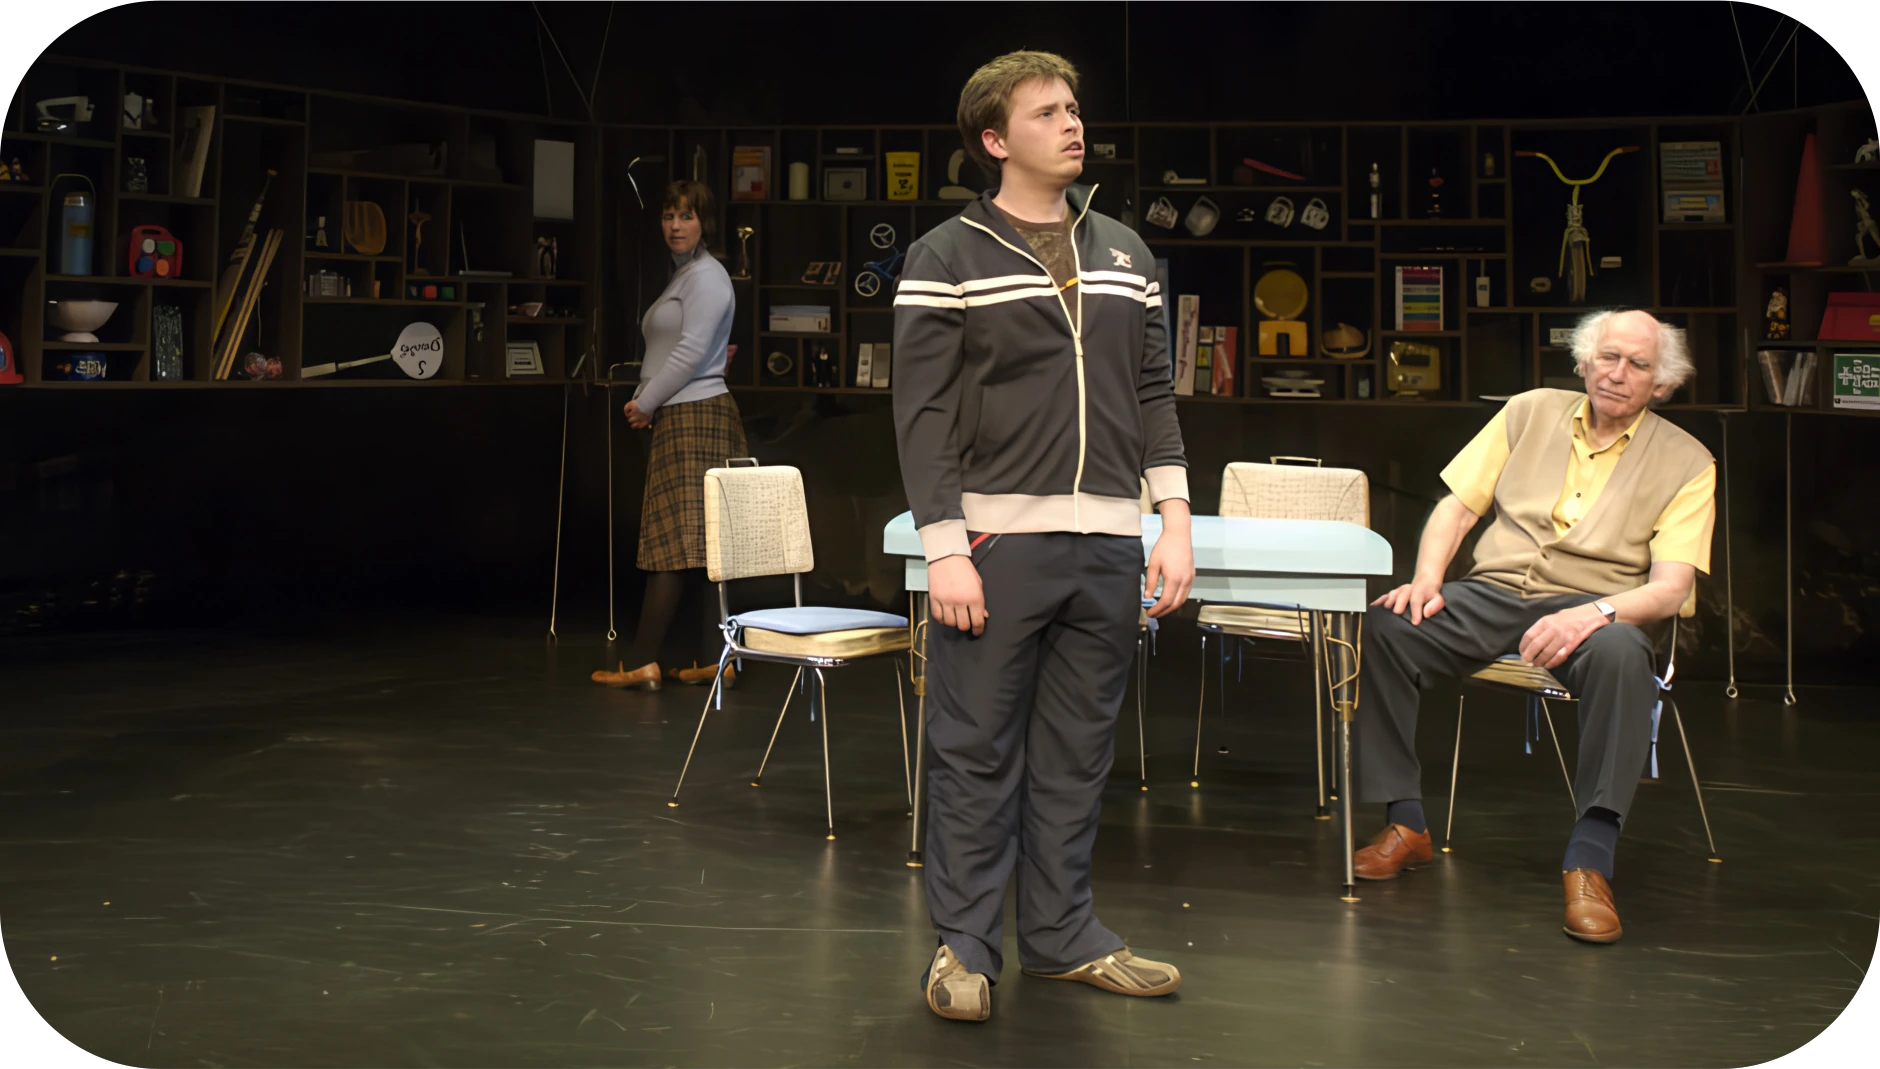
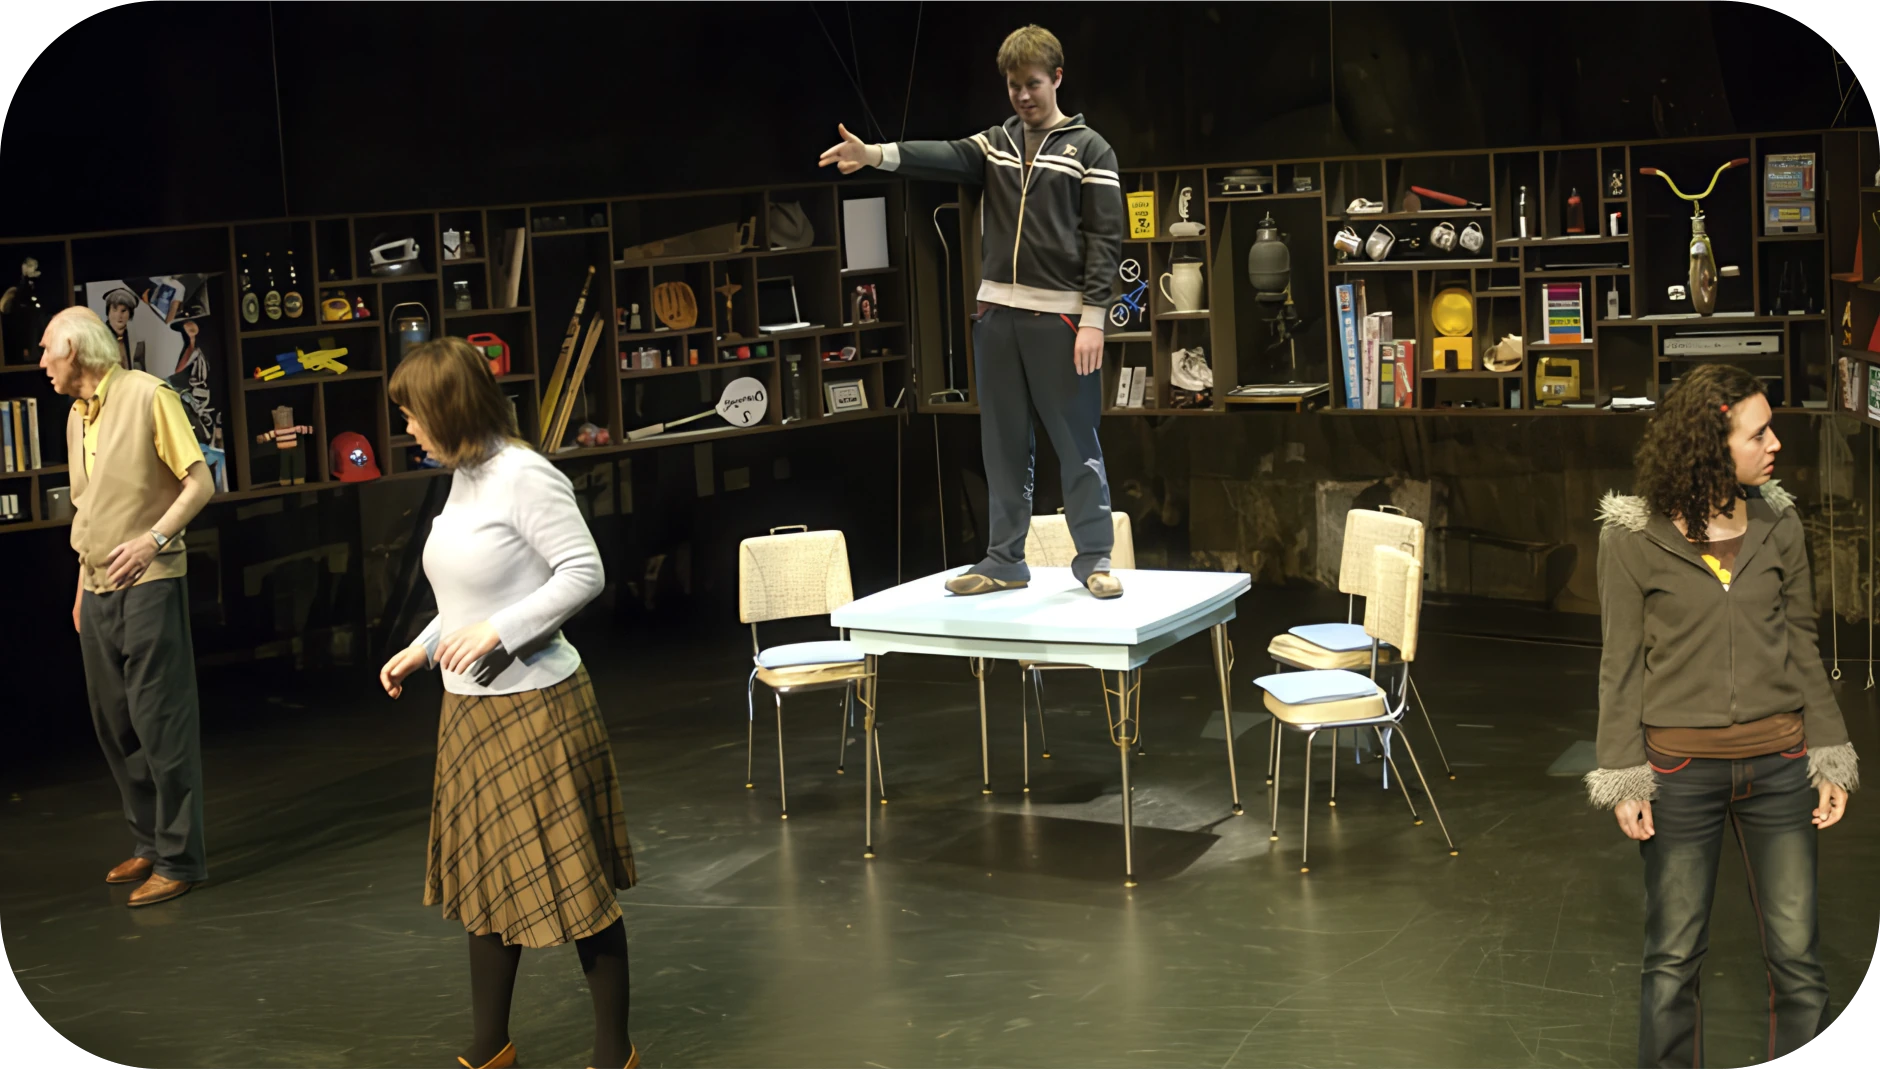
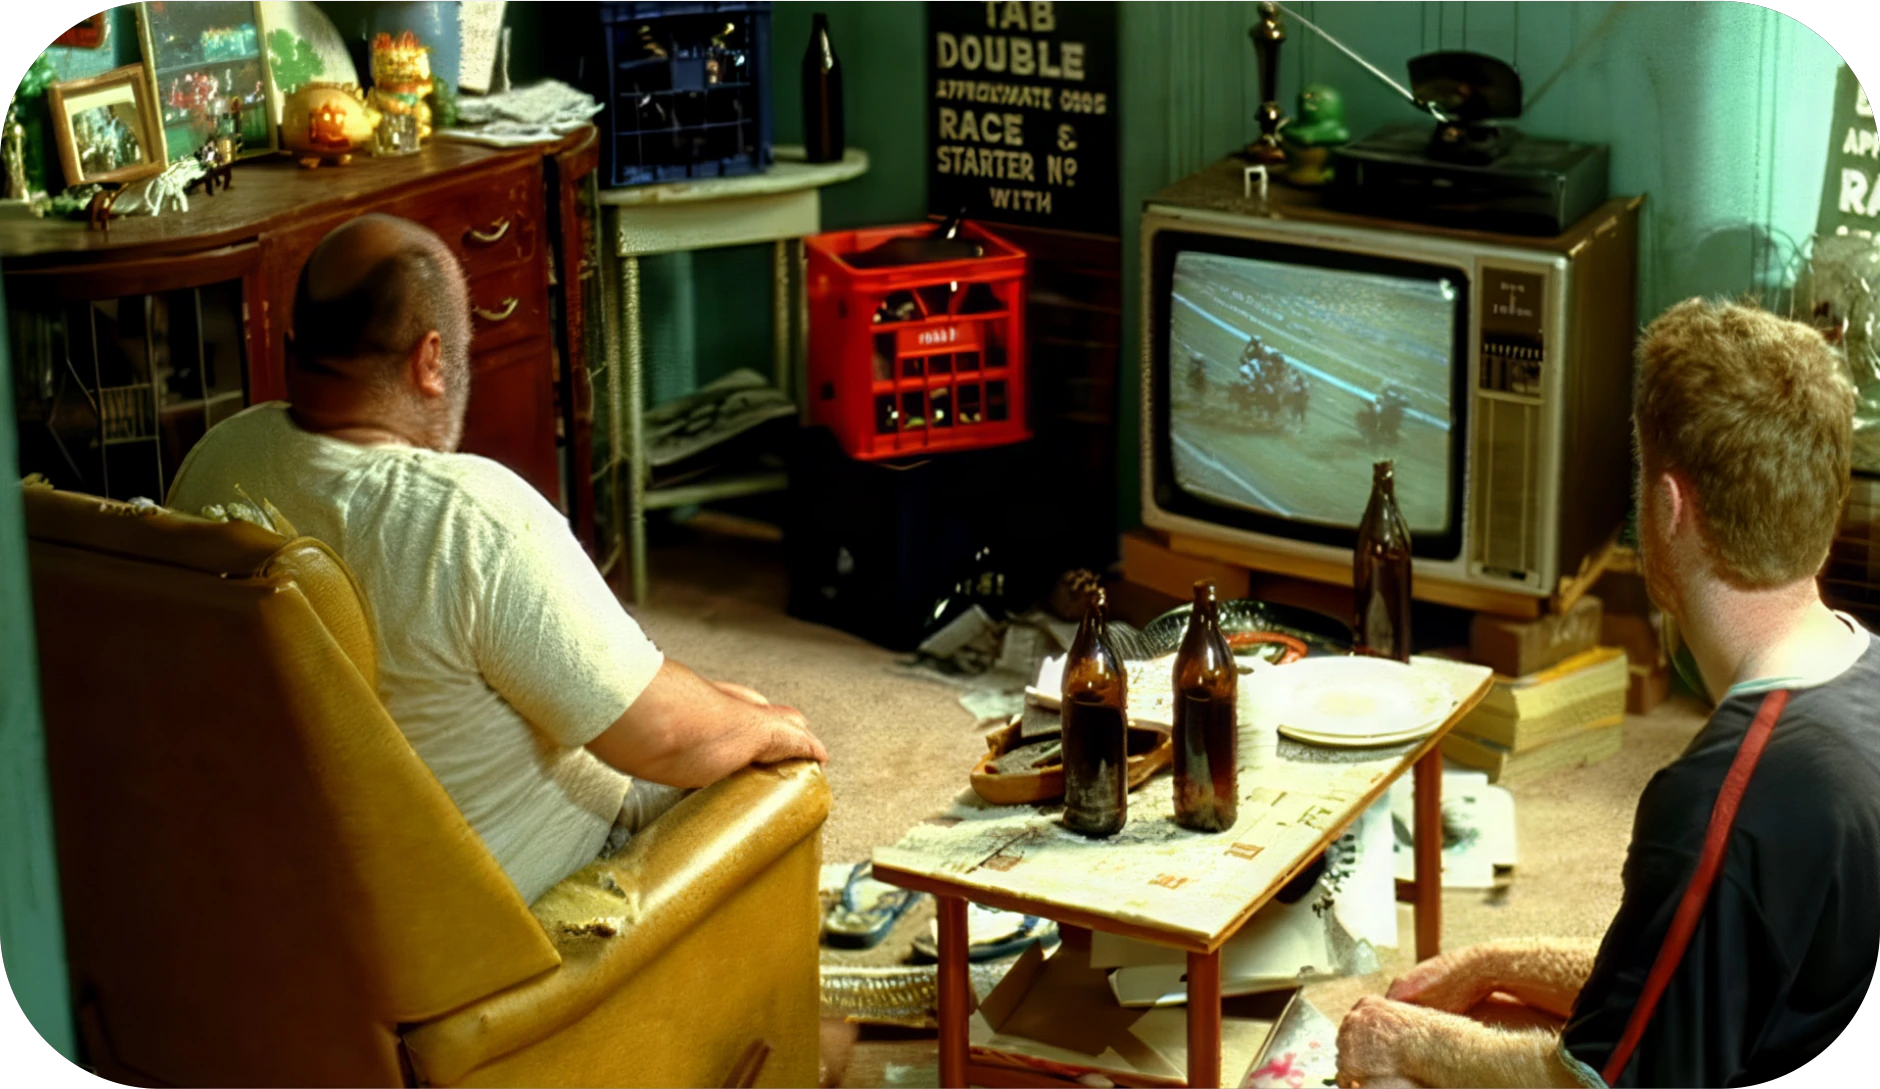
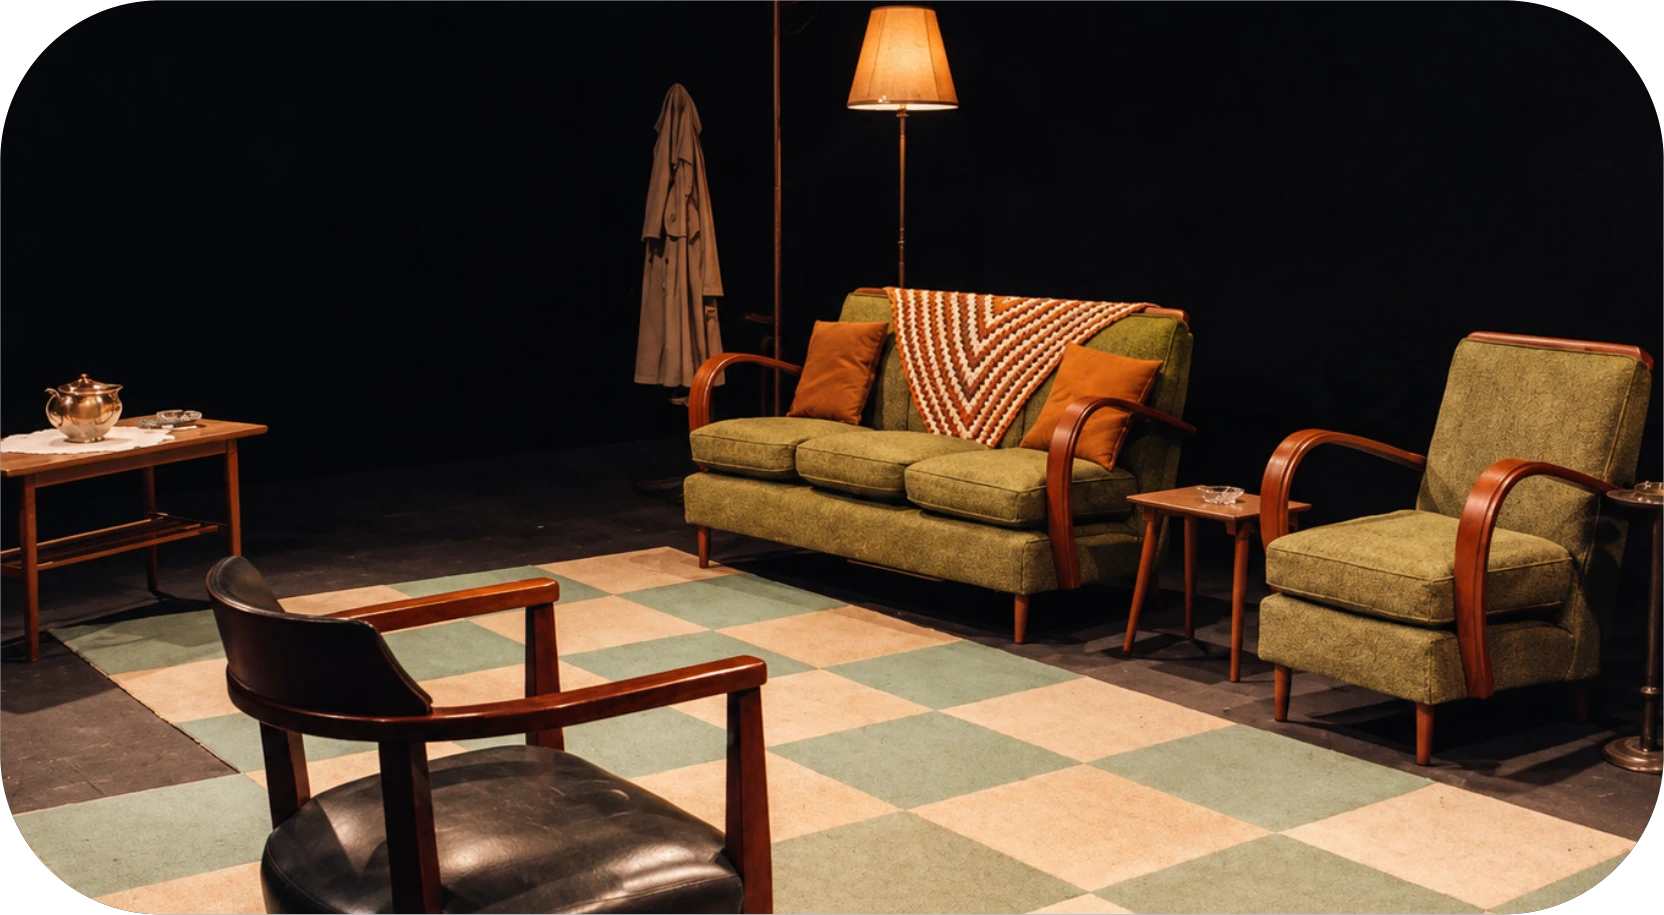
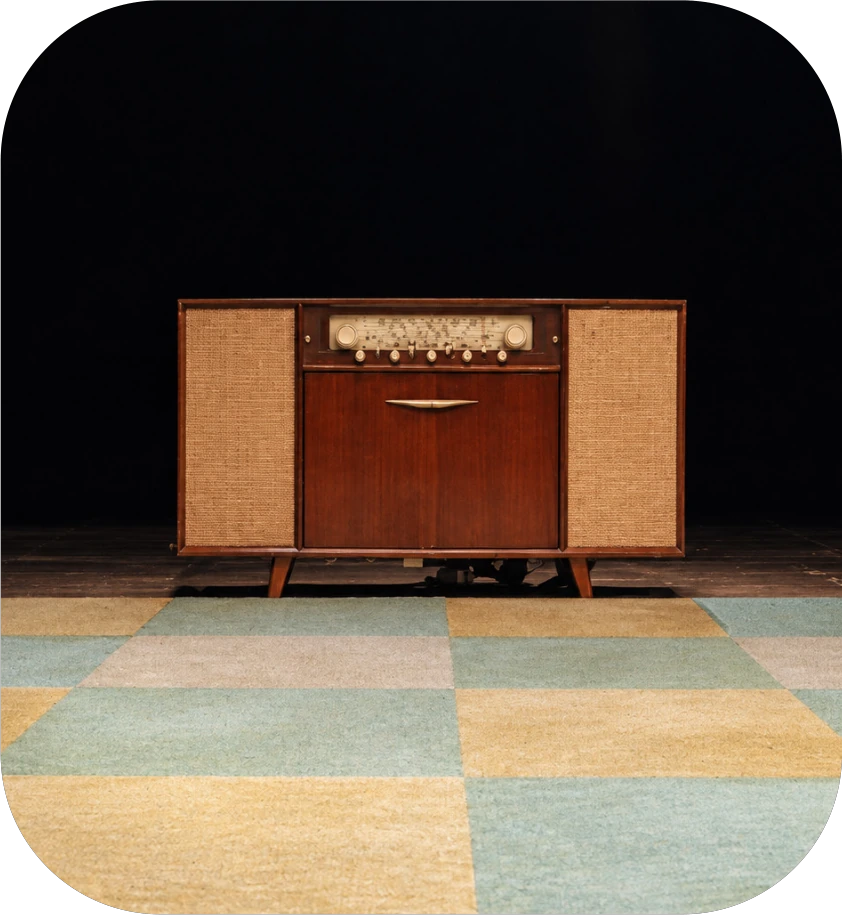
2002 to the present. My production design from years long gone. I trained as a production designer at NIDA, graduating in 2002. Although I have mostly moved into the video design and animation space, I have from time to time created the odd bit of production design for theatre or film. What follows is a visual record of those long-ago productions.